


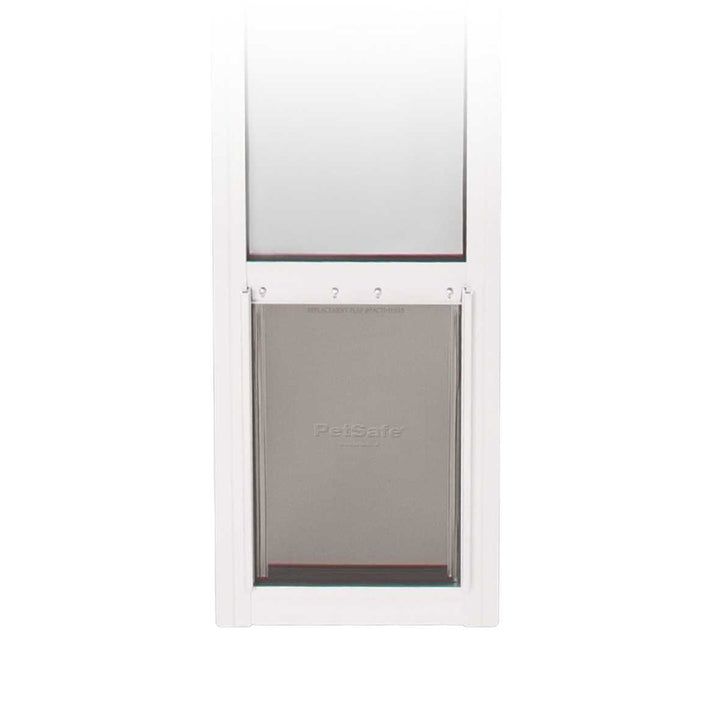
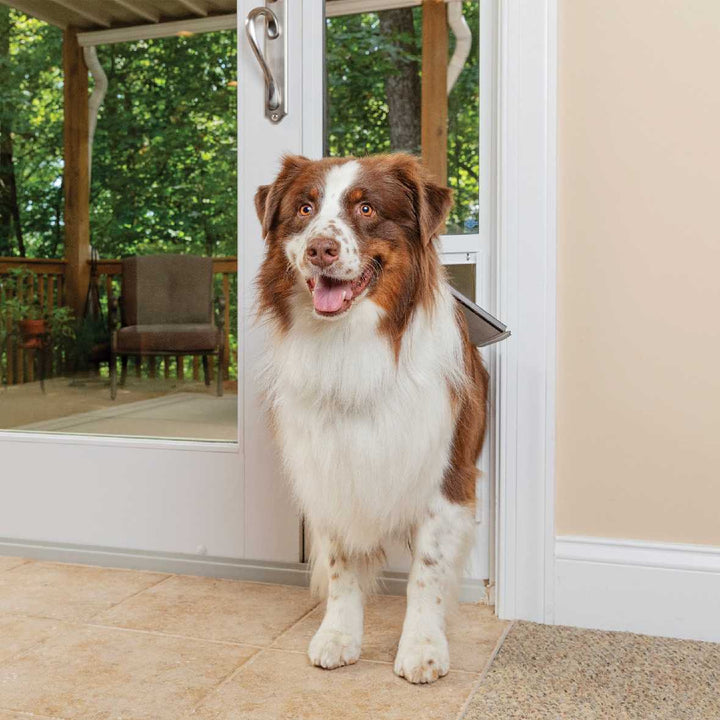
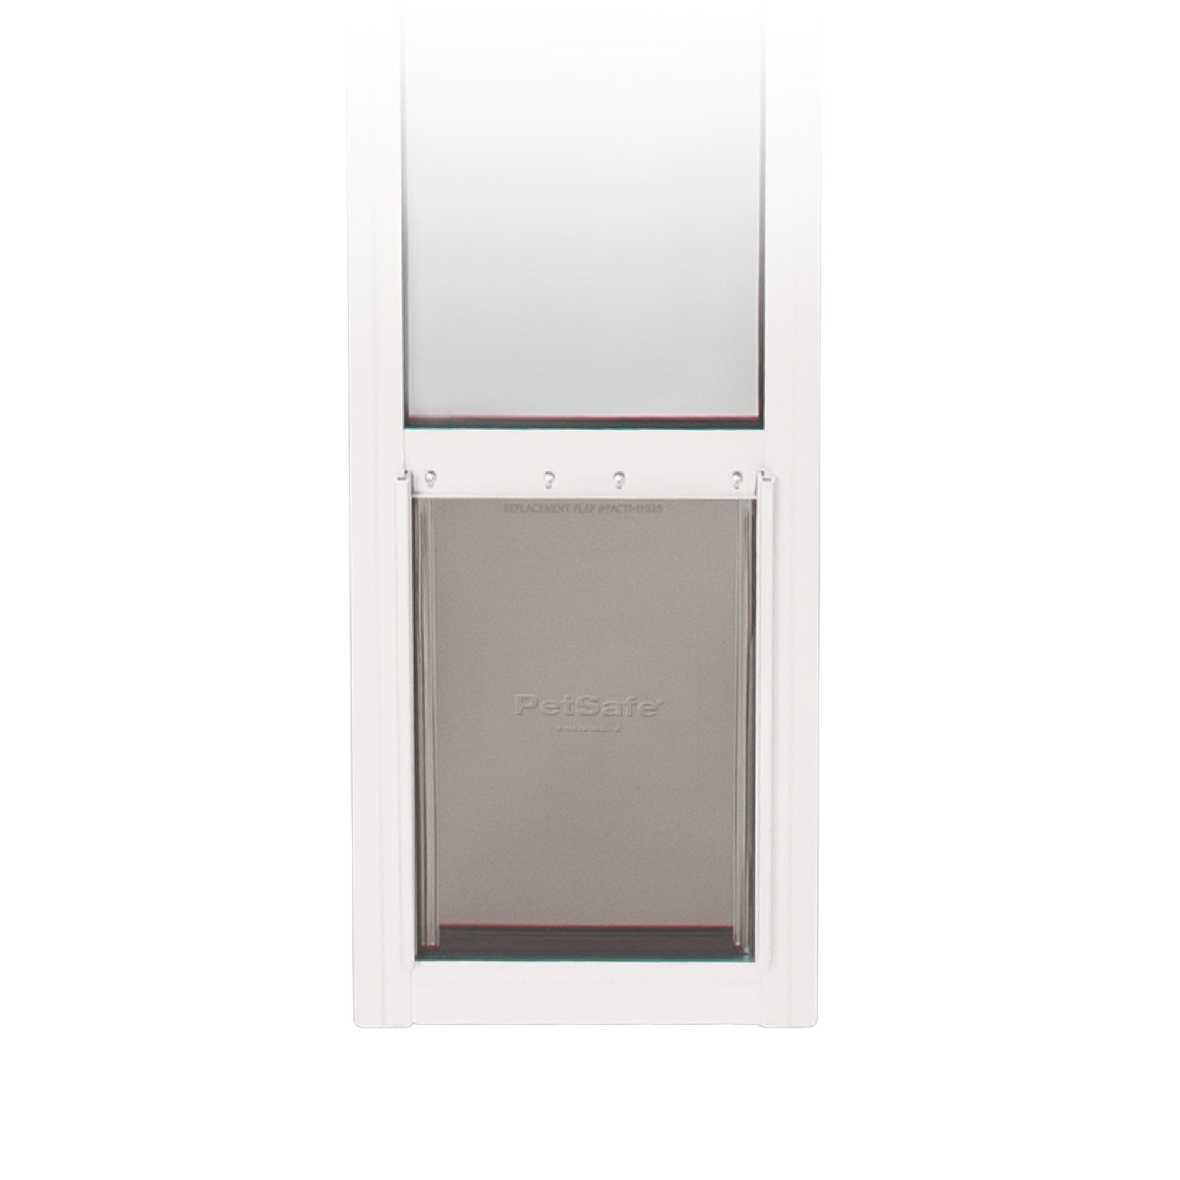
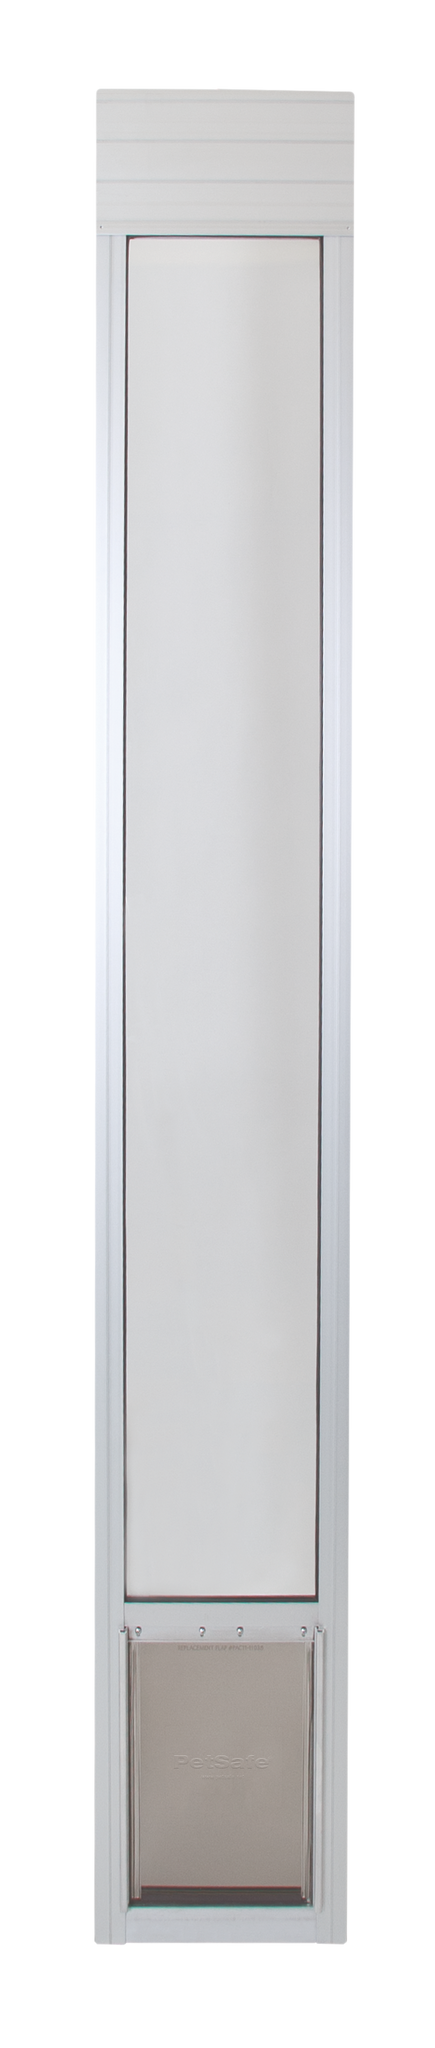
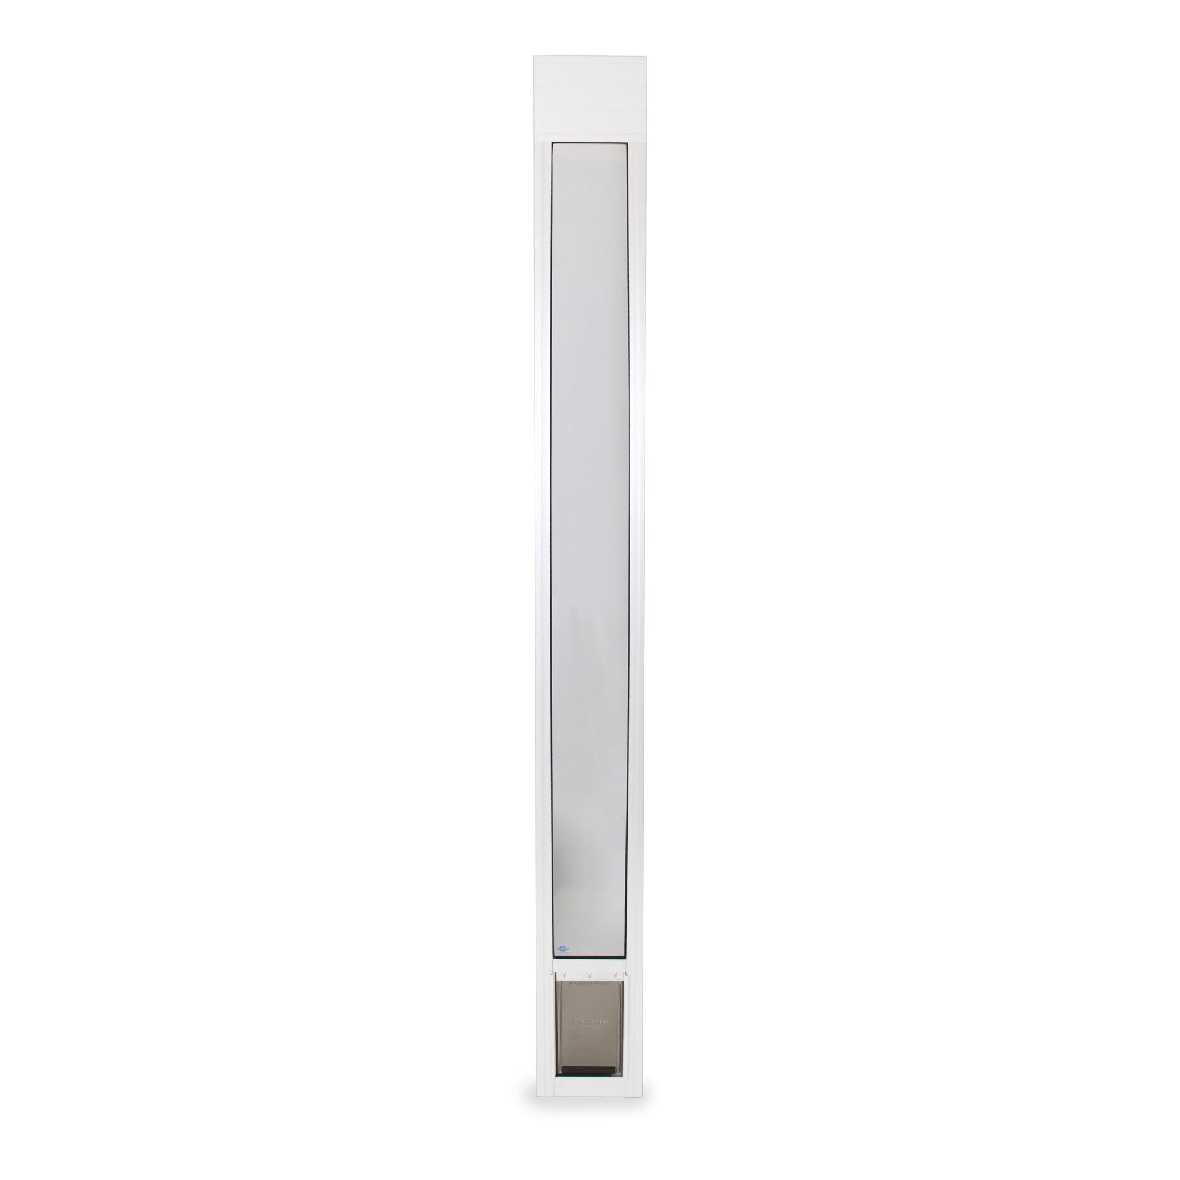
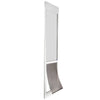
PetSafe Freedom Dog Door for Sliding Glass Door


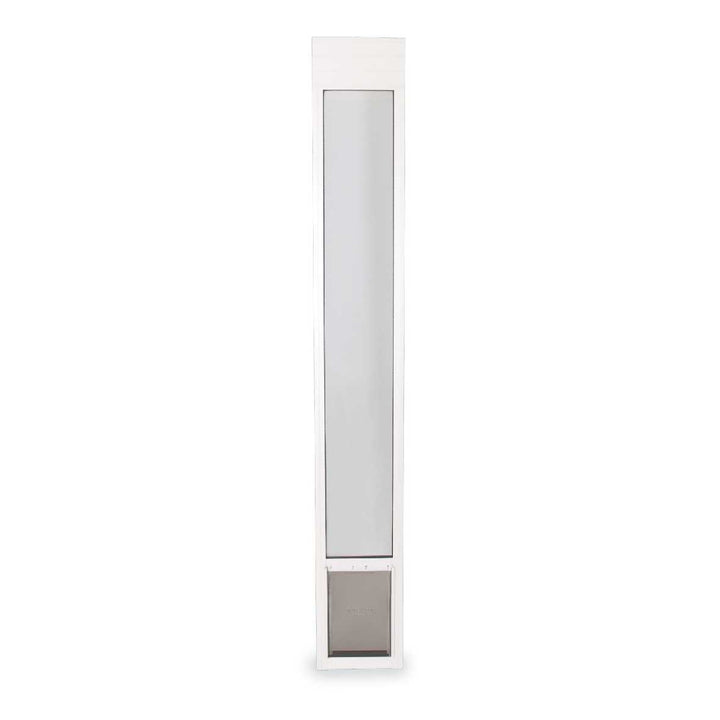
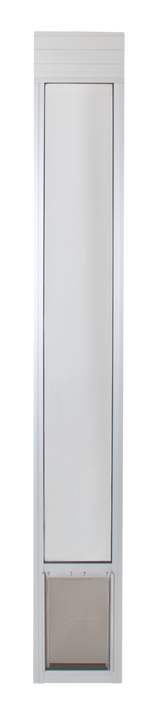

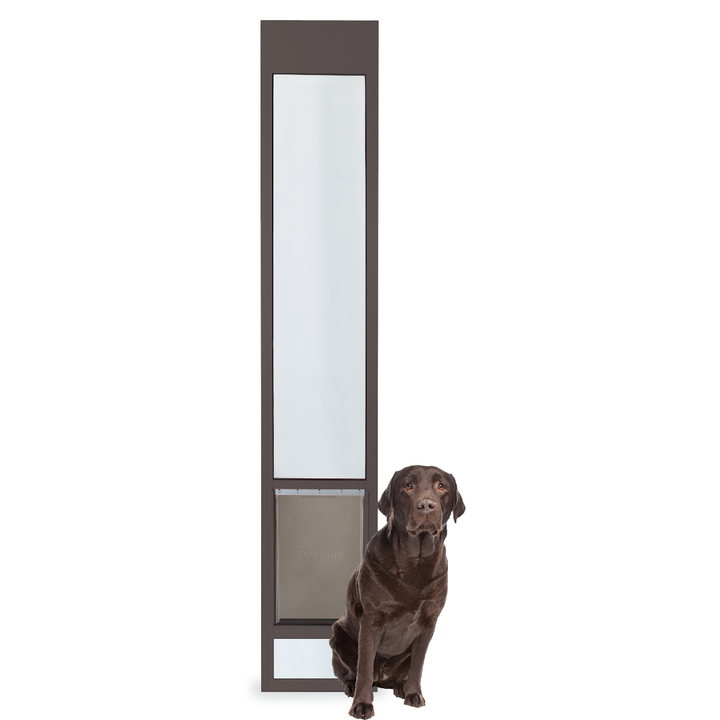


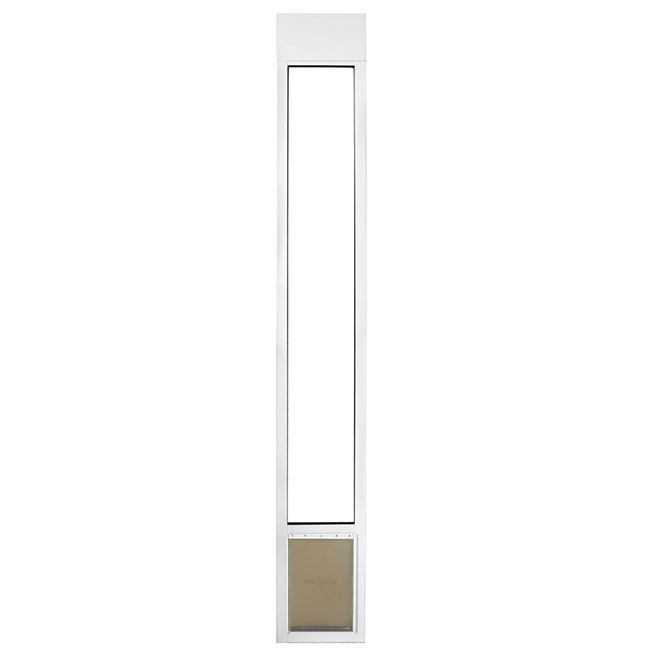


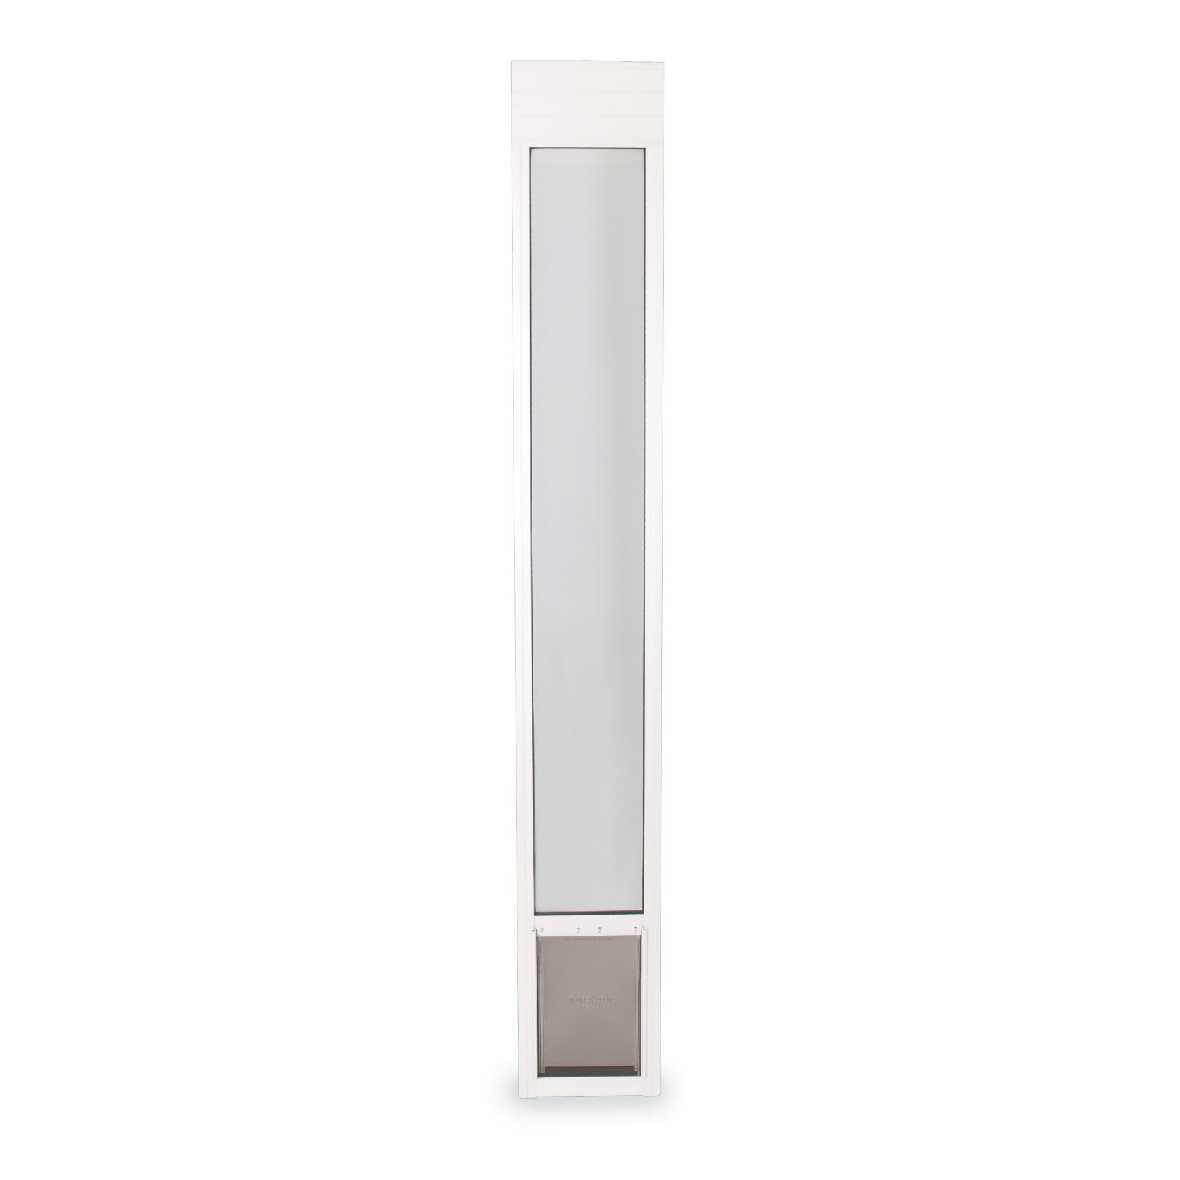


- Sliding glass door insert panel with pet door, fitting sliders from 75-7/8" to 80-11/16" and 91-1/2" to 96" with minimum track thickness of 7/8"
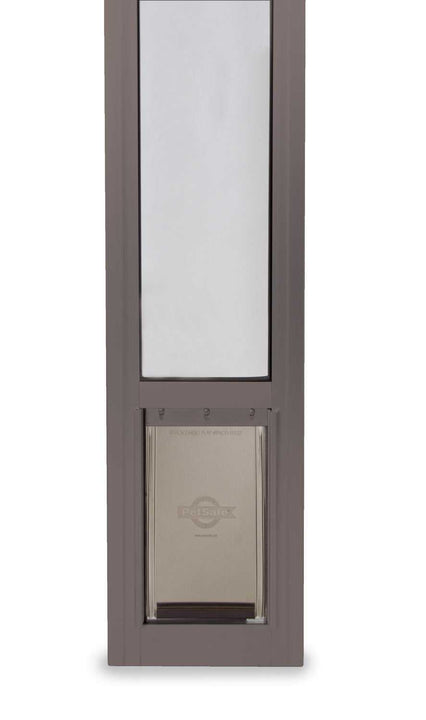
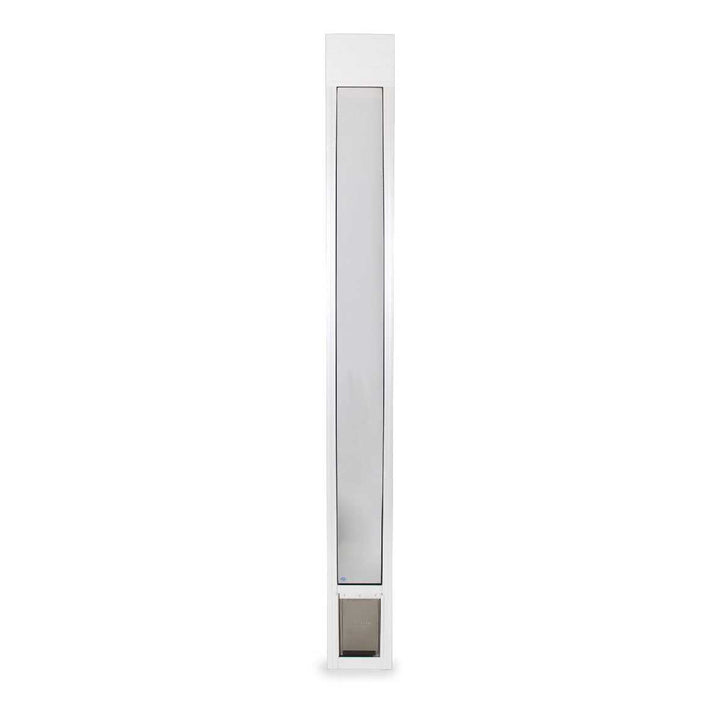
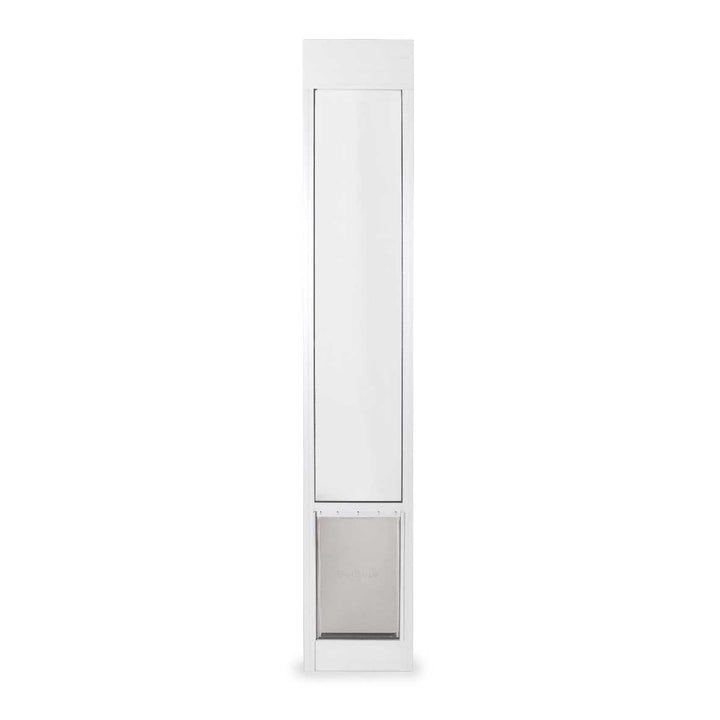
- Sturdy aluminum construction, available in white or bronze (91-1/2" to 96" in white only)
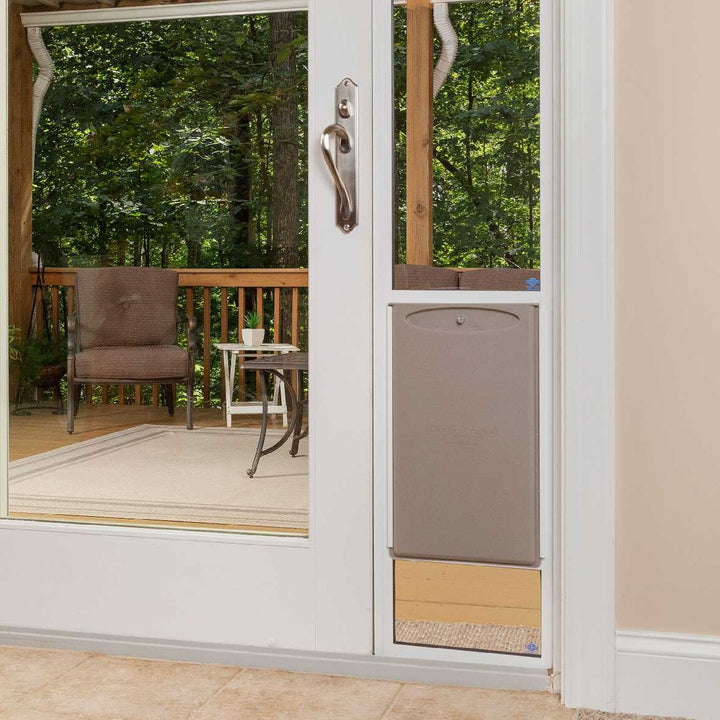
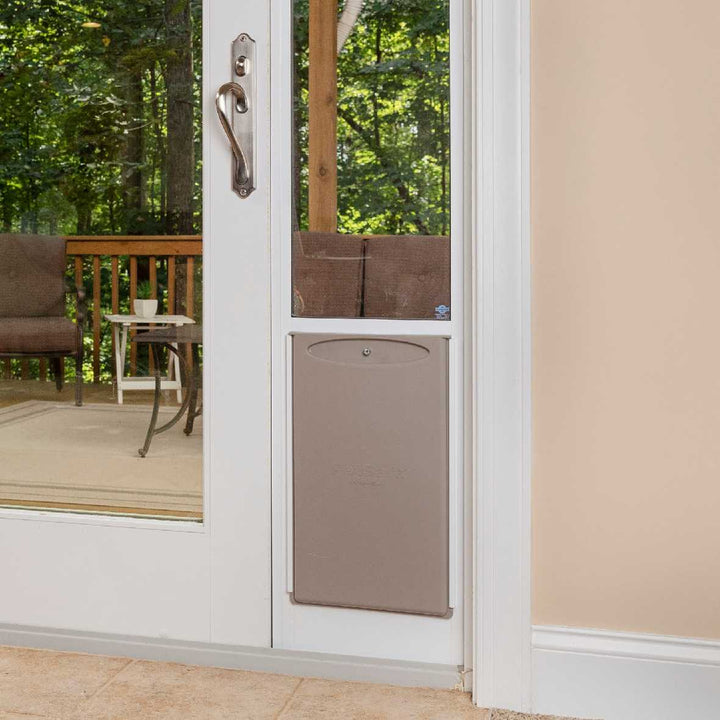
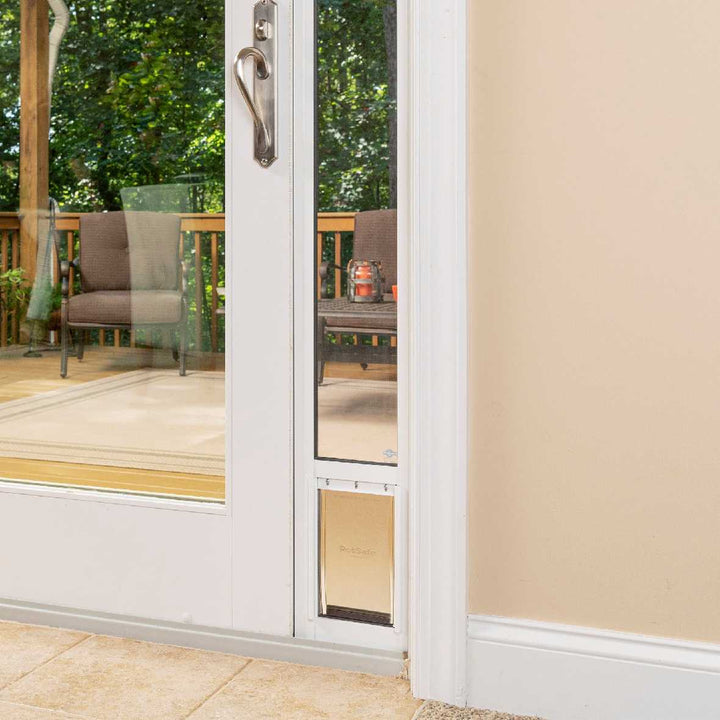
- Tinted vinyl flap with magnetic strip for added insulation and secure closure
- Pin lock included for added security, along with a locking cover and weather stripping
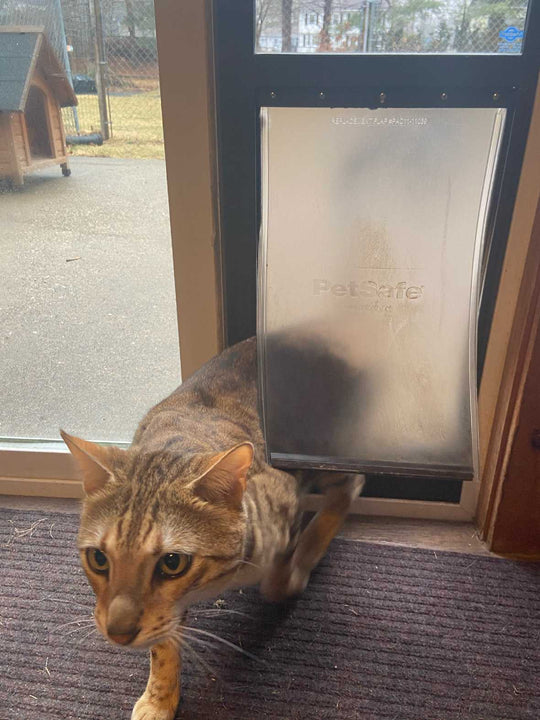
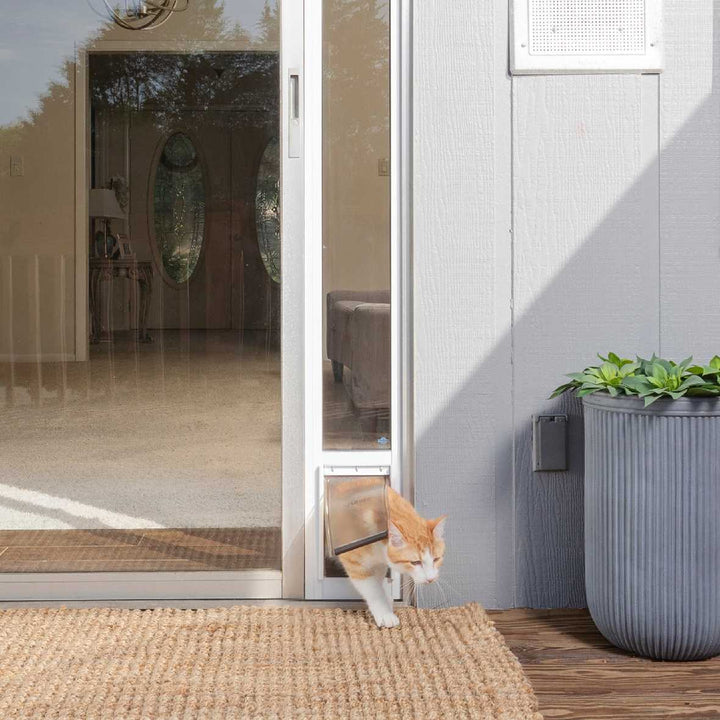
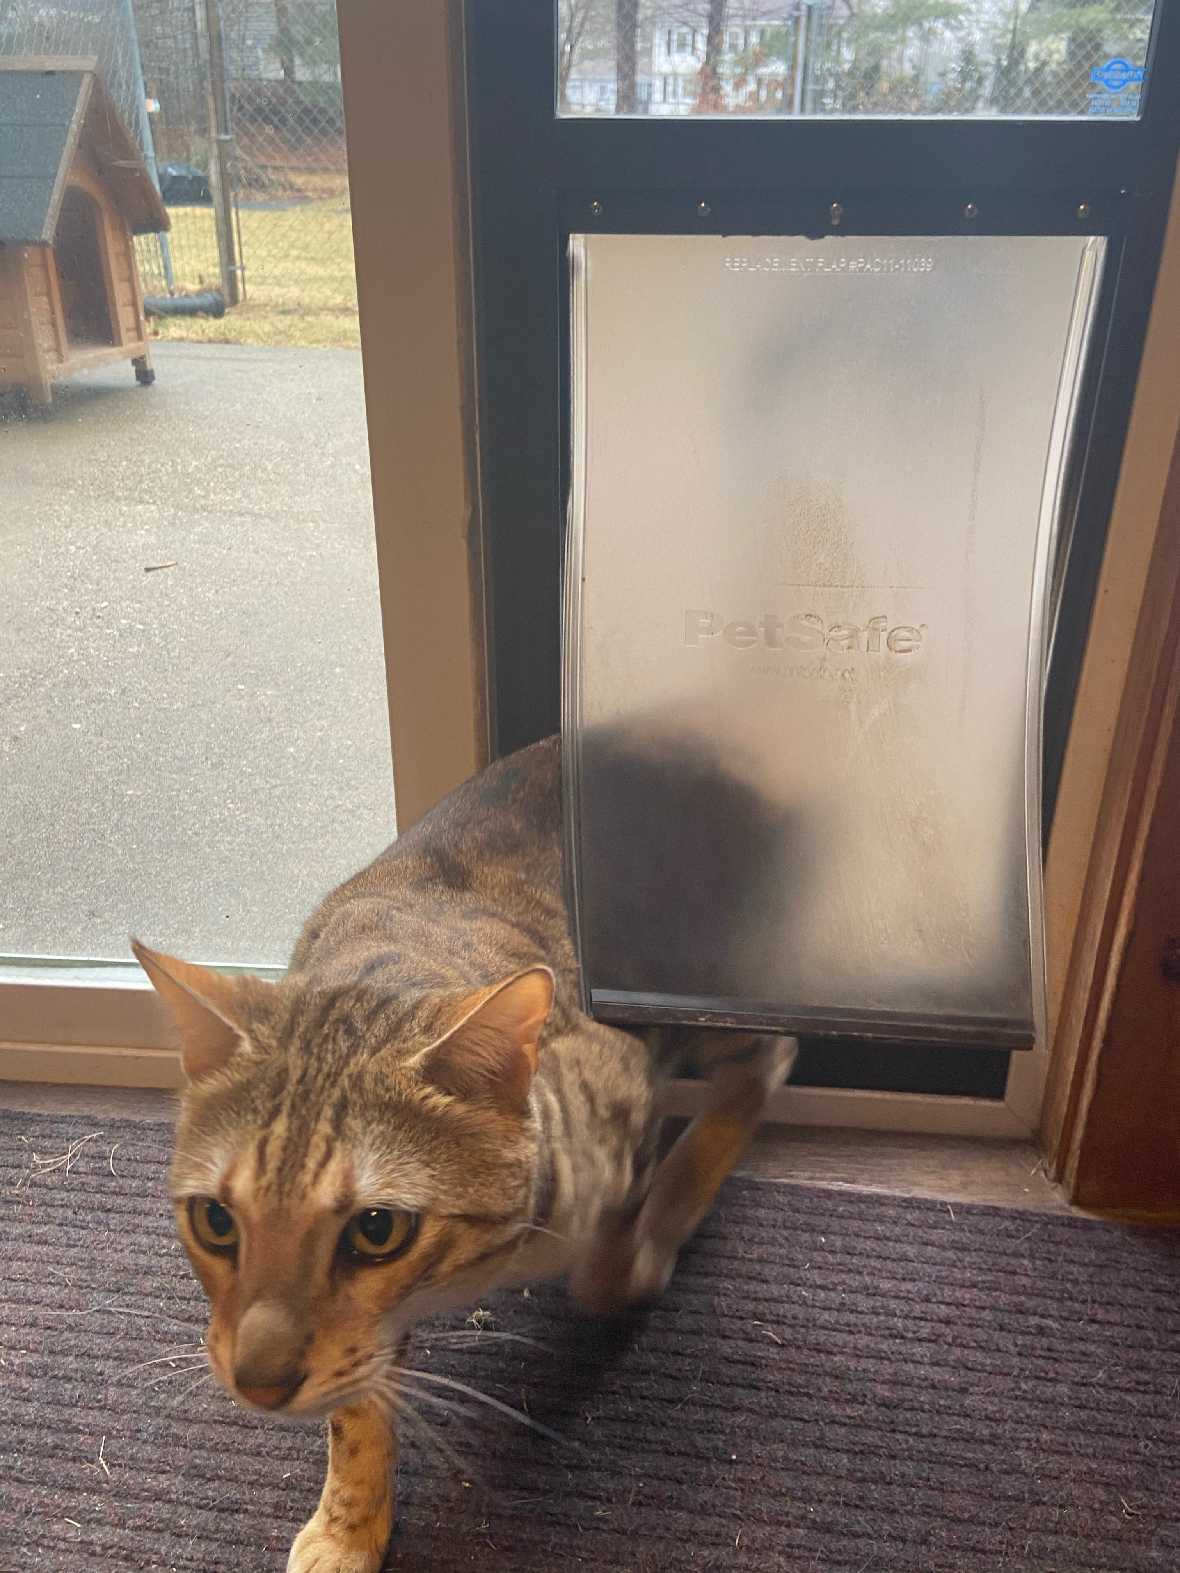
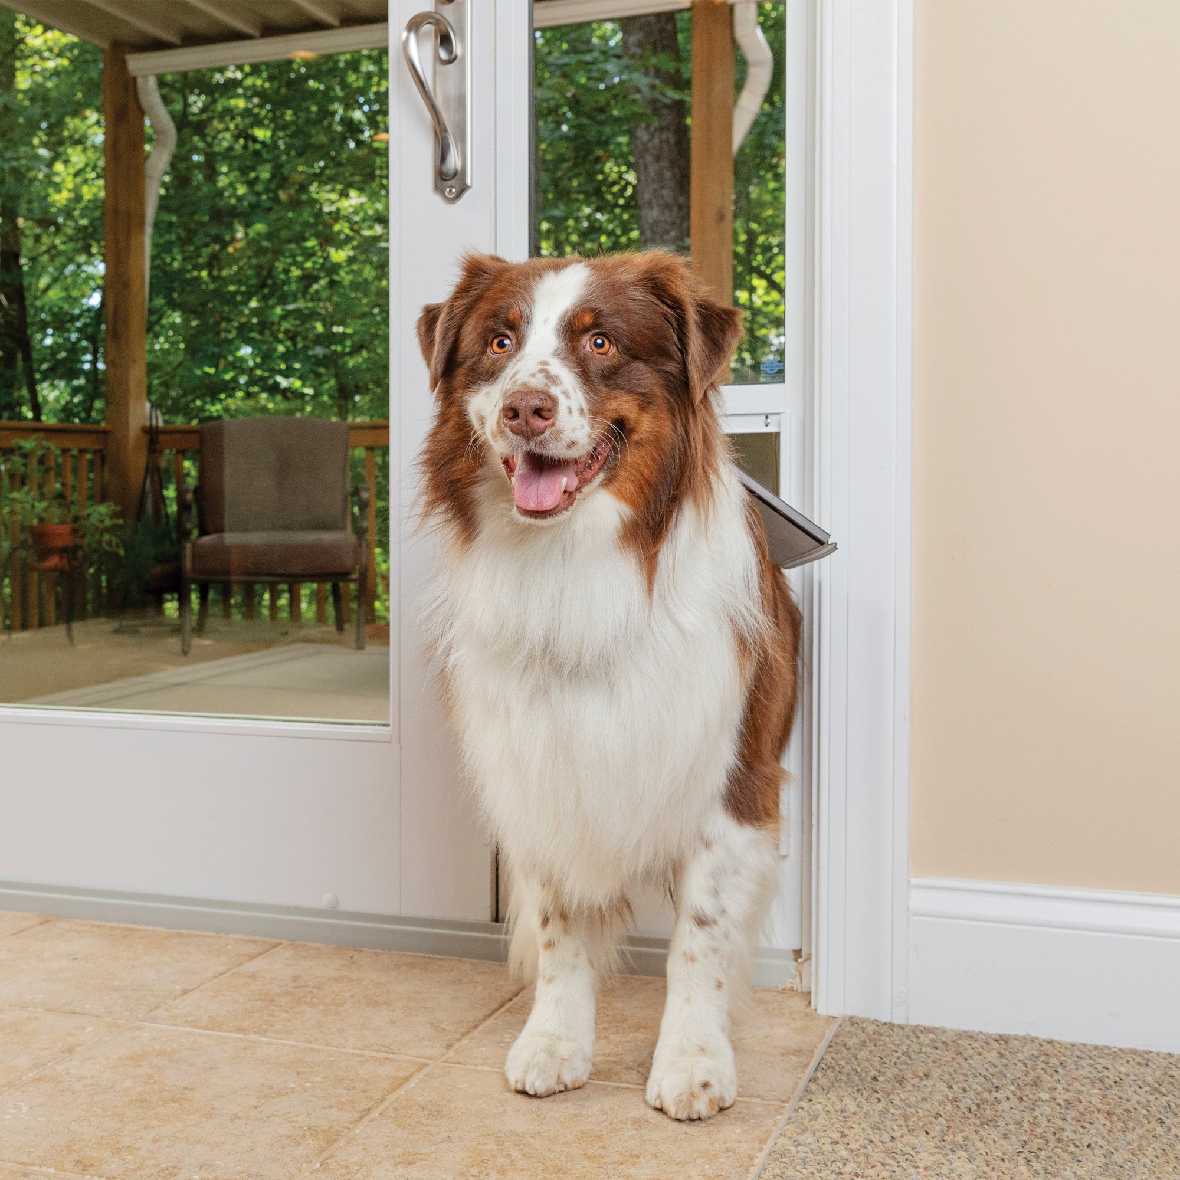
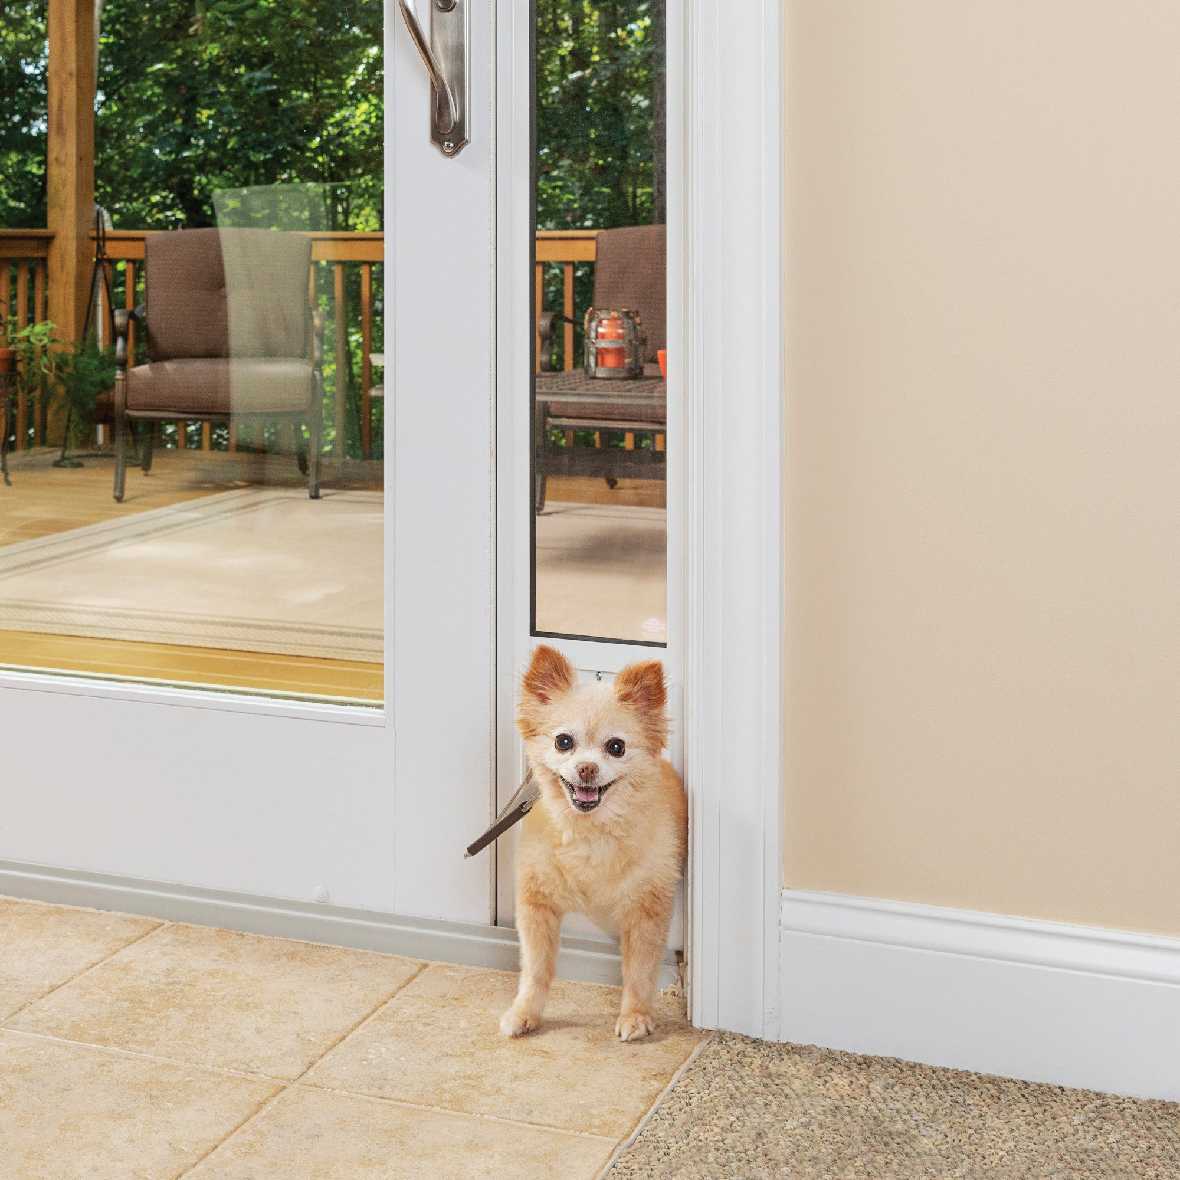
- Suitable for dogs and cats
 Product Details
Product Details
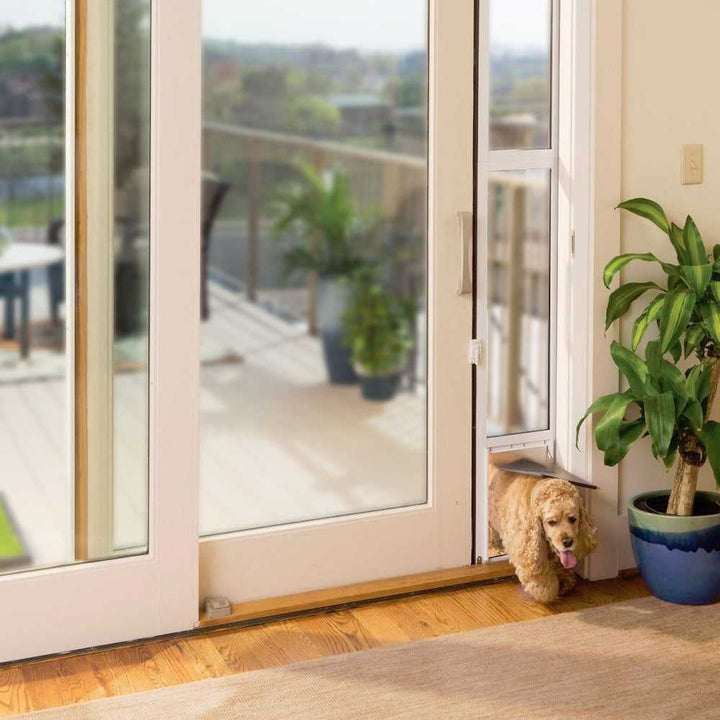
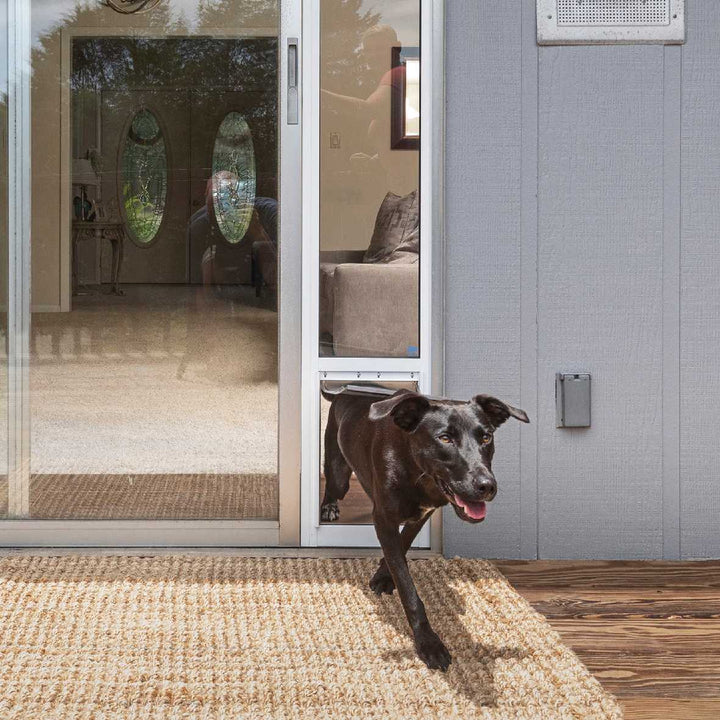
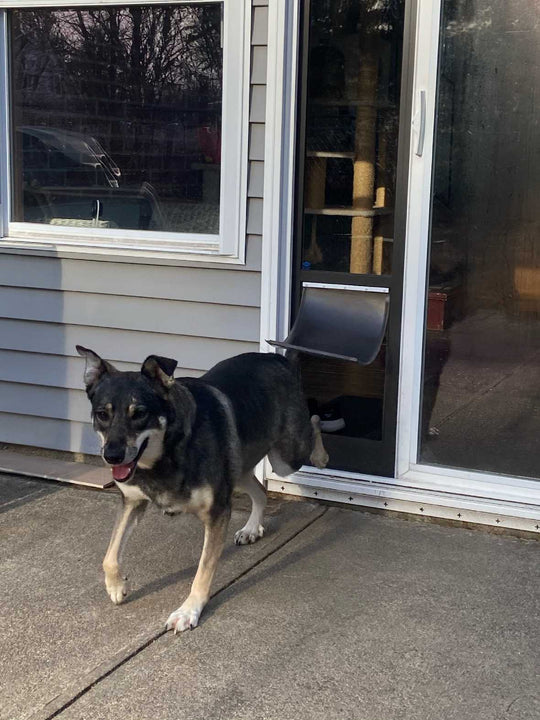
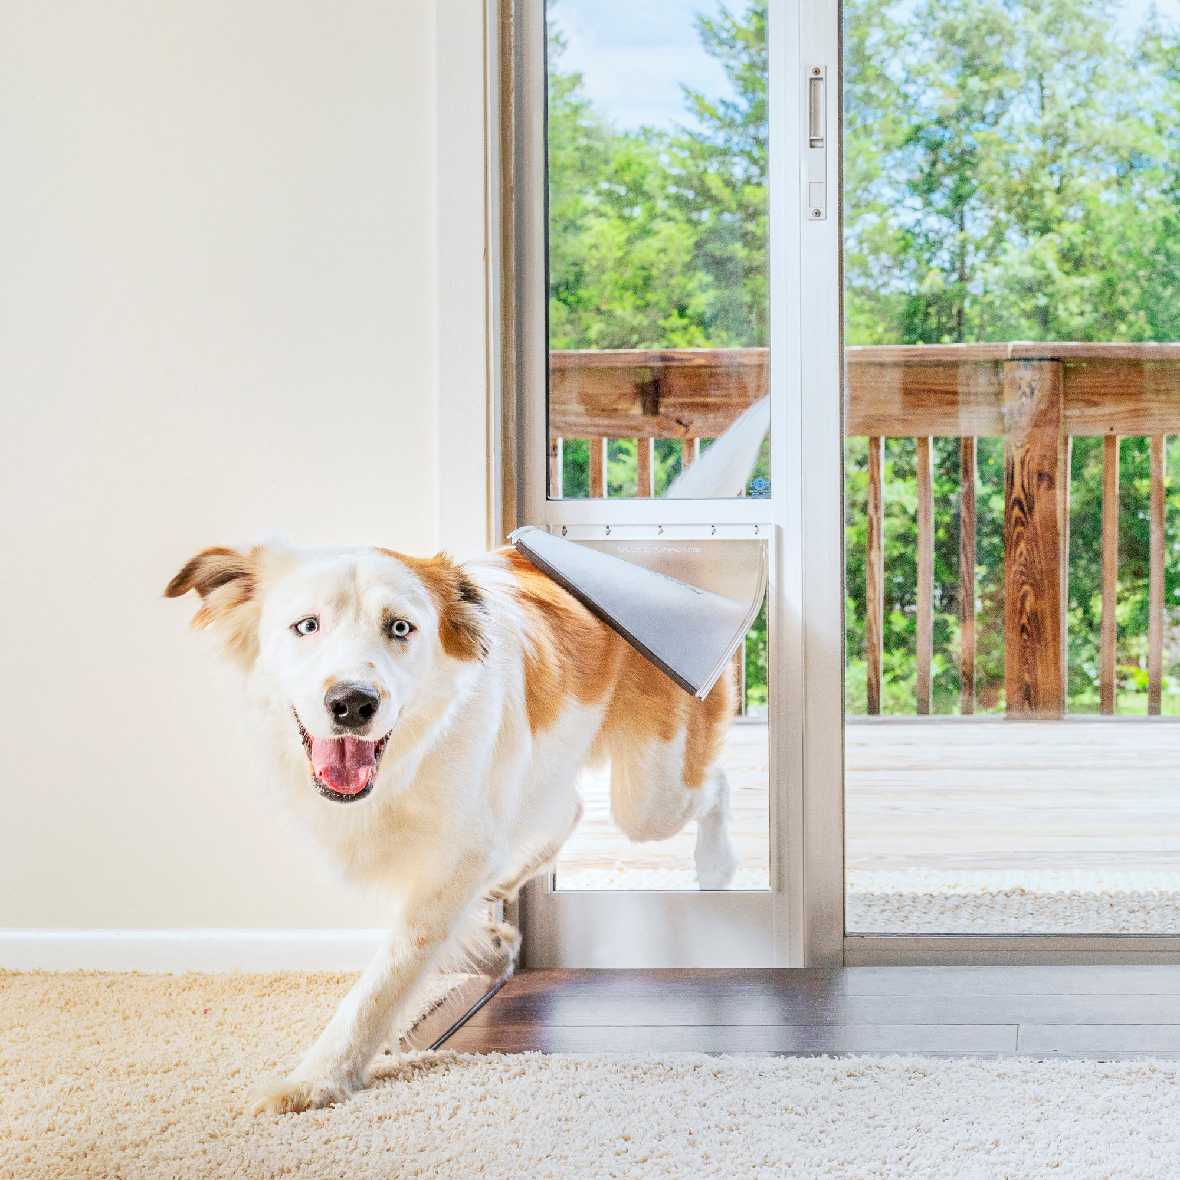
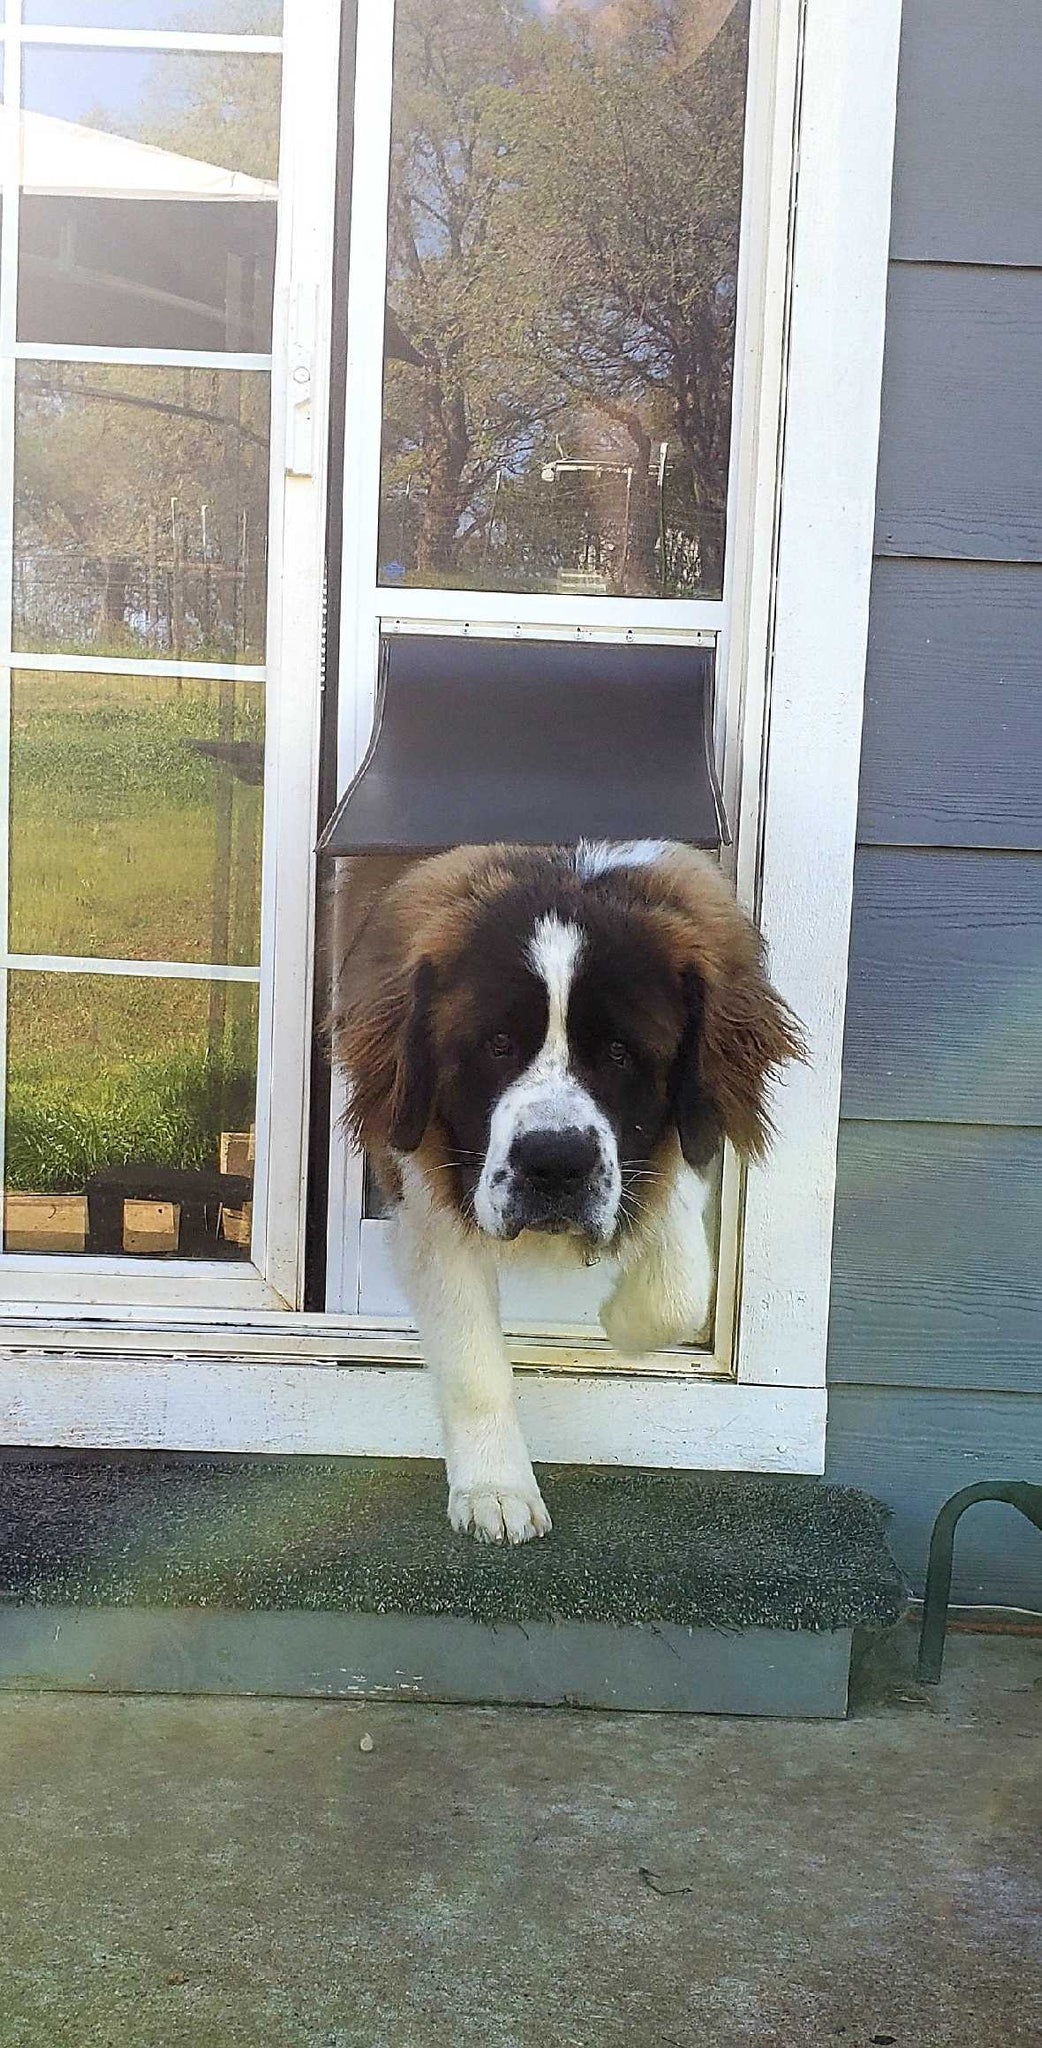
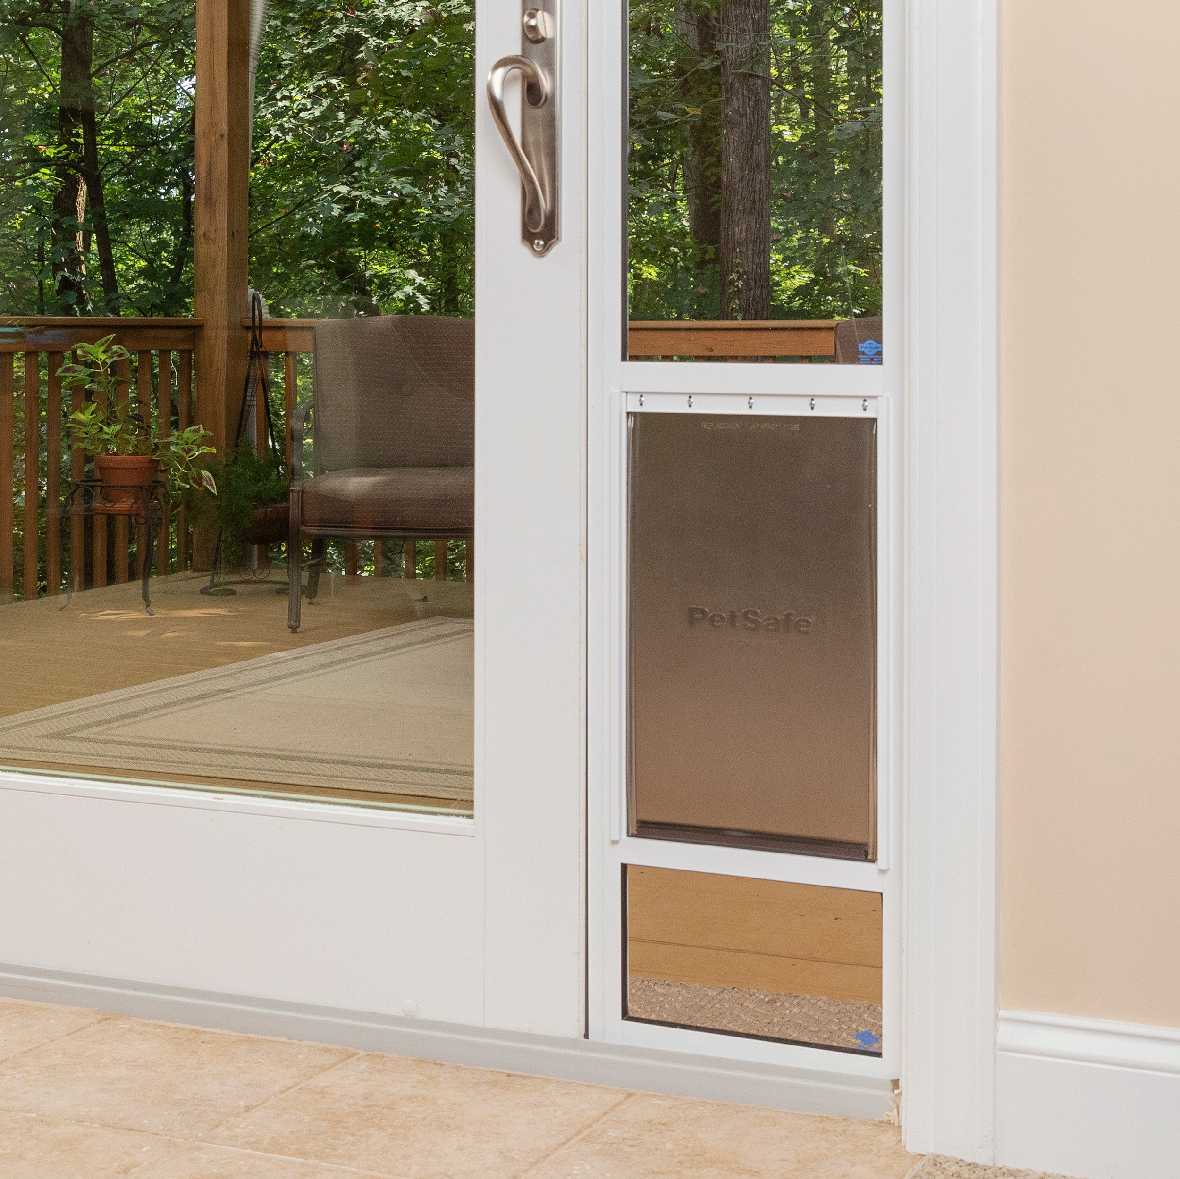
Experience the convenience and freedom of the PetSafe Freedom Dog Door for Sliding Glass Door, a versatile and durable pet door solution designed to accommodate both dogs and cats. This sliding glass door insert panel with pet door is constructed with a sturdy aluminum frame, available in white or bronze, and fits sliders ranging from 75-7/8" to 80-11/16" and 91-1/2" to 96" with a minimum track thickness of 7/8".
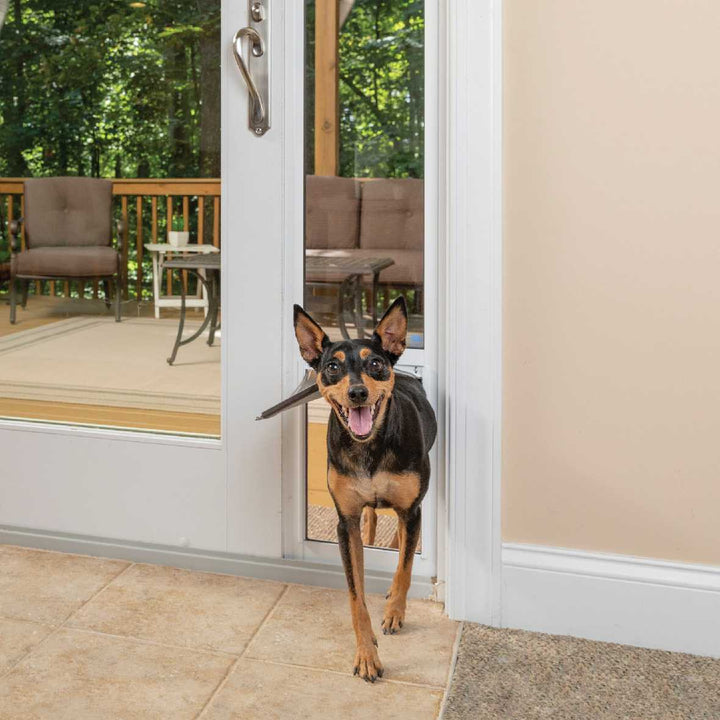
Installation is quick and easy, making it a perfect choice for both renters and homeowners. The PetSafe Freedom Dog Door features a tinted vinyl flap with a magnetic strip for added insulation and secure closure, ensuring your pet's comfort during both hot summers and cold winters. A pin lock is included for added security, along with a locking cover and weather stripping.
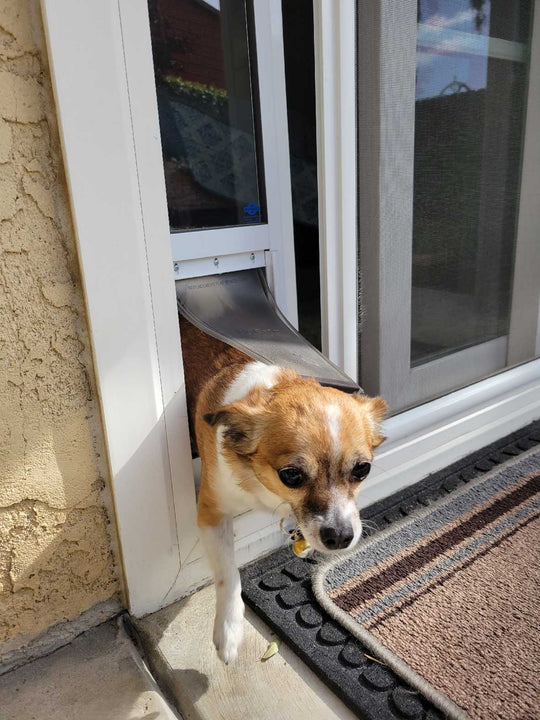
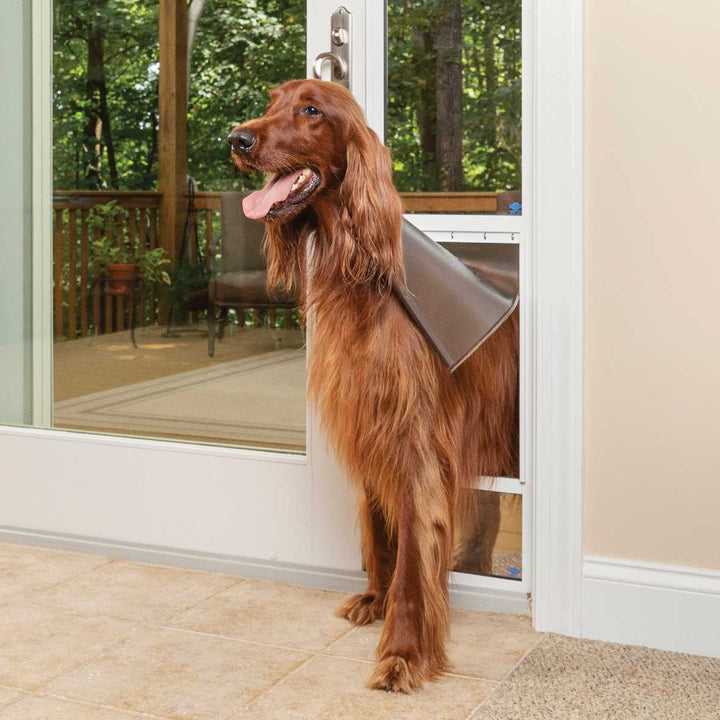
The low rise step-over provides comfortable access for pets of varying sizes, making it an ideal solution for households with multiple pets.
The PetSafe Freedom Dog Door for Sliding Glass Door is a reliable and efficient pet door solution that simplifies your life and gives your pets the freedom they deserve.
Features:
- Versatile pet door solution for both dogs and cats, simplifying entry and exit
- Quick and easy installation process, temporary or permanent, perfect for renters and homeowners
- Weather-resistant aluminum frame and shatter-resistant tempered glass for durability
- Energy-efficient tinted flap designed to withstand sun exposure and cold weather
- Low rise step-over for comfortable access, accommodating pets of varying sizes
- Adjustment ranges fit door sizes from 75 7/8" - 80 11/16" and 91 1/2" - 96"
- Frame material made of extruded, weather-resistant aluminum for durability
Benefits:
- Tinted flap prevents heat damage from the sun.
- The lightweight flap provides utmost comfort for pets
- Quite, flexible flap for the sun of summer and cold weather of winter
- Functions as a dog door or cat door for any pet
- Low rise step-over makes it easier for pets to go through
- Temporary installation option benefits renters and frequent movers
- White or bronze frame color options complement the colors of your home
- Step by step installation video lower on the page helps with easy installation


Size Chart
- Small5 1/4"w x 8 3/16"h
- Medium 8 1/4"w x 12 3/16"h
- Large 10 1/4"w x 16 3/8"h
- Tall Large 10 1/4"w x 16 3/8"h
Flap Dimensions:
5 /14"w x 8 3/16”h
The entry way your dog goes through.Step Over Range
1 3/4”
Distance from the bottom of the flap to the floor you pet must step over to enter the pet door.


Overall Panel Width
8 3/8"
How wide the panel is overall.Flap Dimensions:
8 /14"w x 12 3/16"h
The entry way your dog goes through.Step Over Range
1 3/4”
Distance from the bottom of the flap to the floor you pet must step over to enter the pet door. Overall Panel Width
11 3/8"
How wide the panel is overall.Flap Dimensions:
10 1/4"w x 16 3/8"h
The entry way your dog goes through.Step Over Range
4 1/4”
Distance from the bottom of the flap to the floor you pet must step over to enter the pet door. Overall Panel Width
13 3/8"
How wide the panel is overall.Flap Dimensions:
10 1/4"w x 16 3/8"h
The entry way your dog goes through.Step Over Range
8 1/4”
Distance from the bottom of the flap to the floor you pet must step over to enter the pet door. Overall Panel Width
13 3/8”
How wide the panel is overall.| Flap Size | Flap Dimension | Step Over | Overall Panel Width | Recommended Pet height | |
|---|---|---|---|---|---|
| Small | 5 1/4" w x 8 3/16" h | 1 3/4" | 8 3/8"w | 6" - 9" | |
| Medium | 8 1/4" w x 12 3/16" h | 1 3/4" | 11 3/8"w | 6" - 12" | |
| Large | 10 1/4" w x 16 3/8" h | 4 1/4" | 13 3/8"w | 8" - 19" | |
| Tall Large | 10 1/4" w x 16 3/8" h | 8 1/4" | 13 3/8"W | 12" - 23" |
Not sure which flap size to get? Here is a measurement guide to help you out.
Height Adjustment Ranges:
- Regular: 75 7/8" - 80 11/16" available in all sizes
- Tall: 91 7/16" - 96" available in Medium, Large, and Tall Large Only
Wondering how to measure your track? Review our Track Measuring Guide.
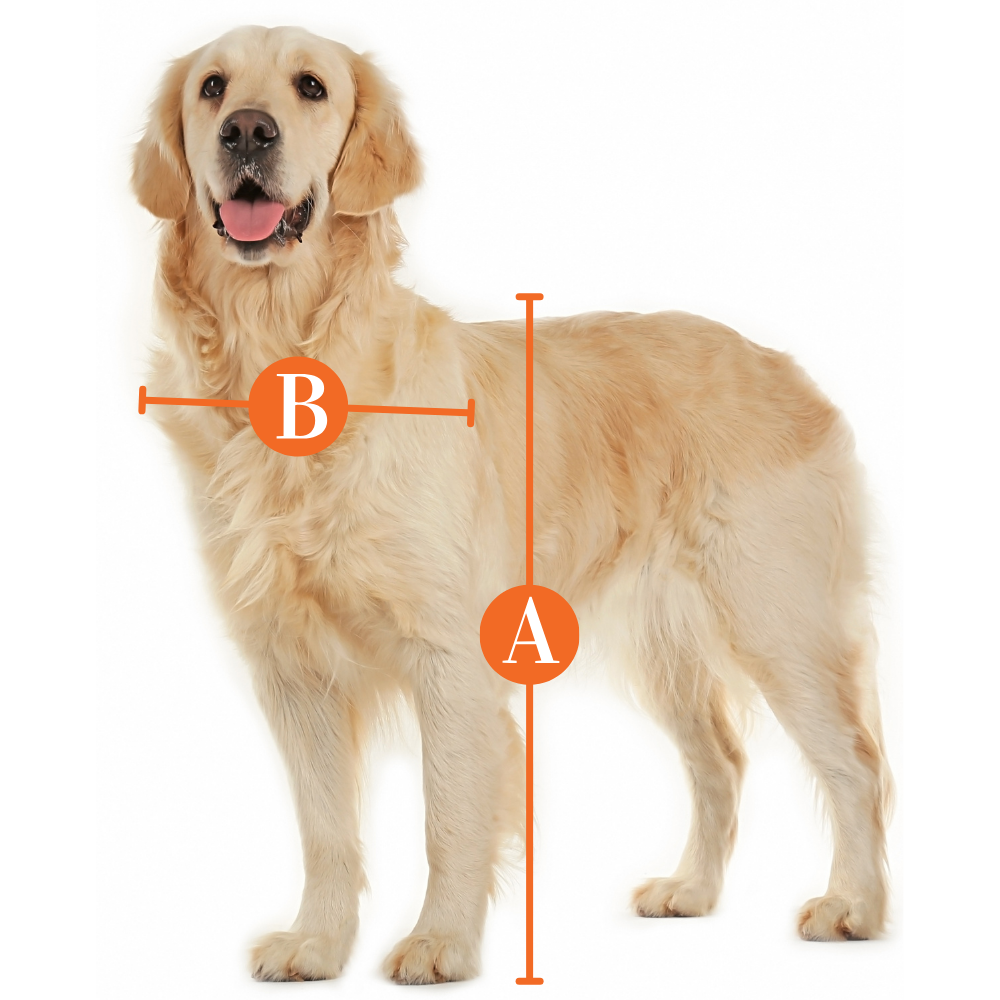
Find The Best Pet Door Size For My Pet

A
Pet Height: inches
B
Pet Width: inches
Installation Instructions
 Difficulty
Moderate
Difficulty
Moderate
 Steps
05
Steps
05
 Time Required
1-2 hours
Time Required
1-2 hours
 Sections
02
Sections
02
 Flags
04
Flags
04
Parts
- PetSafe Freedom Panel
- Locking Cover
- Pin Lock
- Glass Sweep
Tools
- Electric drill
- 9/64" (3.5 mm) drill bit
- 7/64” (2.5 mm) drill bit
- Phillips screwdriver
- Tape measure
- Scissors
- Tape
- Pencil
- Safety glasses
- Recessed sliding glass door kit (recessed doors only)
We recommend watching the installation video to familiarize yourself with the complete installation before installing.
Do not attempt to cut holes in the glass. Consult a professional glazier for detail.
Step one details the basic, temporary installation steps. Steps two through five detail semi-permanent installation steps.
Step 1 Temporary, Basic Installation

- Measure the height of your sliding glass door.
- Slide the insert into door frame.
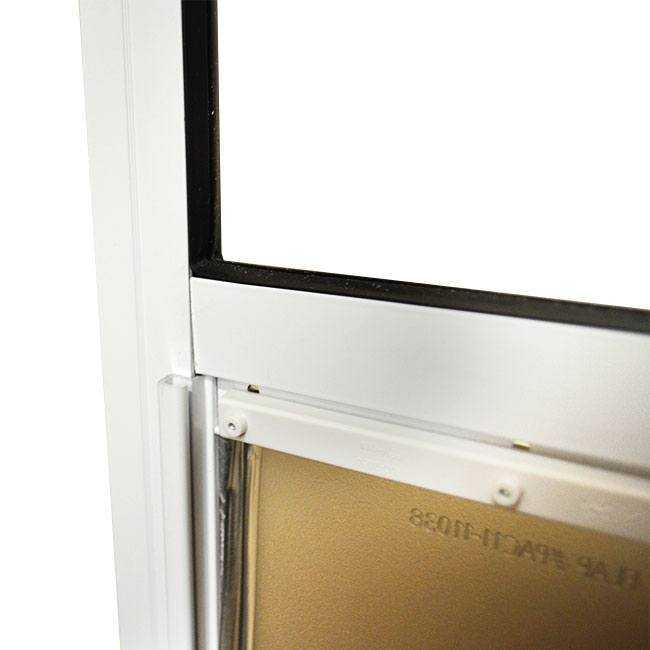
- Insert screws into the height adjustment and into the top of the panel to secure spring loaded height adjuster.
- Install the lock, glass sweep, and weather stripping.
Step 2 Semi-Permanent Installation

- The Patio Panel Pet Door inserts into your sliding glass door track opening against the doorjamb. Your sliding door will slide against the Patio Panel.
- First do a test fit to ensure you are satisfied with the fit of the before proceeding.
- Fully open the sliding glass door. The top of Patio Panel should be inserted into the upper track with height adjuster facing up, locking cover should be inside.
- Swing he bottom of the Patio Panel into lower door track of the sliding glass door and gently lower.
- Move the Patio Panel against the door jamb. The Patio Panel should fit flush against the door jamb without any gaps.
- The height adjuster should be fully extended and not tilted to one side.
Step 3 Drill the Holes


- Gently slide the Patio Panel slightly away from door jamb to show pre-drilled holes in height adjuster.
- Drill holes (7/64” 2.5 mm) through the two pre-drilled holes of the height adjuster (interior side).
- Secure height adjuster to prevent moving up and down to the Patio Panel using two #6 1/2" sheet metal screws.
- Move Patio Panel against door jamb. It should be flush without gaps.
- Skip to the bottom of these instructions for installation options for attaching the door frame for Exposed Frames and for Recessed or Exposed Frames. Then proceed to step 4.
Step 4 Install Lock


- Close the sliding glass door tightly against the Patio Panel.
- Position the locking latch at the bottom edge of your sliding glass door. With locking bolt in the retracted position, pointed toward the sliding glass door frame.
- Holding the lock firmly in place, mark screw holes and mark center of locking bolt in rail of sliding glass door or stationary window.
- Drill two pilot holes (Note: Inspect location of drill marks to make sure the drill and screws will not contact glass) for attaching the latch, 9/64” (3.5 mm) for aluminum sliding glass doors and 7/64” (2.5 mm) for wood or vinyl sliding glass doors.
- Drill 1/4" hole for locking bolt.
- Attach latch with two #8 1/2" sheet metal screws. Hand tighten - DO NOT OVERTIGHTEN.
Step 5 Install the Glass Sweep

- Install the glass sweep on the back edge of the sliding glass door to close the gap between the sliding glass door panel and stationary glass door panel.
- Close the sliding glass door against the Patio Panel.
- Position the glass sweep at the top glass edge, flexible part touching the glass of the stationary door and carefully peel away the backing and press the glass sweep in place moving from top to bottom.
- Any excess can be trimmed with scissors.
Installation Options for Exposed Frames and for Recessed or Exposed Frames
Complete these steps following after step three (drilling holes) and before step 4 (installing the lock). Prior to installation and drilling, consult your sliding glass door manufacturer's warranty. Unauthorized changes or modifications may void the warranty. Installing screws into vinyl door frames or door jambs may crack the vinyl.
Installation Option with Screws for Exposed Sliding Glass Door Frames Only:
Step 1: Determine the Patio Panel center at the top and make a pencil mark on the sliding glass door frame.
Step 2: Measure 12" (30.5 cm) from the top of the Patio Panel along the door jamb side and mark the side of sliding glass door frame.
Step 3: Measure 1” (2.5 cm) above the pet door on the Patio Panel along the door jamb side and mark the side of sliding glass door frame with a pencil.
Step 4: At the bottom, measure the Patio Panel center and make a pencil mark on the sliding glass door frame.
Step 5: Drill 9/64" (3.5 mm) starter holes through your sliding glass door frame ONLY at the locations you just marked. DO NOT DRILL INTO THE PATIO PANEL AT THIS TIME.
Step 6: Before drilling into the Patio Panel, take care not to shatter the Glass and do not to drill inside the Patio Panel rib lines. Only drill into outer edge section. Patio Panel may need to be moved to the side slightly to accurately drill.
Step 7: Drill 7/64" (2.5 mm) holes through the sliding glass door frame clearance holes into the Patio Panel.
Installation Option with T-brackets and Screws for Recessed or Exposed Sliding Glass Door Frames:
Step 1: Slide the Patio Panel against the sliding door jamb.
Step 2: Measure and mark with a pencil the top center of the Patio Panel and corresponding location on sliding glass door frame (marks are for a marking guide only).
Step 3: Measure and mark with a pencil the bottom of the Patio Panel where sliding door will close against the panel and corresponding location on sliding glass door frame (marks are for a marking guide only).
Step 4: Slide the panel over to be able to place the T-brackets into the upper and lower track of sliding glass door.
Step 5: Place T-bracket at the top of the sliding glass track where the vertical part of the bracket aligns with your mark. Use pencil to mark on the inside of the track for your pilot holes.
Step 6: Do the same for the bottom track. (T-brackets are universal and will work in top or bottom).
Step 7: Use a 7/64” (2.5 mm) drill bit to drill pilot holes for T-brackets at the top and bottom of the Patio Panel. Then secure T-brackets into place, top and bottom and, with the four M4 x 10 mm sheet metal. Hand tighten and be careful to not overtighten.
Step 8: Slide your Patio Panel back into place and the T-brackets should be front of your Patio Panel.
Step 9: Use a 7/64” (2.5 mm) drill bit to drill pilot holes through T-brackets and into the Patio Panel at the top and bottom. Secure T-brackets to the patio panel with two M4 x 10mm sheet metal screws.
Videos
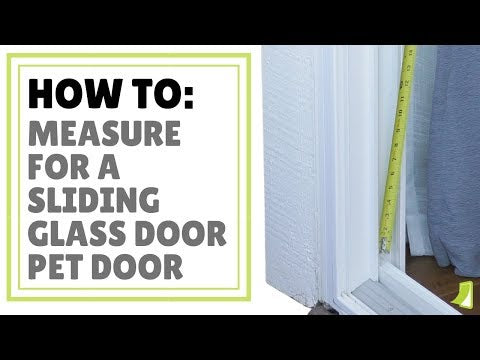
How to Measure Your Sliding Glass Door for a Pet Door
Petsafe Patio Pet Door Replacement Flap Installation
FAQ
|
Can you still lock your patio door? Yes, the door comes with a locking mechanism for your sliding door track to secure the panel and your slider. |
|
Do you carry the replacement brackets? We do not carry the bracket metal kit for installation, that would have to be purchased through PetSafe. |
|
Does the locking mechanism require drilling? Yes, the mechanism provided is intended to lock your sliding glass door by using a bracket that can be mounted on your slider with sheet metal screws. The lock on the pet door then engages the bracket, locking the door closed. |
|
Does this come with an insert that you can slide into the cover and lock the dog door? Yes it does! |
|
How high is the rise? The rise (alternatively called the step-over) is 1 ¾" for the Small and Medium flaps, 4 ¼" for the Large, and 8 ¼" for the Tall Large. This means that we only really recommend the largest door size for very large tall dog breeds like great danes. |
|
Can it be easily and quickly removed? The Freedom Patio Panel Pet Door can be easily removed and installed due the spring loaded height adjuster; however, it is recommended to screw the panel into your slider frame for a semi-permanent installation to aid in stability, and ensure the locking capabilities provided with the locking mechanism. |
|
What type of flap does the PetSafe Freedom Patio Doggy Door have? The PetSafe Freedom aluminum patio panel has a single flap that is flexible, tinted, and made from vinyl material. |
|
What is the insulation value like on this door? The Freedom Panel is intended for use in moderate climates and features relatively fair insulation value. It has some energy efficient features in the vinyl flap, but it is not meant to be highly weather resistant or shatter-resistant. |
|
How wide is the entire panel? I want to know how much room I will have left to exit the doorway after installation. The Small flap size has a panel width of 8 ½", the Medium is 11 ½", and the Large and Tall Large sizes have 13 ½" panel widths. You can find the flap opening width on the size chart. |
|
What is the warranty like? The manufacturer ensures a 1 year warranty on this product. |
|
Is the tempered glass opaque or transparent (clear or shaded)? The freedom petsafe panel has single pane tempered glass which is clear. Some other pet patio door panels have dual pane glass and lowE coating to increase their insulation. |
|
If I order a 01PS11 what will I receive? That is the code for PetSafe Freedom Dog Door for Sliding Glass Door. You will need to determine the flap size, Track height and Frame Color. |
|
Does the Freedom PetSafe pet door come in different models. Yes. There is a patio panel for sliding glass doors and a traditional pet door for doors. |
|
How much does shipping cost? Shipping is calculated at checkout. |
Warranty
Warranty Type: One Year Non-Transferable Limited Warranty
Duration: Valid for one (1) year from the purchase date for the original retail consumer purchaser only.
Coverage:
PetSafe product will be free from defects in material or workmanship when subject to normal and proper residential use.
Labor and parts are covered for the first year of ownership.
In the event of a defect, PetSafe will replace the part with a new or refurbished part.
Exclusions:
Products represented as used, refurbished, or “as-is”, or not in the original packaging are not covered.
Warranty does not cover damage or defects caused by animals, commercial use, misuse, neglect, improper installation, use of non-PetSafe accessories, events beyond normal residential conditions, and any cause not involving manufacturing defects.
Does not cover labor for removal or installation of parts.
Customer Reviews
Size Chart
- Small5 1/4"w x 8 3/16"h
- Medium 8 1/4"w x 12 3/16"h
- Large 10 1/4"w x 16 3/8"h
- Tall Large 10 1/4"w x 16 3/8"h
Flap Dimensions:
5 /14"w x 8 3/16”h
The entry way your dog goes through.Step Over Range
1 3/4”
Distance from the bottom of the flap to the floor you pet must step over to enter the pet door. Overall Panel Width
8 3/8"
How wide the panel is overall.Flap Dimensions:
8 /14"w x 12 3/16"h
The entry way your dog goes through.Step Over Range
1 3/4”
Distance from the bottom of the flap to the floor you pet must step over to enter the pet door. Overall Panel Width
11 3/8"
How wide the panel is overall.Flap Dimensions:
10 1/4"w x 16 3/8"h
The entry way your dog goes through.Step Over Range
4 1/4”
Distance from the bottom of the flap to the floor you pet must step over to enter the pet door. Overall Panel Width
13 3/8"
How wide the panel is overall.Flap Dimensions:
10 1/4"w x 16 3/8"h
The entry way your dog goes through.Step Over Range
8 1/4”
Distance from the bottom of the flap to the floor you pet must step over to enter the pet door. Overall Panel Width
13 3/8”
How wide the panel is overall.| Flap Size | Flap Dimension | Step Over | Overall Panel Width | Recommended Pet height | |
|---|---|---|---|---|---|
| Small | 5 1/4" w x 8 3/16" h | 1 3/4" | 8 3/8"w | 6" - 9" | |
| Medium | 8 1/4" w x 12 3/16" h | 1 3/4" | 11 3/8"w | 6" - 12" | |
| Large | 10 1/4" w x 16 3/8" h | 4 1/4" | 13 3/8"w | 8" - 19" | |
| Tall Large | 10 1/4" w x 16 3/8" h | 8 1/4" | 13 3/8"W | 12" - 23" |
Not sure which flap size to get? Here is a measurement guide to help you out.
Height Adjustment Ranges:
- Regular: 75 7/8" - 80 11/16" available in all sizes
- Tall: 91 7/16" - 96" available in Medium, Large, and Tall Large Only
Wondering how to measure your track? Review our Track Measuring Guide.
Find The Best Pet Door Size For My Pet
A
Pet Height: inches
B
Pet Width: inches
Installation Instructions
Difficulty
Moderate
Steps
05
Time Required
1-2 hours
Sections
02
Flags
04
Parts
- PetSafe Freedom Panel
- Locking Cover
- Pin Lock
- Glass Sweep
Tools
- Electric drill
- 9/64" (3.5 mm) drill bit
- 7/64” (2.5 mm) drill bit
- Phillips screwdriver
- Tape measure
- Scissors
- Tape
- Pencil
- Safety glasses
- Recessed sliding glass door kit (recessed doors only)
We recommend watching the installation video to familiarize yourself with the complete installation before installing.
Do not attempt to cut holes in the glass. Consult a professional glazier for detail.
Step one details the basic, temporary installation steps. Steps two through five detail semi-permanent installation steps.
Step 1 Temporary, Basic Installation
- Measure the height of your sliding glass door.
- Slide the insert into door frame.
- Insert screws into the height adjustment and into the top of the panel to secure spring loaded height adjuster.
- Install the lock, glass sweep, and weather stripping.
Step 2 Semi-Permanent Installation
- The Patio Panel Pet Door inserts into your sliding glass door track opening against the doorjamb. Your sliding door will slide against the Patio Panel.
- First do a test fit to ensure you are satisfied with the fit of the before proceeding.
- Fully open the sliding glass door. The top of Patio Panel should be inserted into the upper track with height adjuster facing up, locking cover should be inside.
- Swing he bottom of the Patio Panel into lower door track of the sliding glass door and gently lower.
- Move the Patio Panel against the door jamb. The Patio Panel should fit flush against the door jamb without any gaps.
- The height adjuster should be fully extended and not tilted to one side.
Step 3 Drill the Holes
- Gently slide the Patio Panel slightly away from door jamb to show pre-drilled holes in height adjuster.
- Drill holes (7/64” 2.5 mm) through the two pre-drilled holes of the height adjuster (interior side).
- Secure height adjuster to prevent moving up and down to the Patio Panel using two #6 1/2" sheet metal screws.
- Move Patio Panel against door jamb. It should be flush without gaps.
- Skip to the bottom of these instructions for installation options for attaching the door frame for Exposed Frames and for Recessed or Exposed Frames. Then proceed to step 4.
Step 4 Install Lock
- Close the sliding glass door tightly against the Patio Panel.
- Position the locking latch at the bottom edge of your sliding glass door. With locking bolt in the retracted position, pointed toward the sliding glass door frame.
- Holding the lock firmly in place, mark screw holes and mark center of locking bolt in rail of sliding glass door or stationary window.
- Drill two pilot holes (Note: Inspect location of drill marks to make sure the drill and screws will not contact glass) for attaching the latch, 9/64” (3.5 mm) for aluminum sliding glass doors and 7/64” (2.5 mm) for wood or vinyl sliding glass doors.
- Drill 1/4" hole for locking bolt.
- Attach latch with two #8 1/2" sheet metal screws. Hand tighten - DO NOT OVERTIGHTEN.
Step 5 Install the Glass Sweep
- Install the glass sweep on the back edge of the sliding glass door to close the gap between the sliding glass door panel and stationary glass door panel.
- Close the sliding glass door against the Patio Panel.
- Position the glass sweep at the top glass edge, flexible part touching the glass of the stationary door and carefully peel away the backing and press the glass sweep in place moving from top to bottom.
- Any excess can be trimmed with scissors.
Installation Options for Exposed Frames and for Recessed or Exposed Frames
Complete these steps following after step three (drilling holes) and before step 4 (installing the lock). Prior to installation and drilling, consult your sliding glass door manufacturer's warranty. Unauthorized changes or modifications may void the warranty. Installing screws into vinyl door frames or door jambs may crack the vinyl.
Installation Option with Screws for Exposed Sliding Glass Door Frames Only:
Step 1: Determine the Patio Panel center at the top and make a pencil mark on the sliding glass door frame.
Step 2: Measure 12" (30.5 cm) from the top of the Patio Panel along the door jamb side and mark the side of sliding glass door frame.
Step 3: Measure 1” (2.5 cm) above the pet door on the Patio Panel along the door jamb side and mark the side of sliding glass door frame with a pencil.
Step 4: At the bottom, measure the Patio Panel center and make a pencil mark on the sliding glass door frame.
Step 5: Drill 9/64" (3.5 mm) starter holes through your sliding glass door frame ONLY at the locations you just marked. DO NOT DRILL INTO THE PATIO PANEL AT THIS TIME.
Step 6: Before drilling into the Patio Panel, take care not to shatter the Glass and do not to drill inside the Patio Panel rib lines. Only drill into outer edge section. Patio Panel may need to be moved to the side slightly to accurately drill.
Step 7: Drill 7/64" (2.5 mm) holes through the sliding glass door frame clearance holes into the Patio Panel.
Installation Option with T-brackets and Screws for Recessed or Exposed Sliding Glass Door Frames:
Step 1: Slide the Patio Panel against the sliding door jamb.
Step 2: Measure and mark with a pencil the top center of the Patio Panel and corresponding location on sliding glass door frame (marks are for a marking guide only).
Step 3: Measure and mark with a pencil the bottom of the Patio Panel where sliding door will close against the panel and corresponding location on sliding glass door frame (marks are for a marking guide only).
Step 4: Slide the panel over to be able to place the T-brackets into the upper and lower track of sliding glass door.
Step 5: Place T-bracket at the top of the sliding glass track where the vertical part of the bracket aligns with your mark. Use pencil to mark on the inside of the track for your pilot holes.
Step 6: Do the same for the bottom track. (T-brackets are universal and will work in top or bottom).
Step 7: Use a 7/64” (2.5 mm) drill bit to drill pilot holes for T-brackets at the top and bottom of the Patio Panel. Then secure T-brackets into place, top and bottom and, with the four M4 x 10 mm sheet metal. Hand tighten and be careful to not overtighten.
Step 8: Slide your Patio Panel back into place and the T-brackets should be front of your Patio Panel.
Step 9: Use a 7/64” (2.5 mm) drill bit to drill pilot holes through T-brackets and into the Patio Panel at the top and bottom. Secure T-brackets to the patio panel with two M4 x 10mm sheet metal screws.
Videos
How to Measure Your Sliding Glass Door for a Pet Door
Petsafe Patio Pet Door Replacement Flap Installation
FAQ
|
Can you still lock your patio door? Yes, the door comes with a locking mechanism for your sliding door track to secure the panel and your slider. |
|
Do you carry the replacement brackets? We do not carry the bracket metal kit for installation, that would have to be purchased through PetSafe. |
|
Does the locking mechanism require drilling? Yes, the mechanism provided is intended to lock your sliding glass door by using a bracket that can be mounted on your slider with sheet metal screws. The lock on the pet door then engages the bracket, locking the door closed. |
|
Does this come with an insert that you can slide into the cover and lock the dog door? Yes it does! |
|
How high is the rise? The rise (alternatively called the step-over) is 1 ¾" for the Small and Medium flaps, 4 ¼" for the Large, and 8 ¼" for the Tall Large. This means that we only really recommend the largest door size for very large tall dog breeds like great danes. |
|
Can it be easily and quickly removed? The Freedom Patio Panel Pet Door can be easily removed and installed due the spring loaded height adjuster; however, it is recommended to screw the panel into your slider frame for a semi-permanent installation to aid in stability, and ensure the locking capabilities provided with the locking mechanism. |
|
What type of flap does the PetSafe Freedom Patio Doggy Door have? The PetSafe Freedom aluminum patio panel has a single flap that is flexible, tinted, and made from vinyl material. |
|
What is the insulation value like on this door? The Freedom Panel is intended for use in moderate climates and features relatively fair insulation value. It has some energy efficient features in the vinyl flap, but it is not meant to be highly weather resistant or shatter-resistant. |
|
How wide is the entire panel? I want to know how much room I will have left to exit the doorway after installation. The Small flap size has a panel width of 8 ½", the Medium is 11 ½", and the Large and Tall Large sizes have 13 ½" panel widths. You can find the flap opening width on the size chart. |
|
What is the warranty like? The manufacturer ensures a 1 year warranty on this product. |
|
Is the tempered glass opaque or transparent (clear or shaded)? The freedom petsafe panel has single pane tempered glass which is clear. Some other pet patio door panels have dual pane glass and lowE coating to increase their insulation. |
|
If I order a 01PS11 what will I receive? That is the code for PetSafe Freedom Dog Door for Sliding Glass Door. You will need to determine the flap size, Track height and Frame Color. |
|
Does the Freedom PetSafe pet door come in different models. Yes. There is a patio panel for sliding glass doors and a traditional pet door for doors. |
|
How much does shipping cost? Shipping is calculated at checkout. |
Warranty
Warranty Type: One Year Non-Transferable Limited Warranty
Duration: Valid for one (1) year from the purchase date for the original retail consumer purchaser only.
Coverage:
PetSafe product will be free from defects in material or workmanship when subject to normal and proper residential use.
Labor and parts are covered for the first year of ownership.
In the event of a defect, PetSafe will replace the part with a new or refurbished part.
Exclusions:
Products represented as used, refurbished, or “as-is”, or not in the original packaging are not covered.
Warranty does not cover damage or defects caused by animals, commercial use, misuse, neglect, improper installation, use of non-PetSafe accessories, events beyond normal residential conditions, and any cause not involving manufacturing defects.
Does not cover labor for removal or installation of parts.