


Liberty Pet Door For Walls


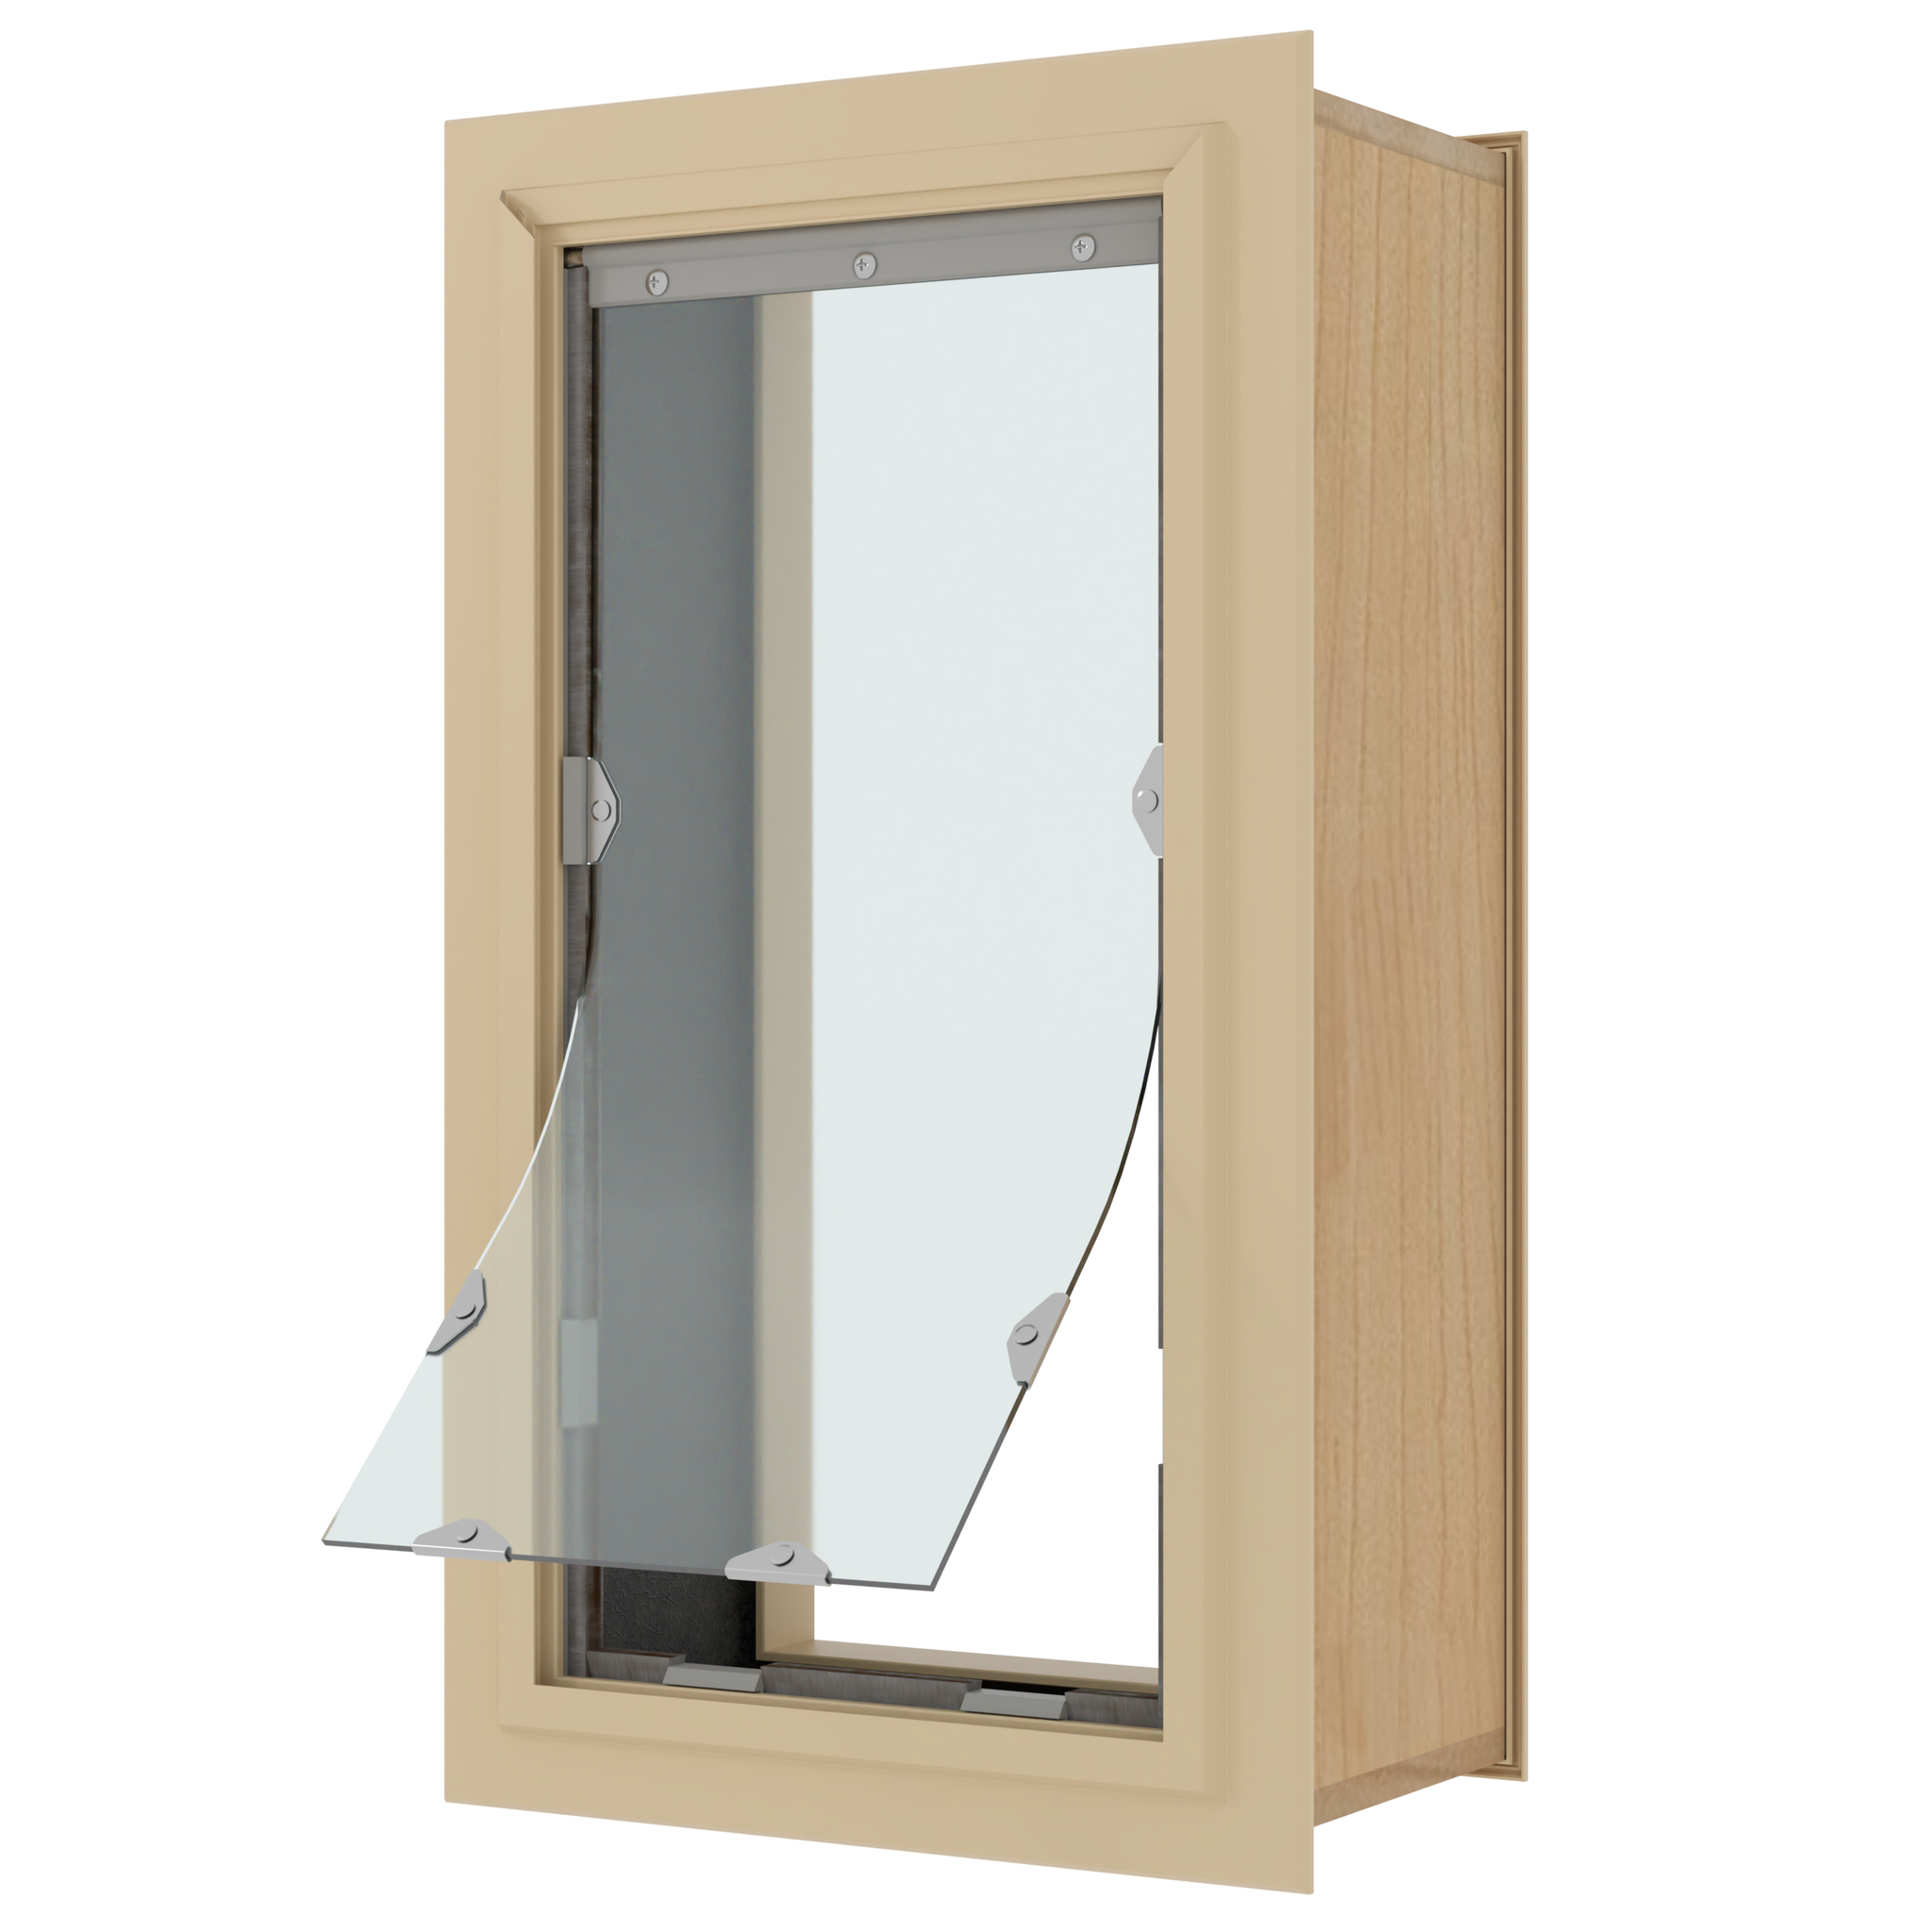

- Adaptable design fits walls 2"-7 3/4" thick
- Magnetic sealing provides wind resistance and robust insulation
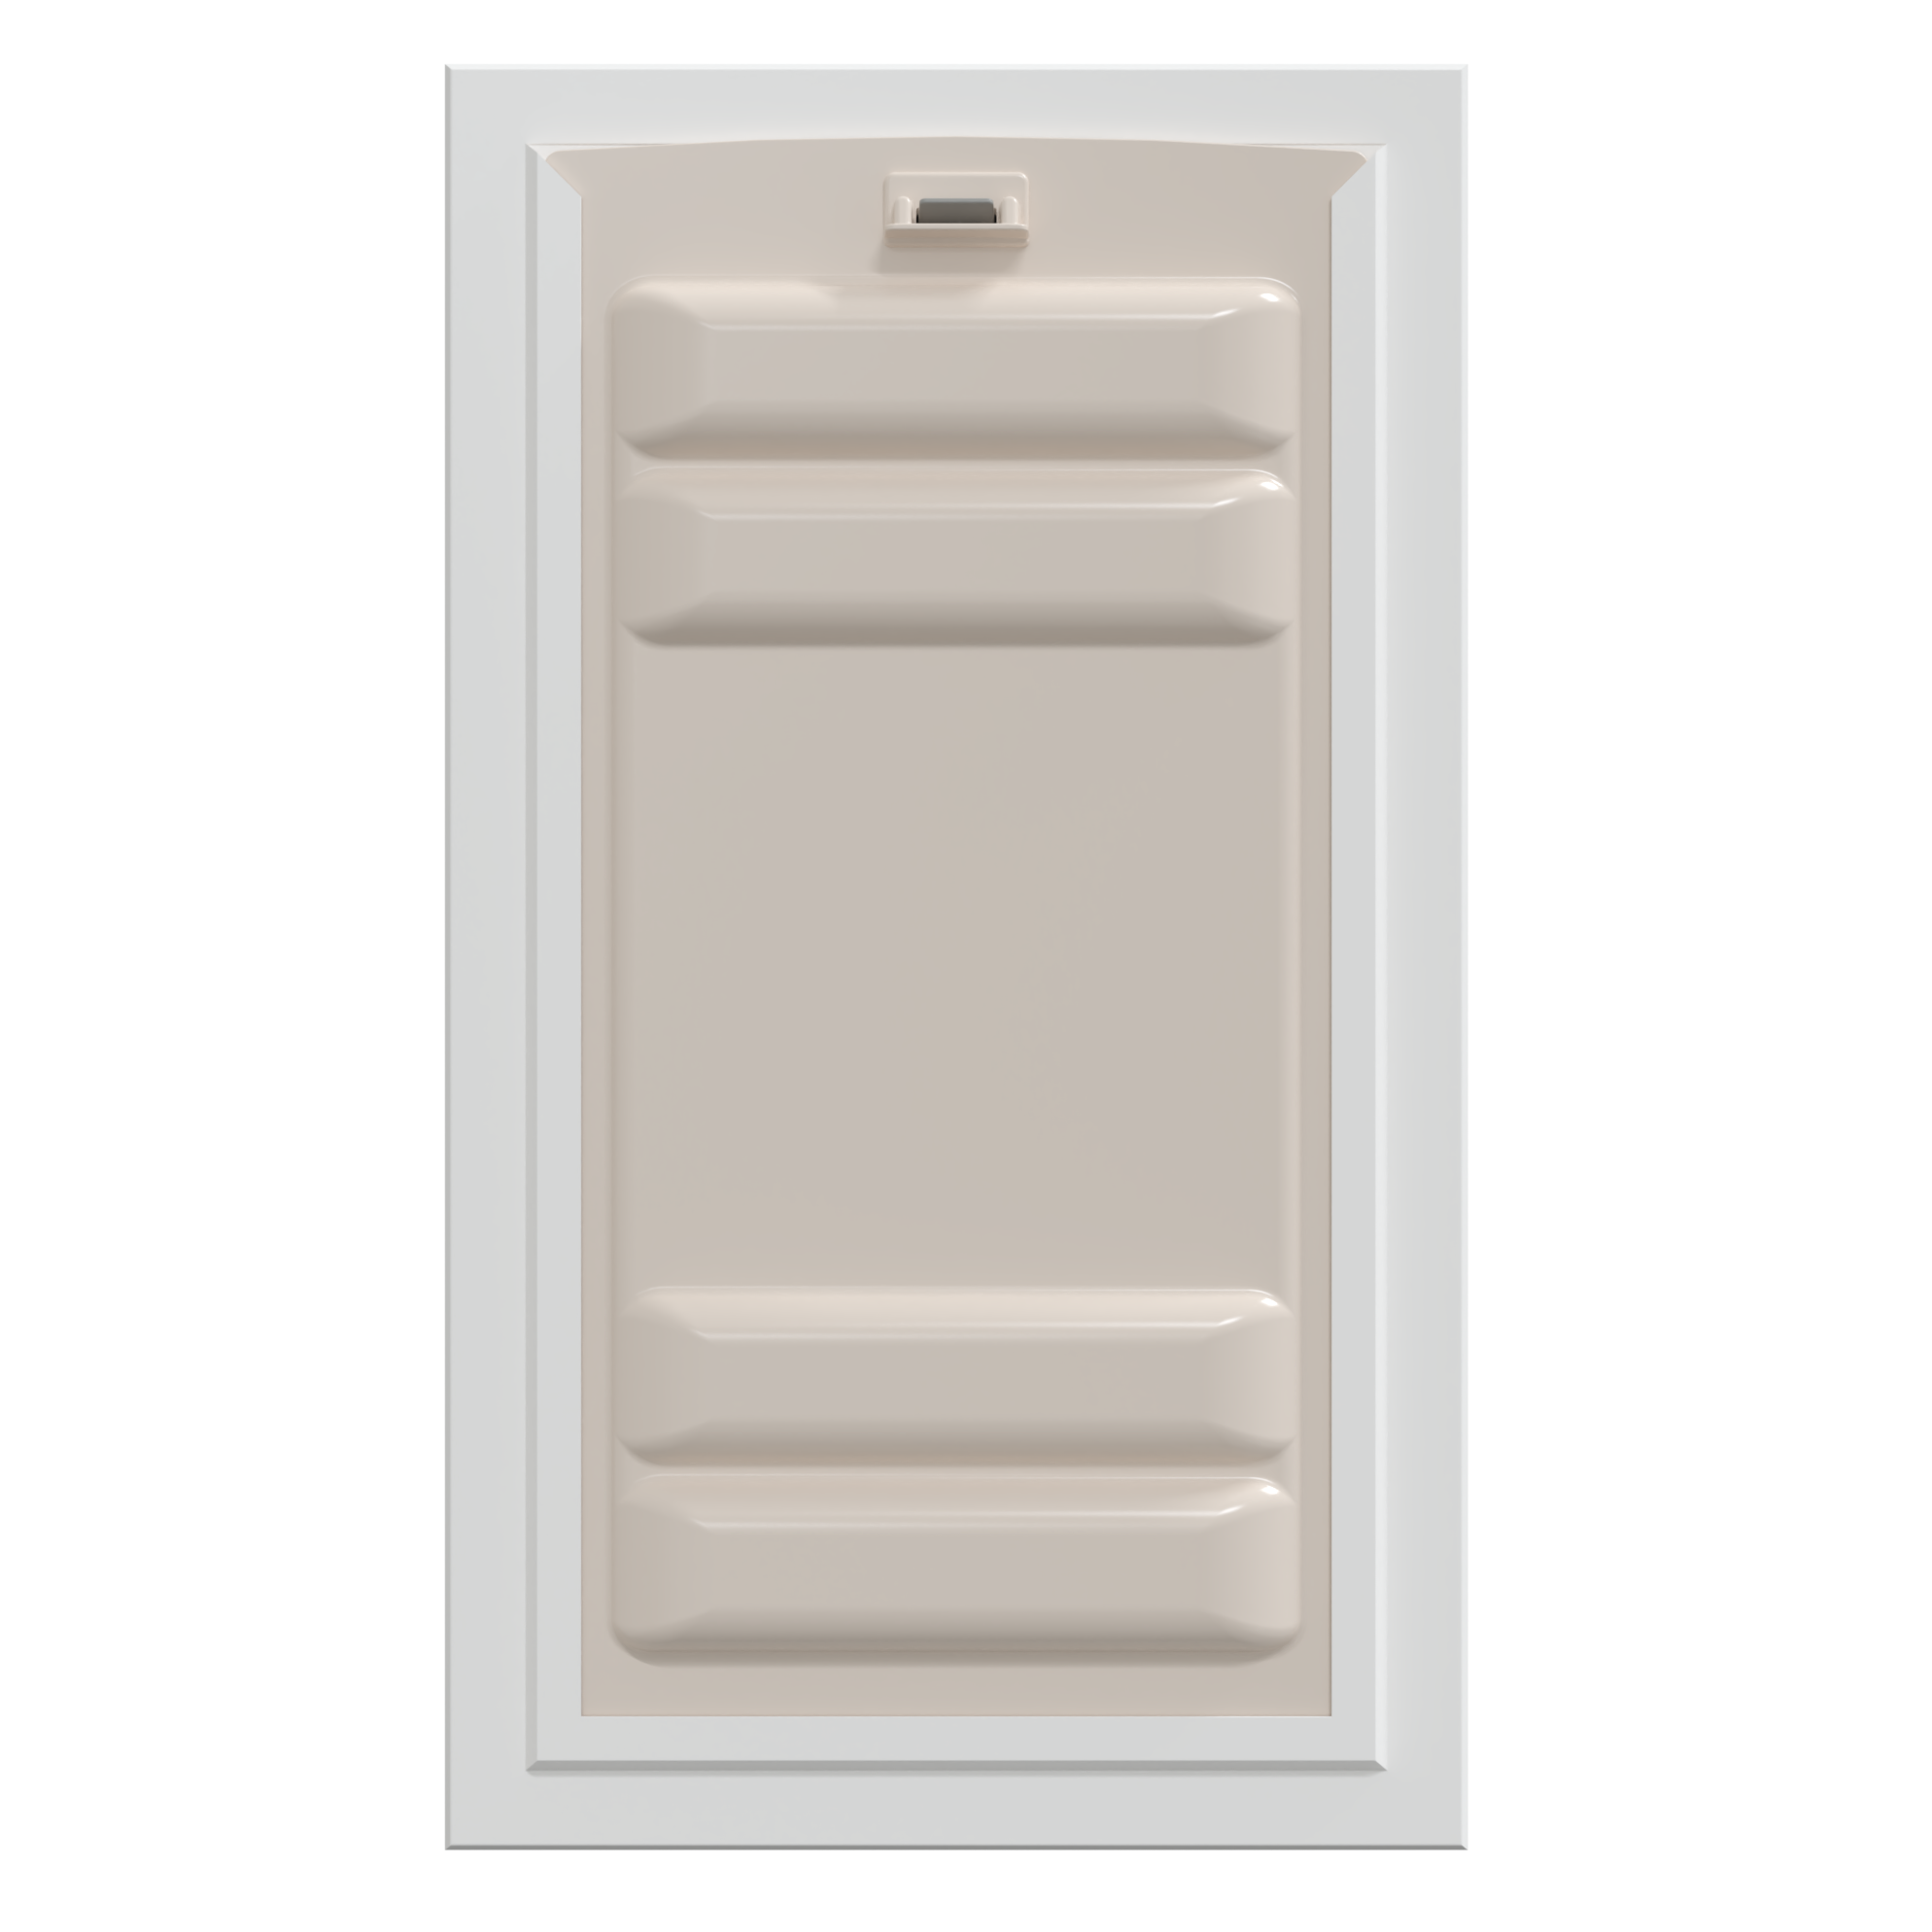
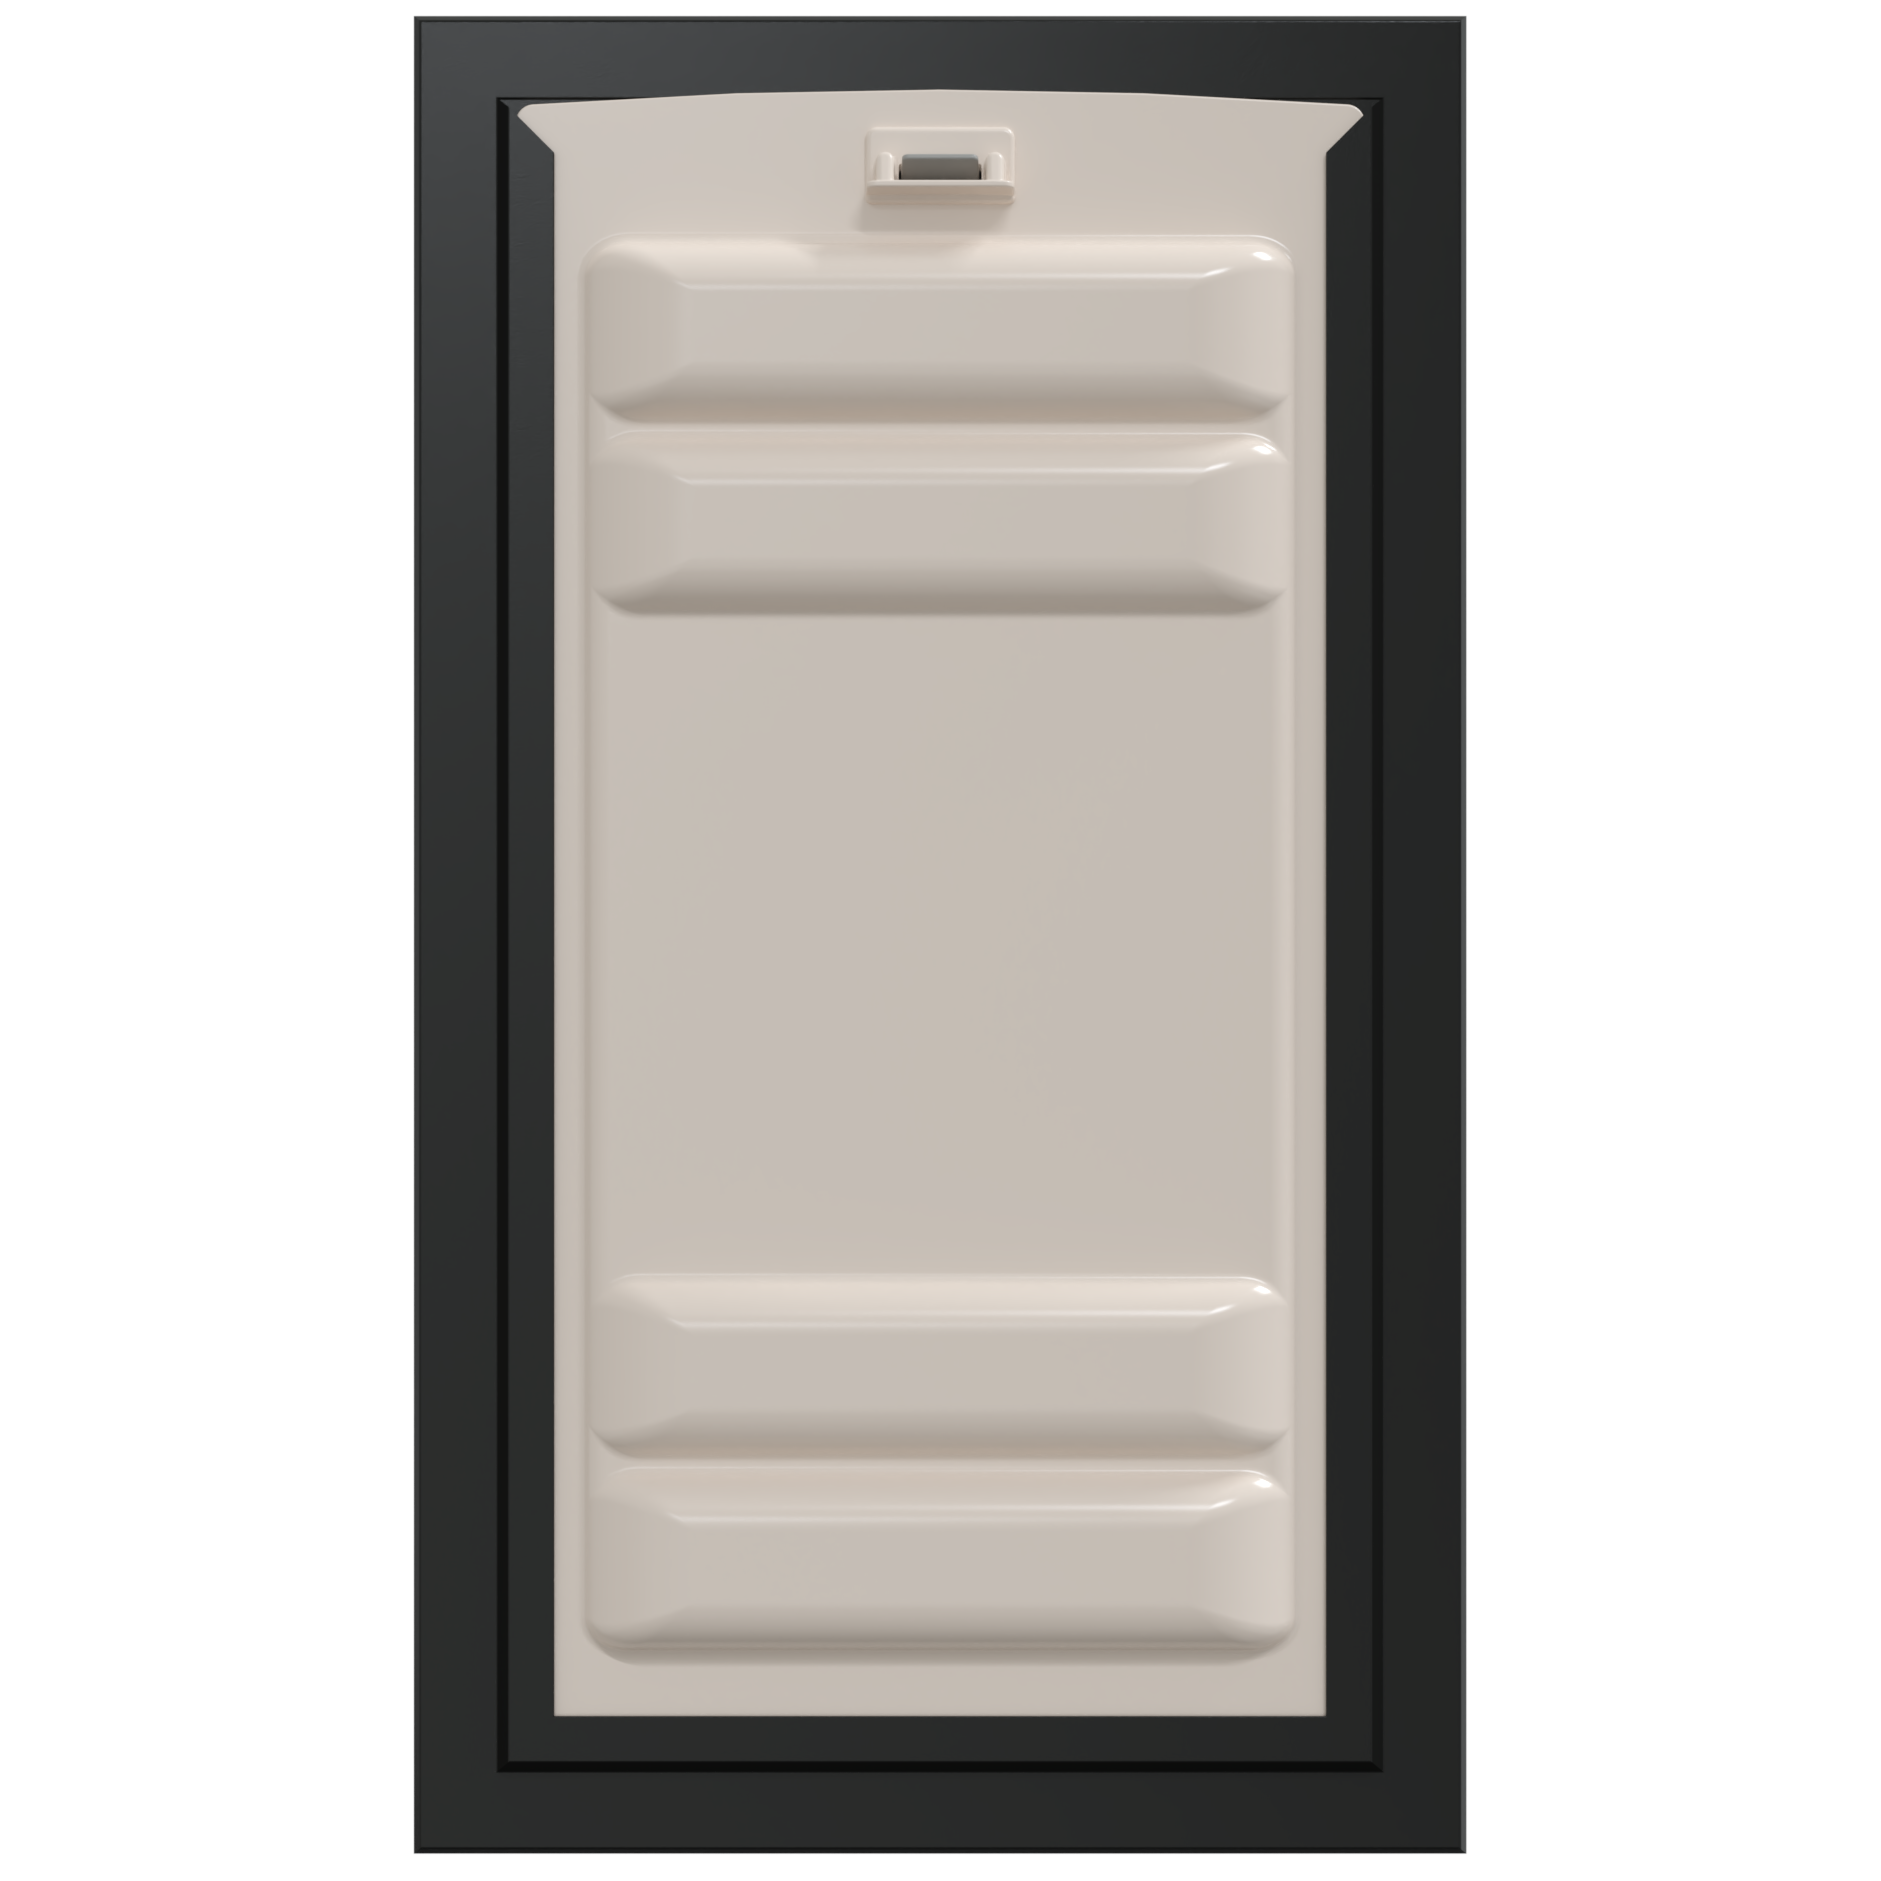
- Frame comes in white, black, or tan aluminum, enhancing your home's aesthetics.
- Designed to seal in temperatures as low as 0°F and as high as 120°F
- Four dimension options for a perfect fit in any home, accommodating all dog sizes.
 Product Details
Product Details
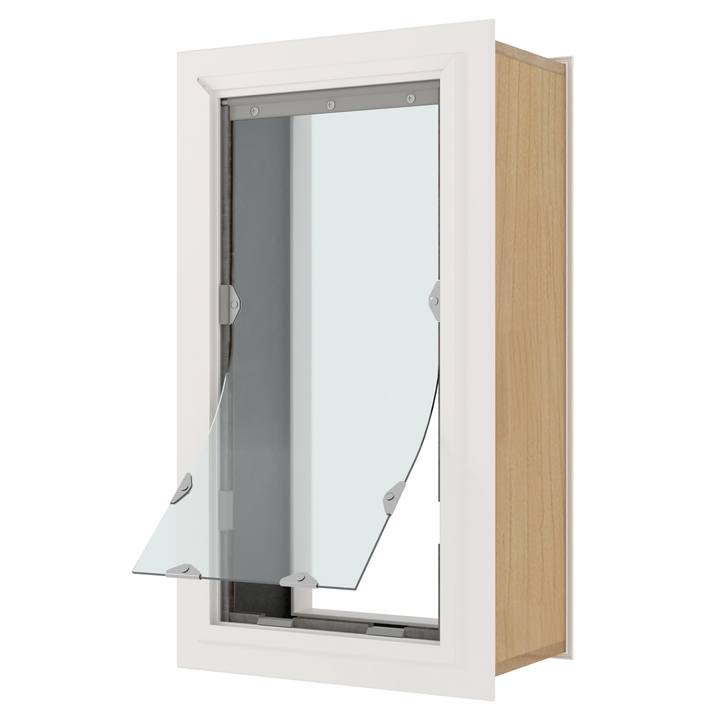
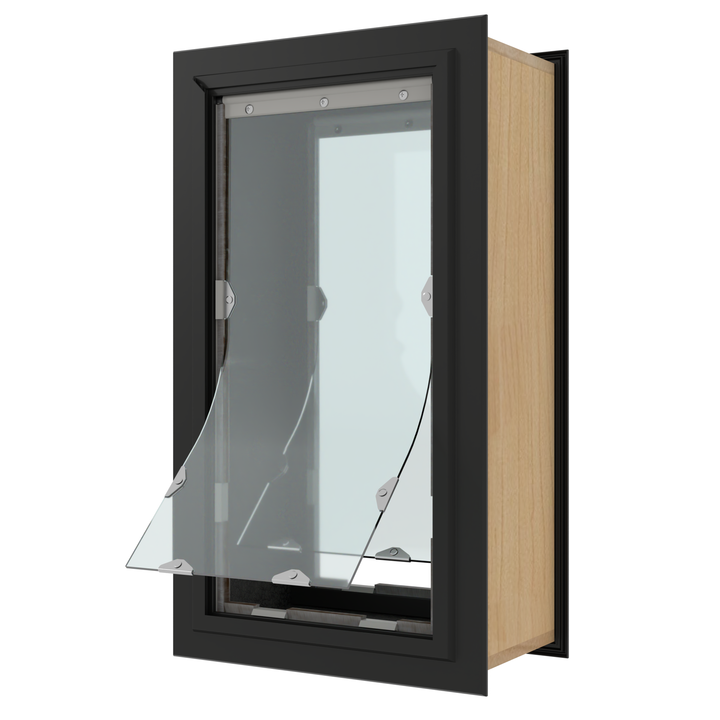
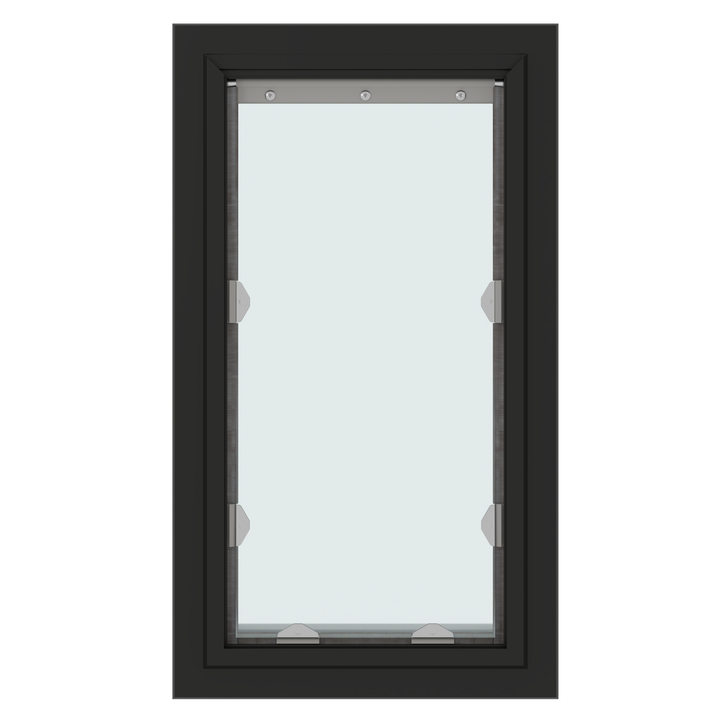
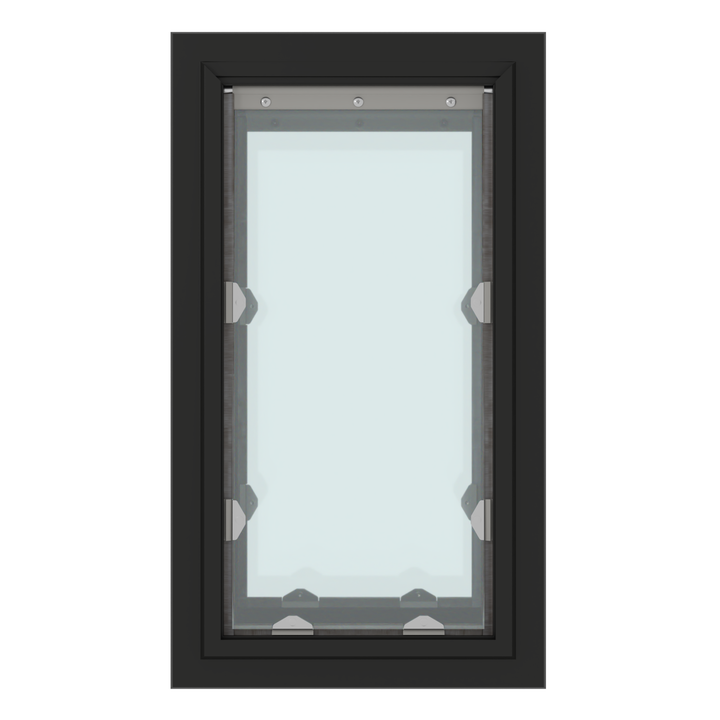
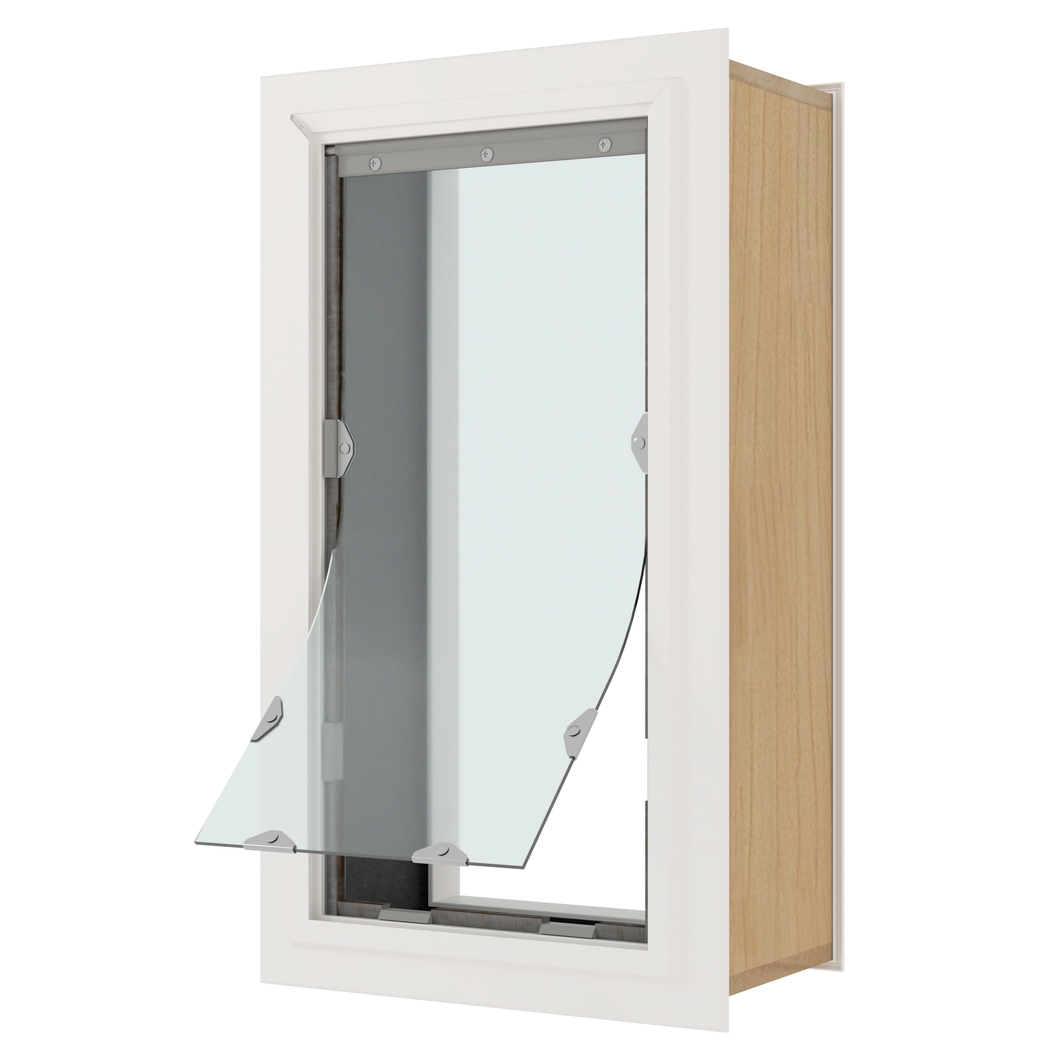
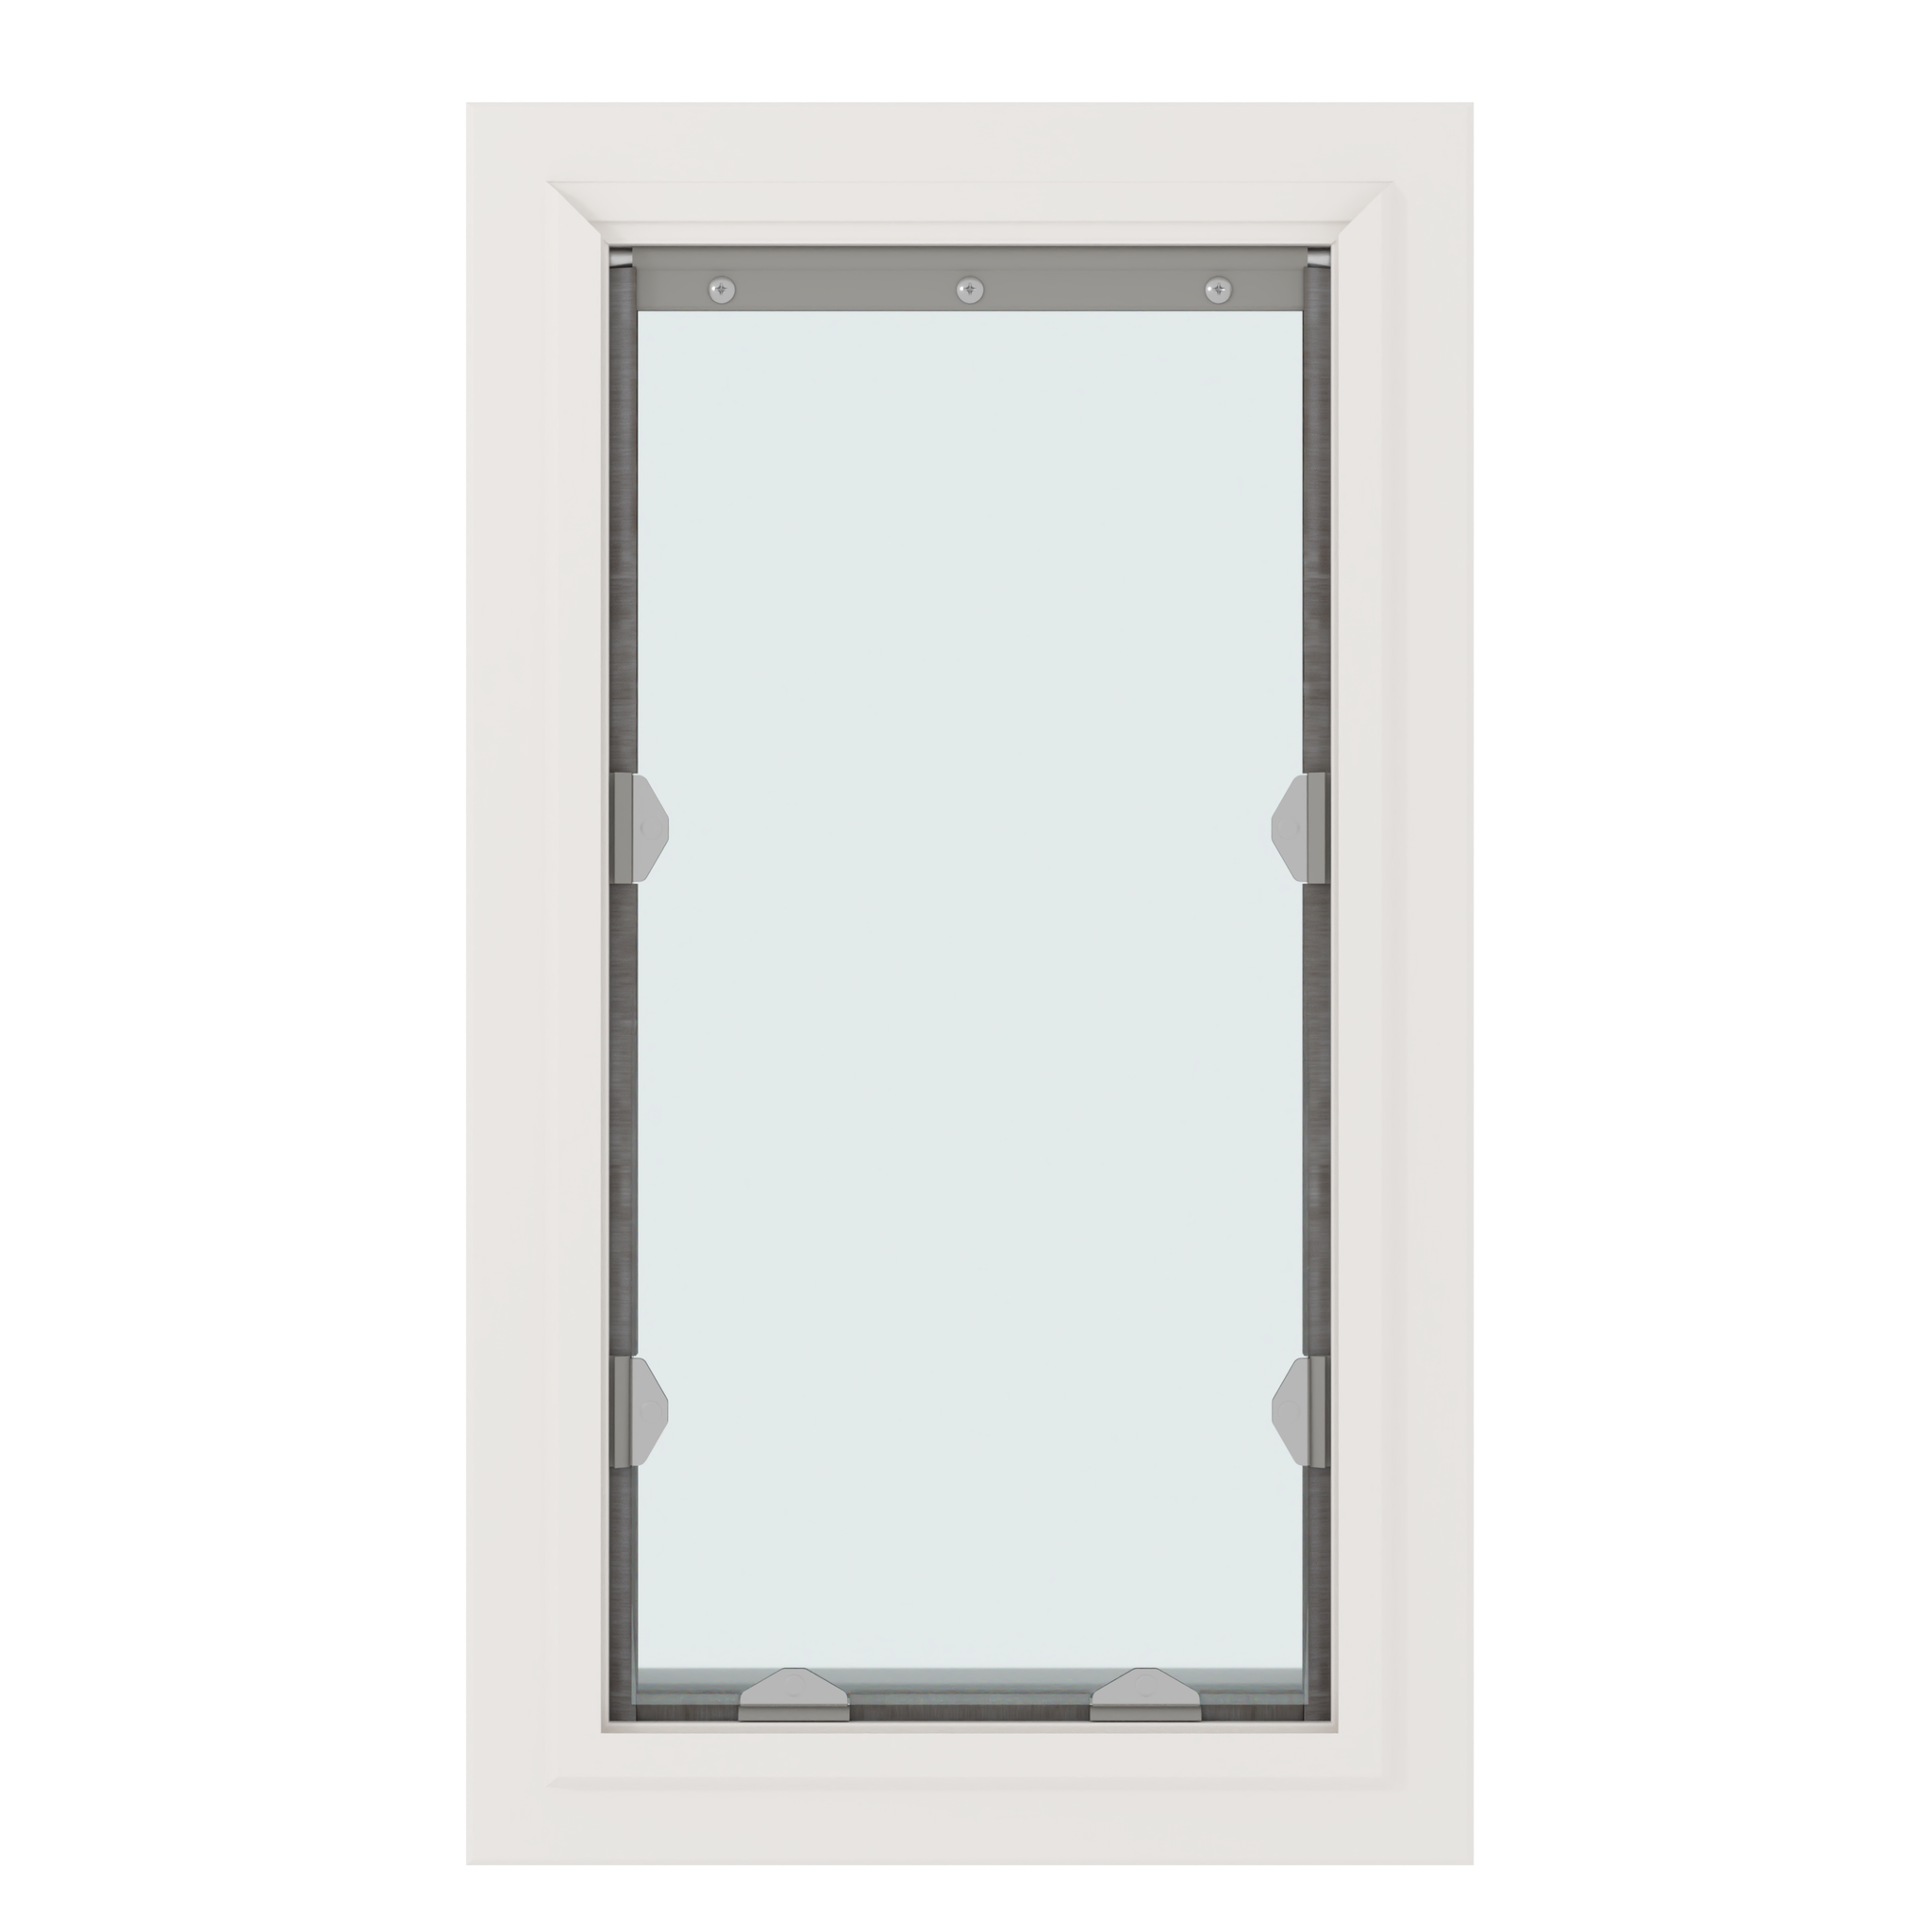
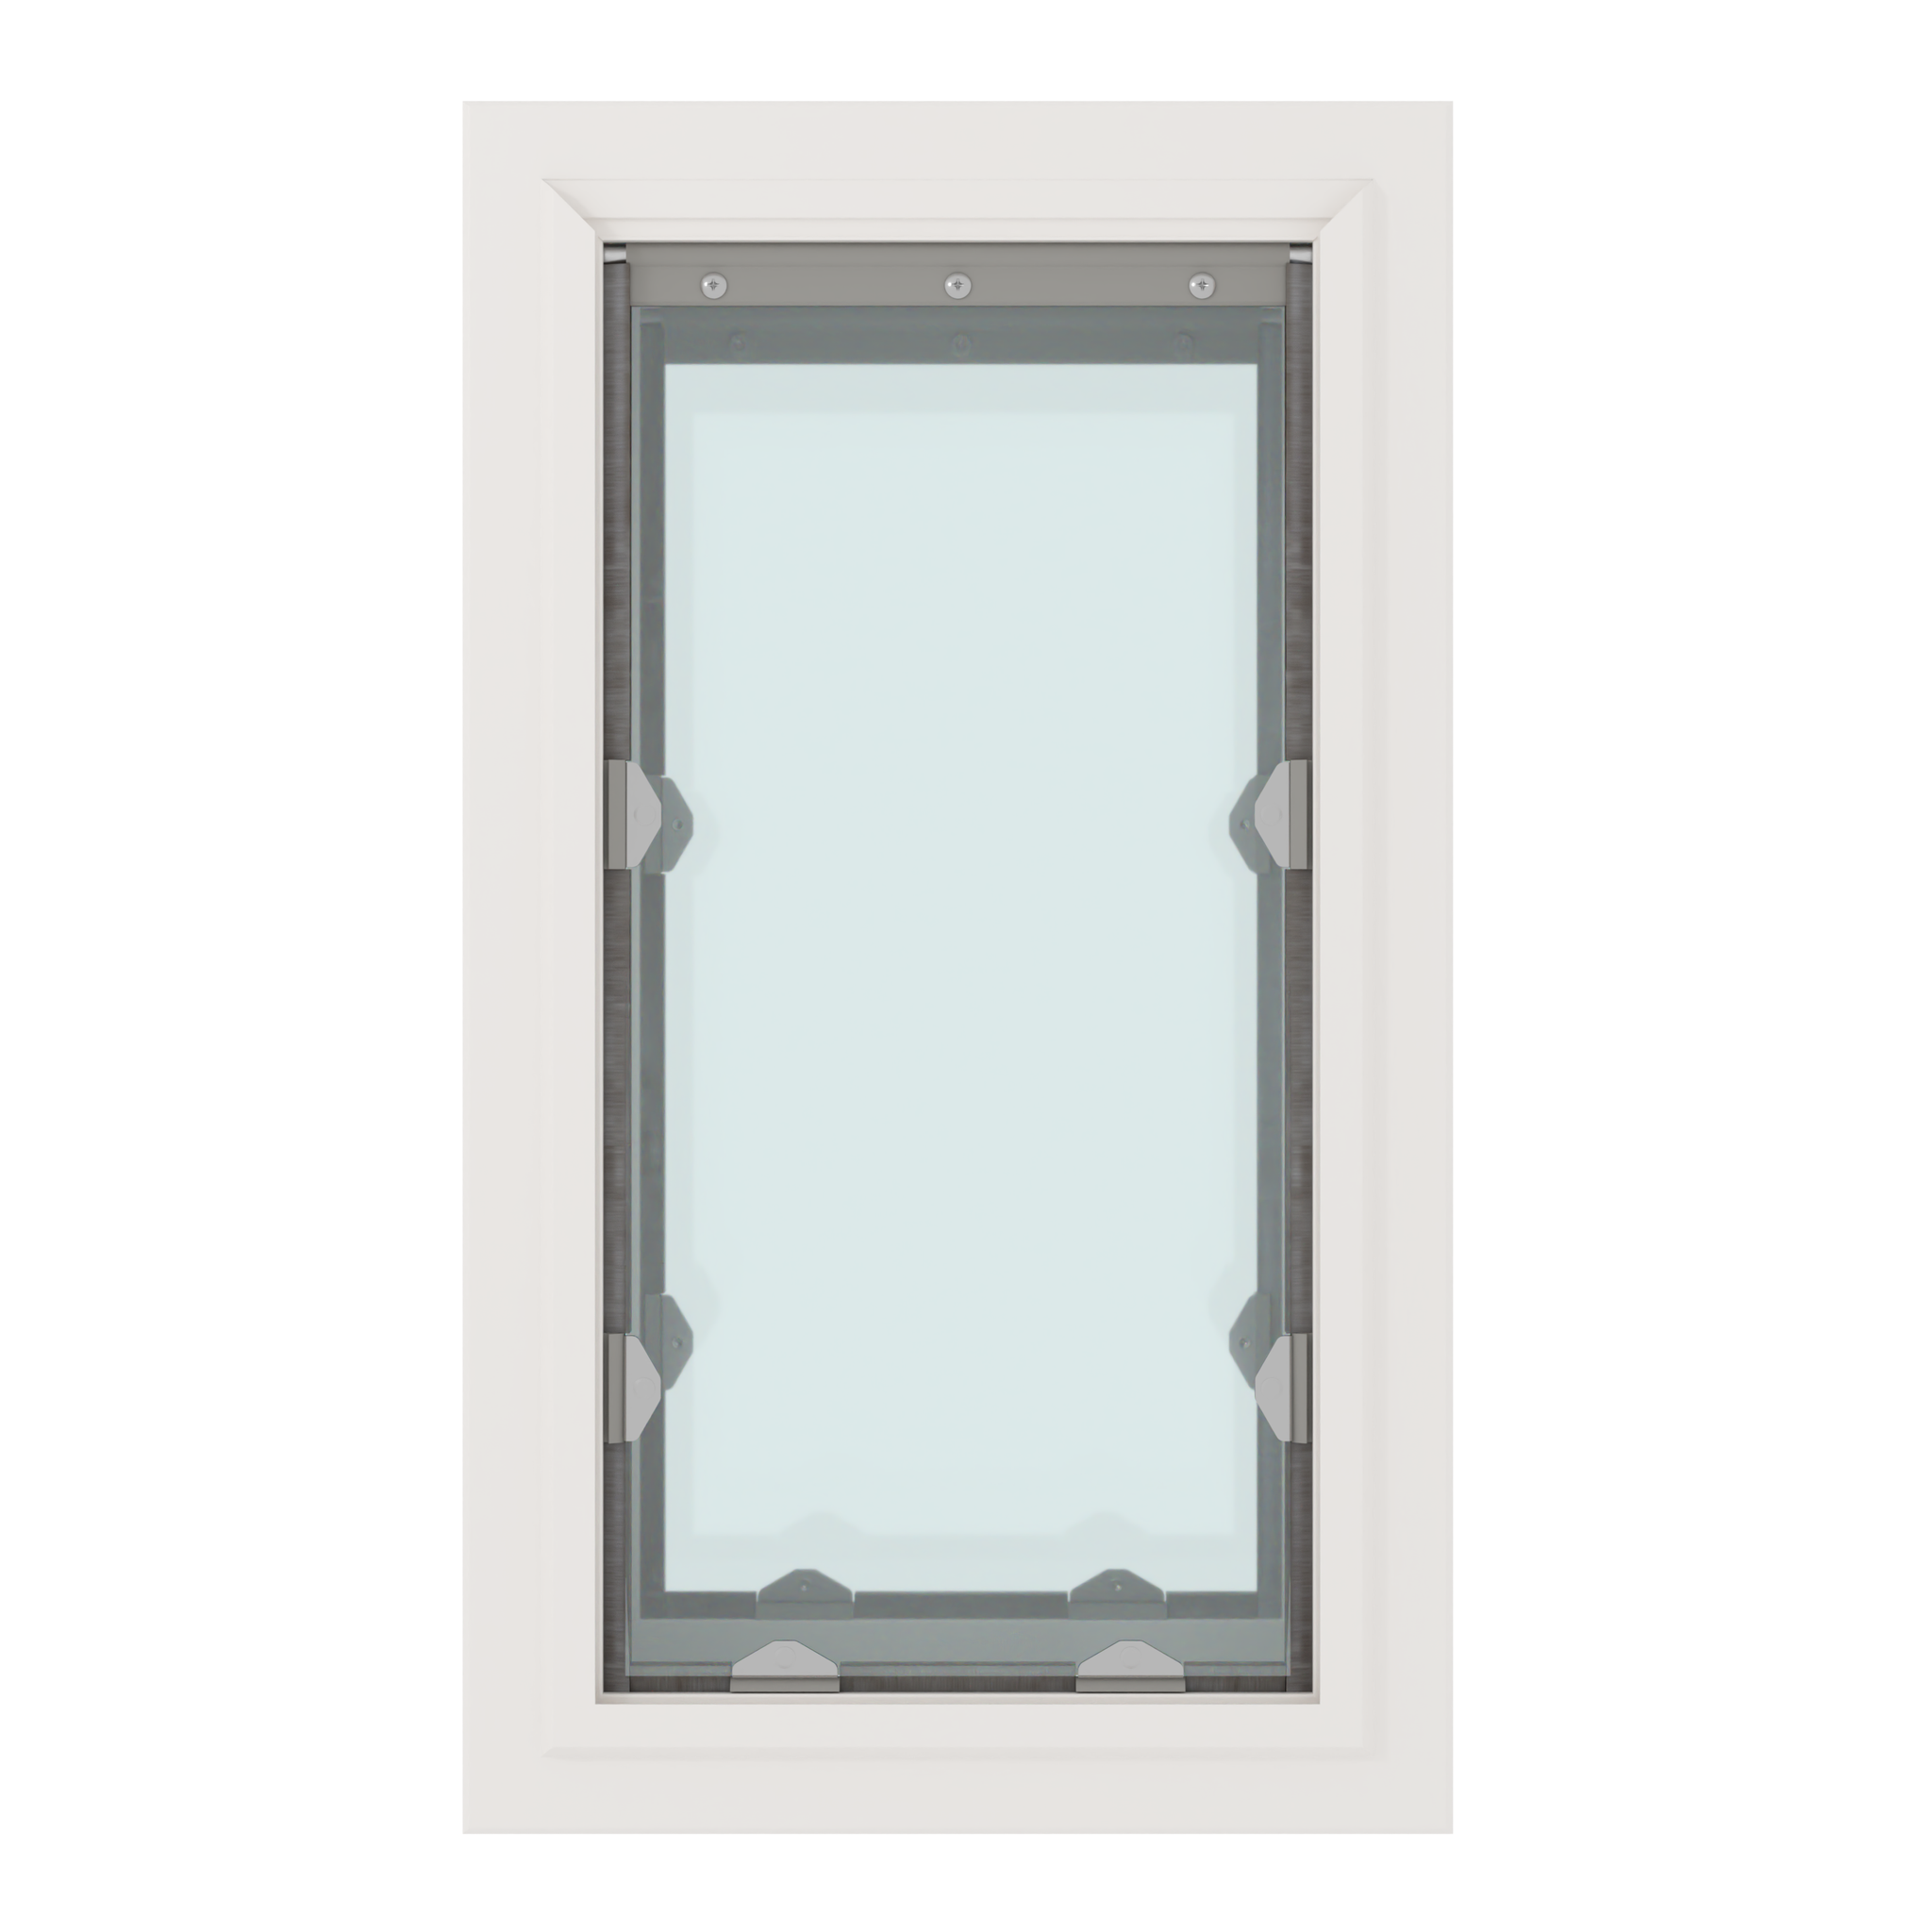
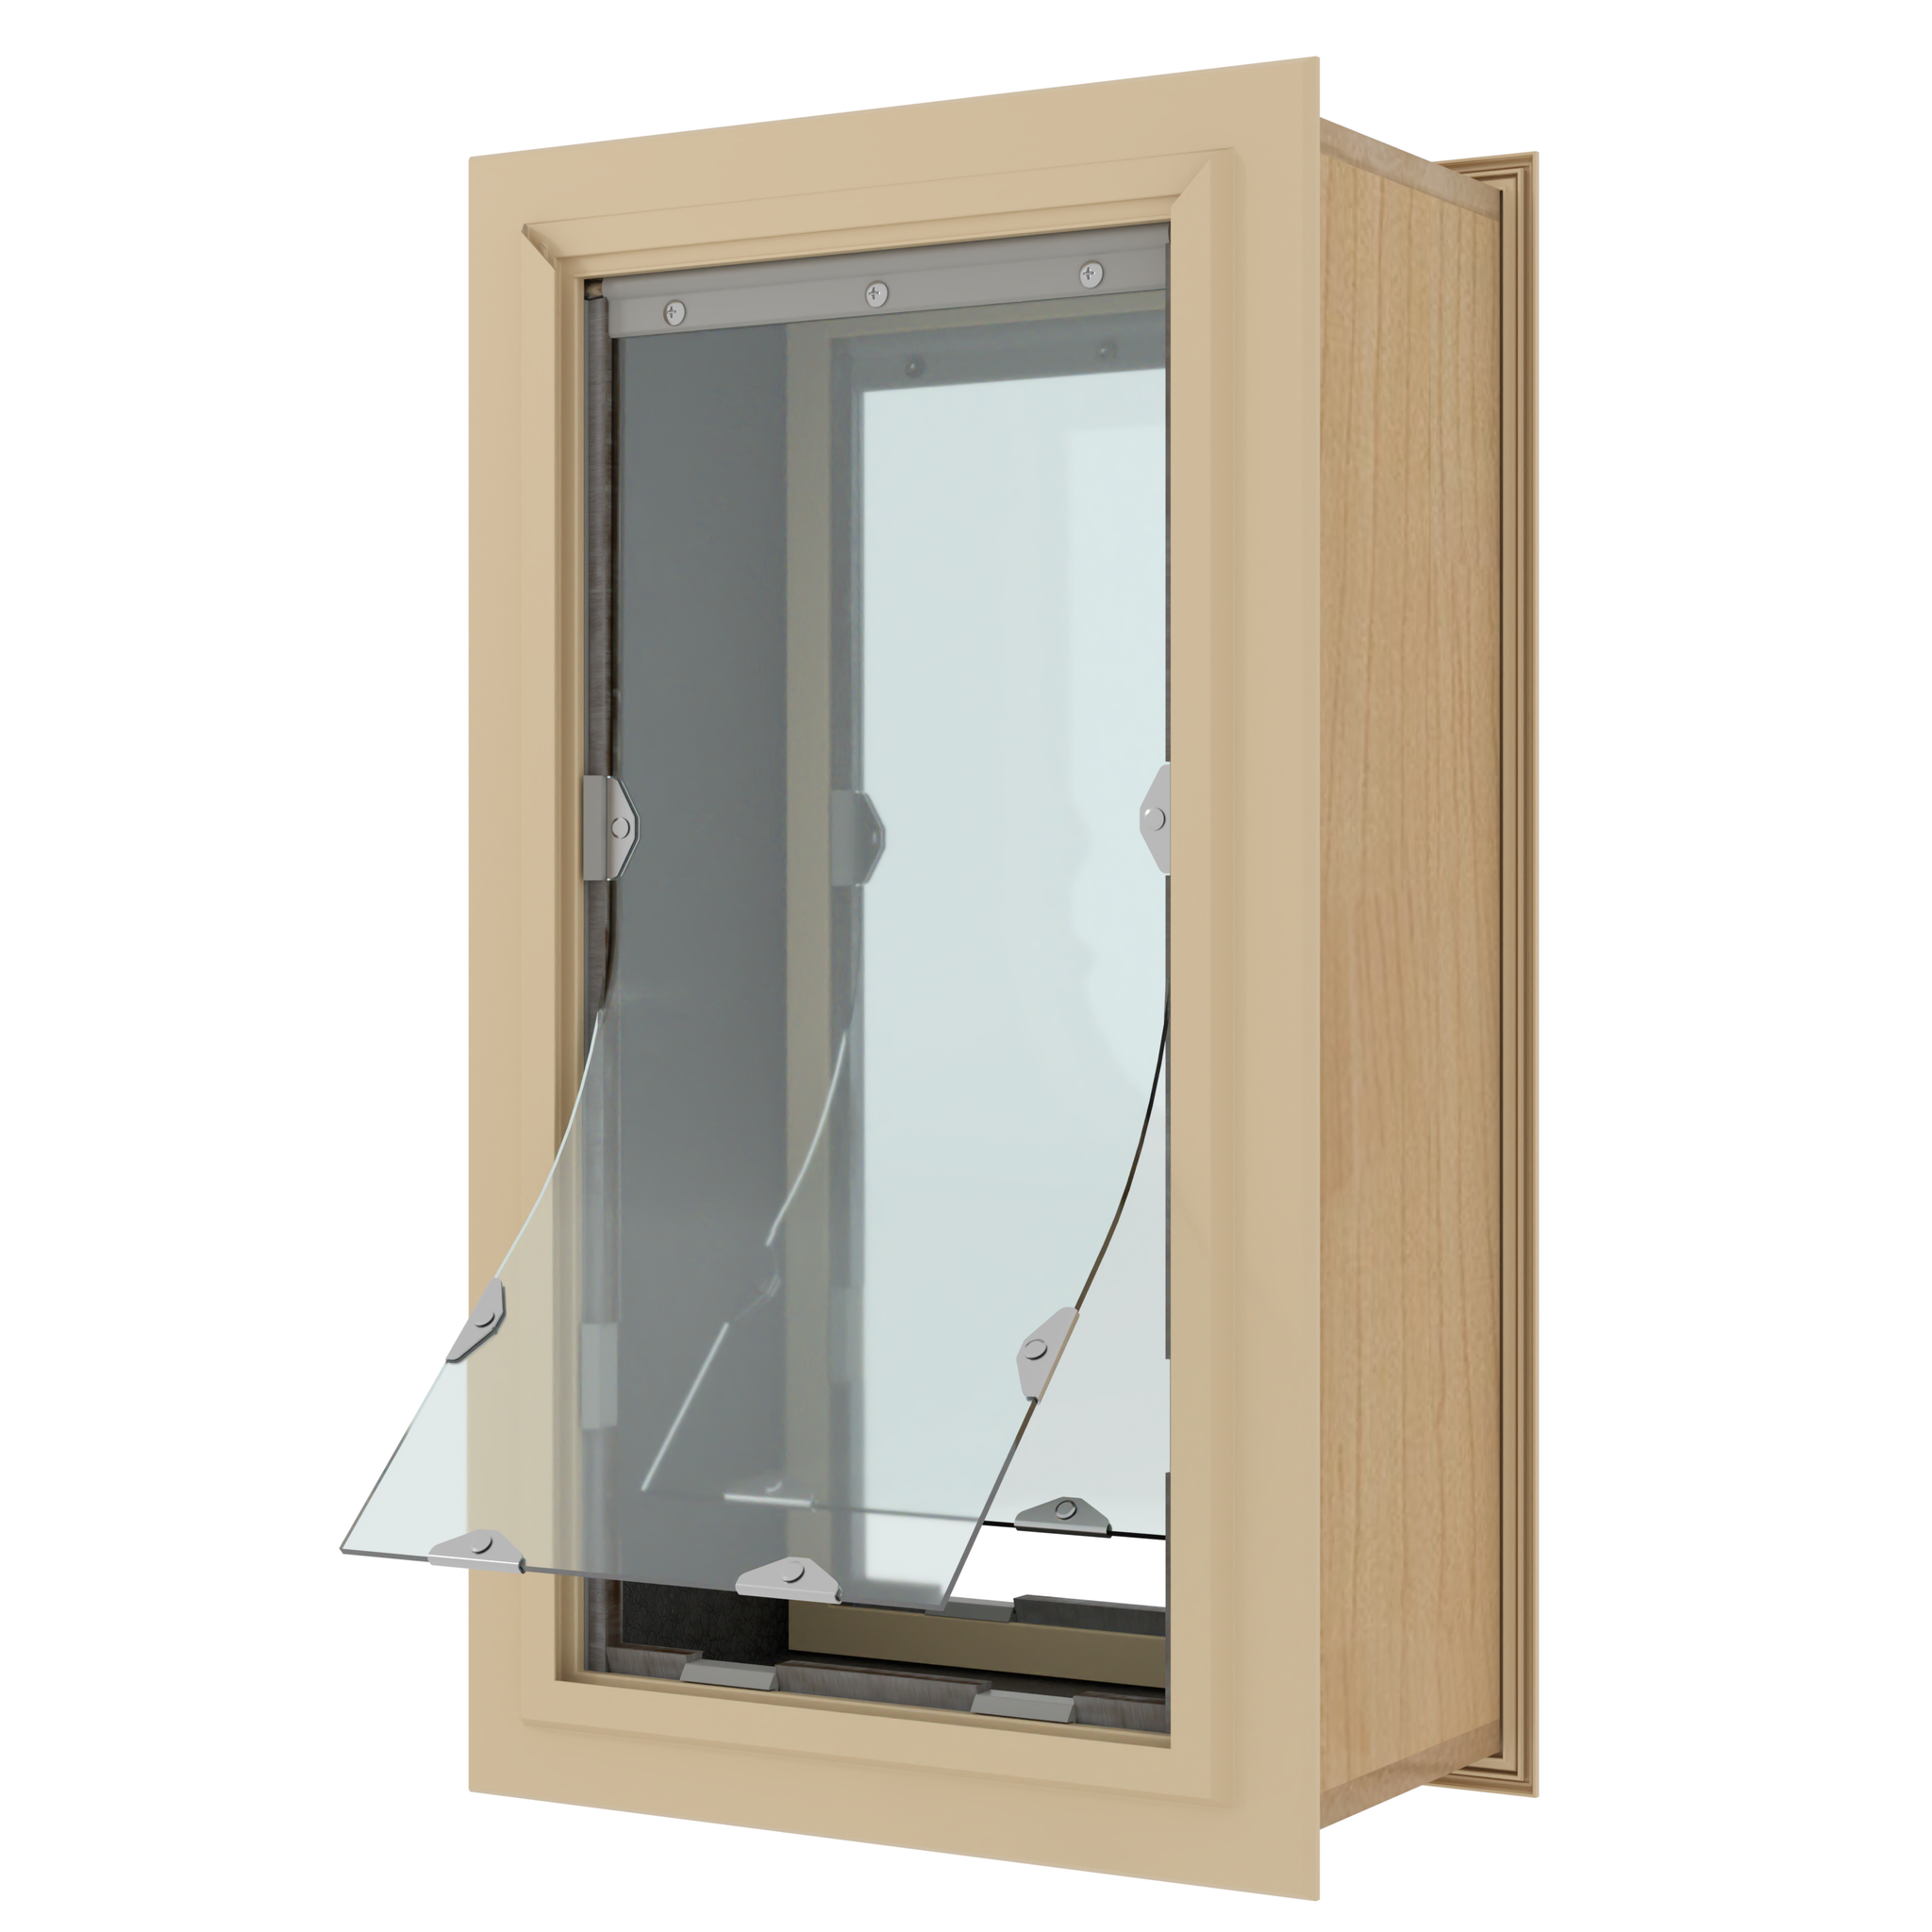
The Liberty Pet Door for Walls is an entryway for your pets that fuses style, functionality, and comfort. This pet door is designed to align with both the aesthetic of your home and the needs of your pets. With size different sizing options available, this pet door will ensure the comfort of your pets even in the most bustling households.
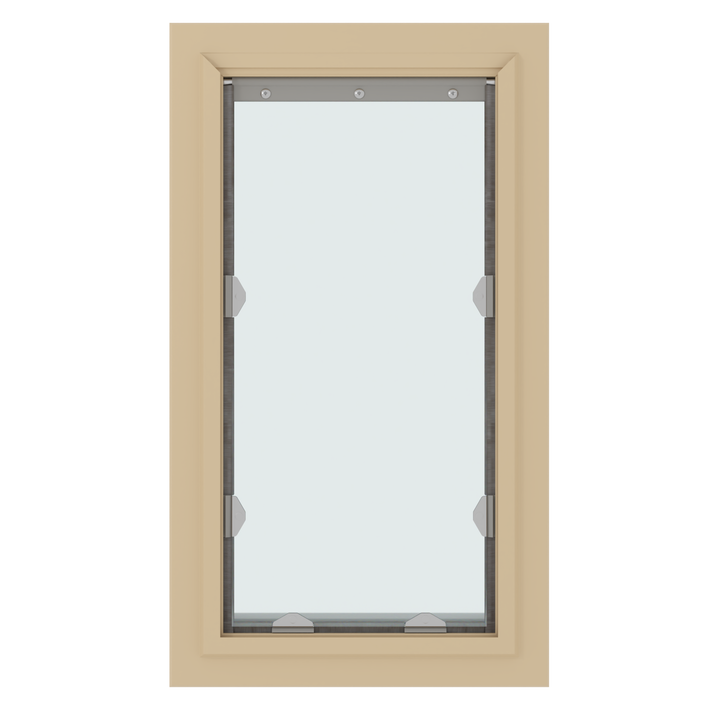
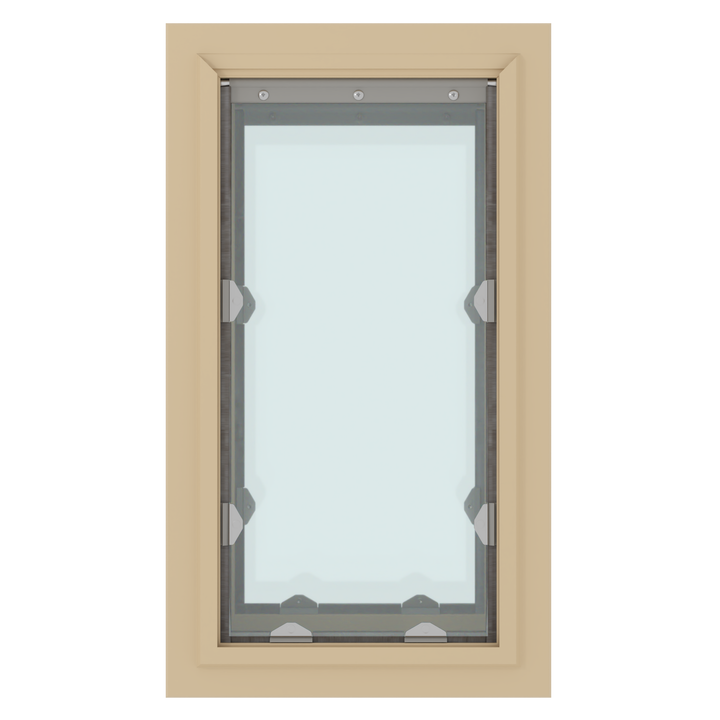
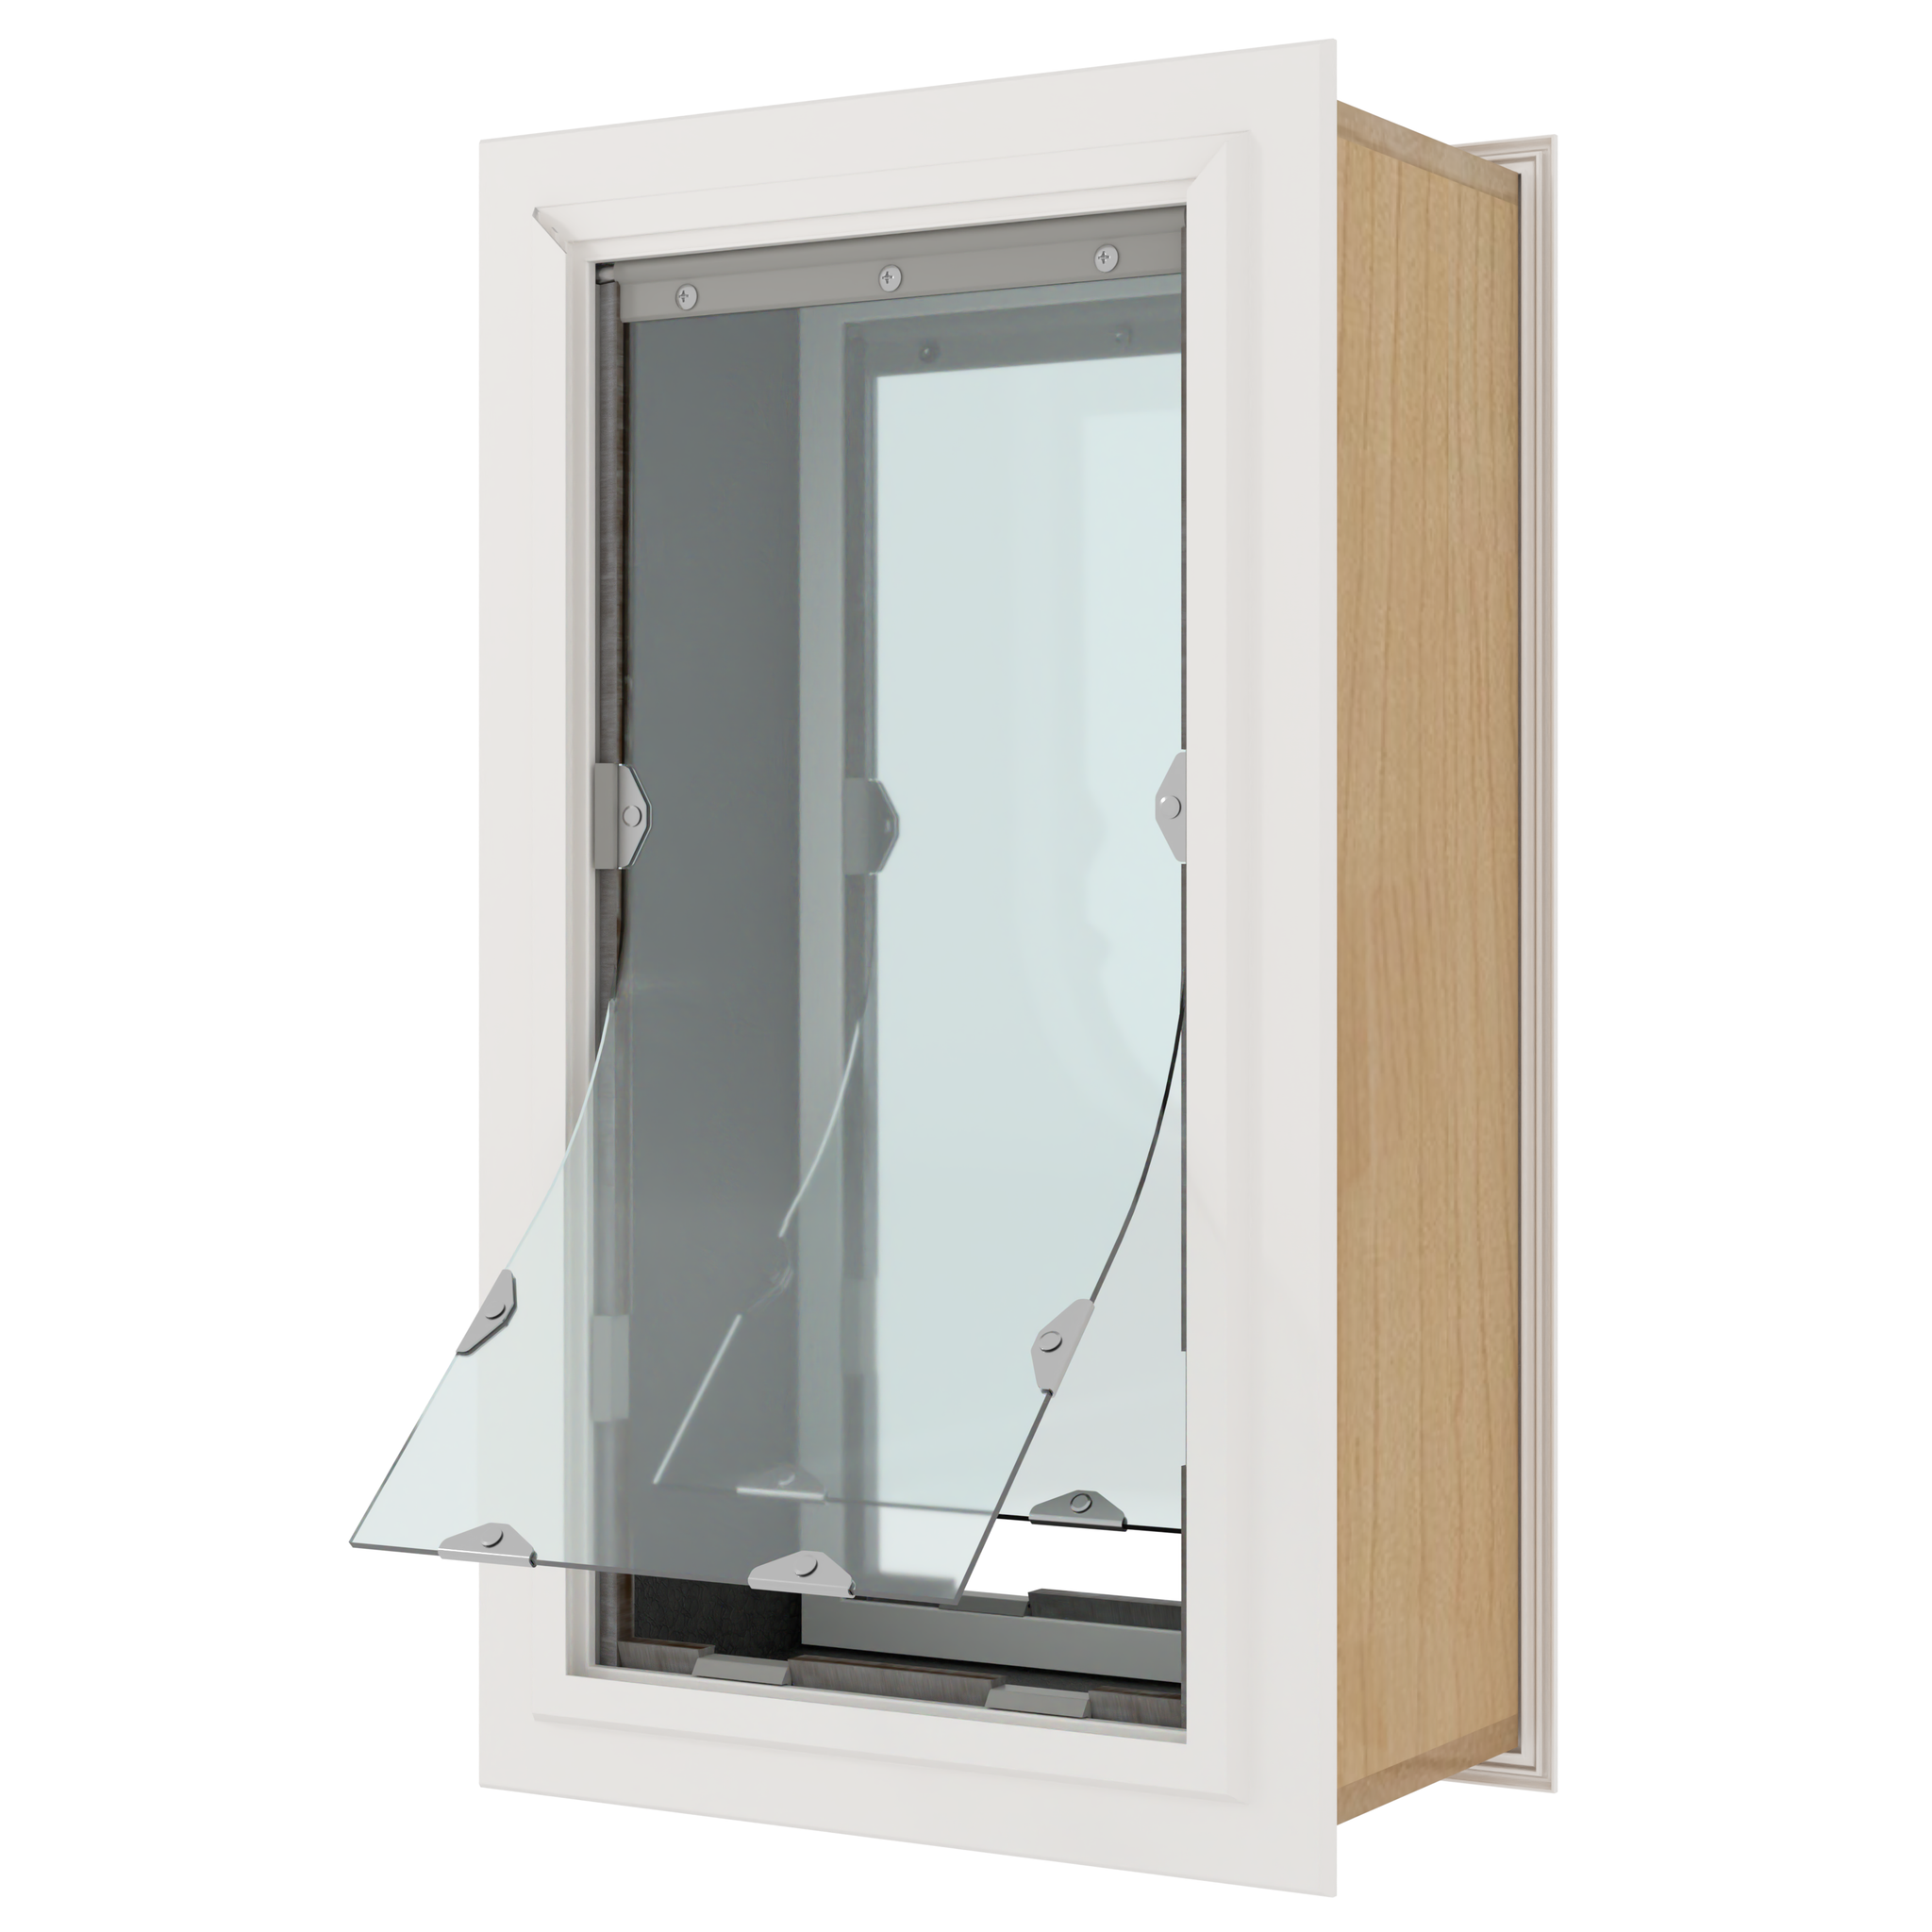
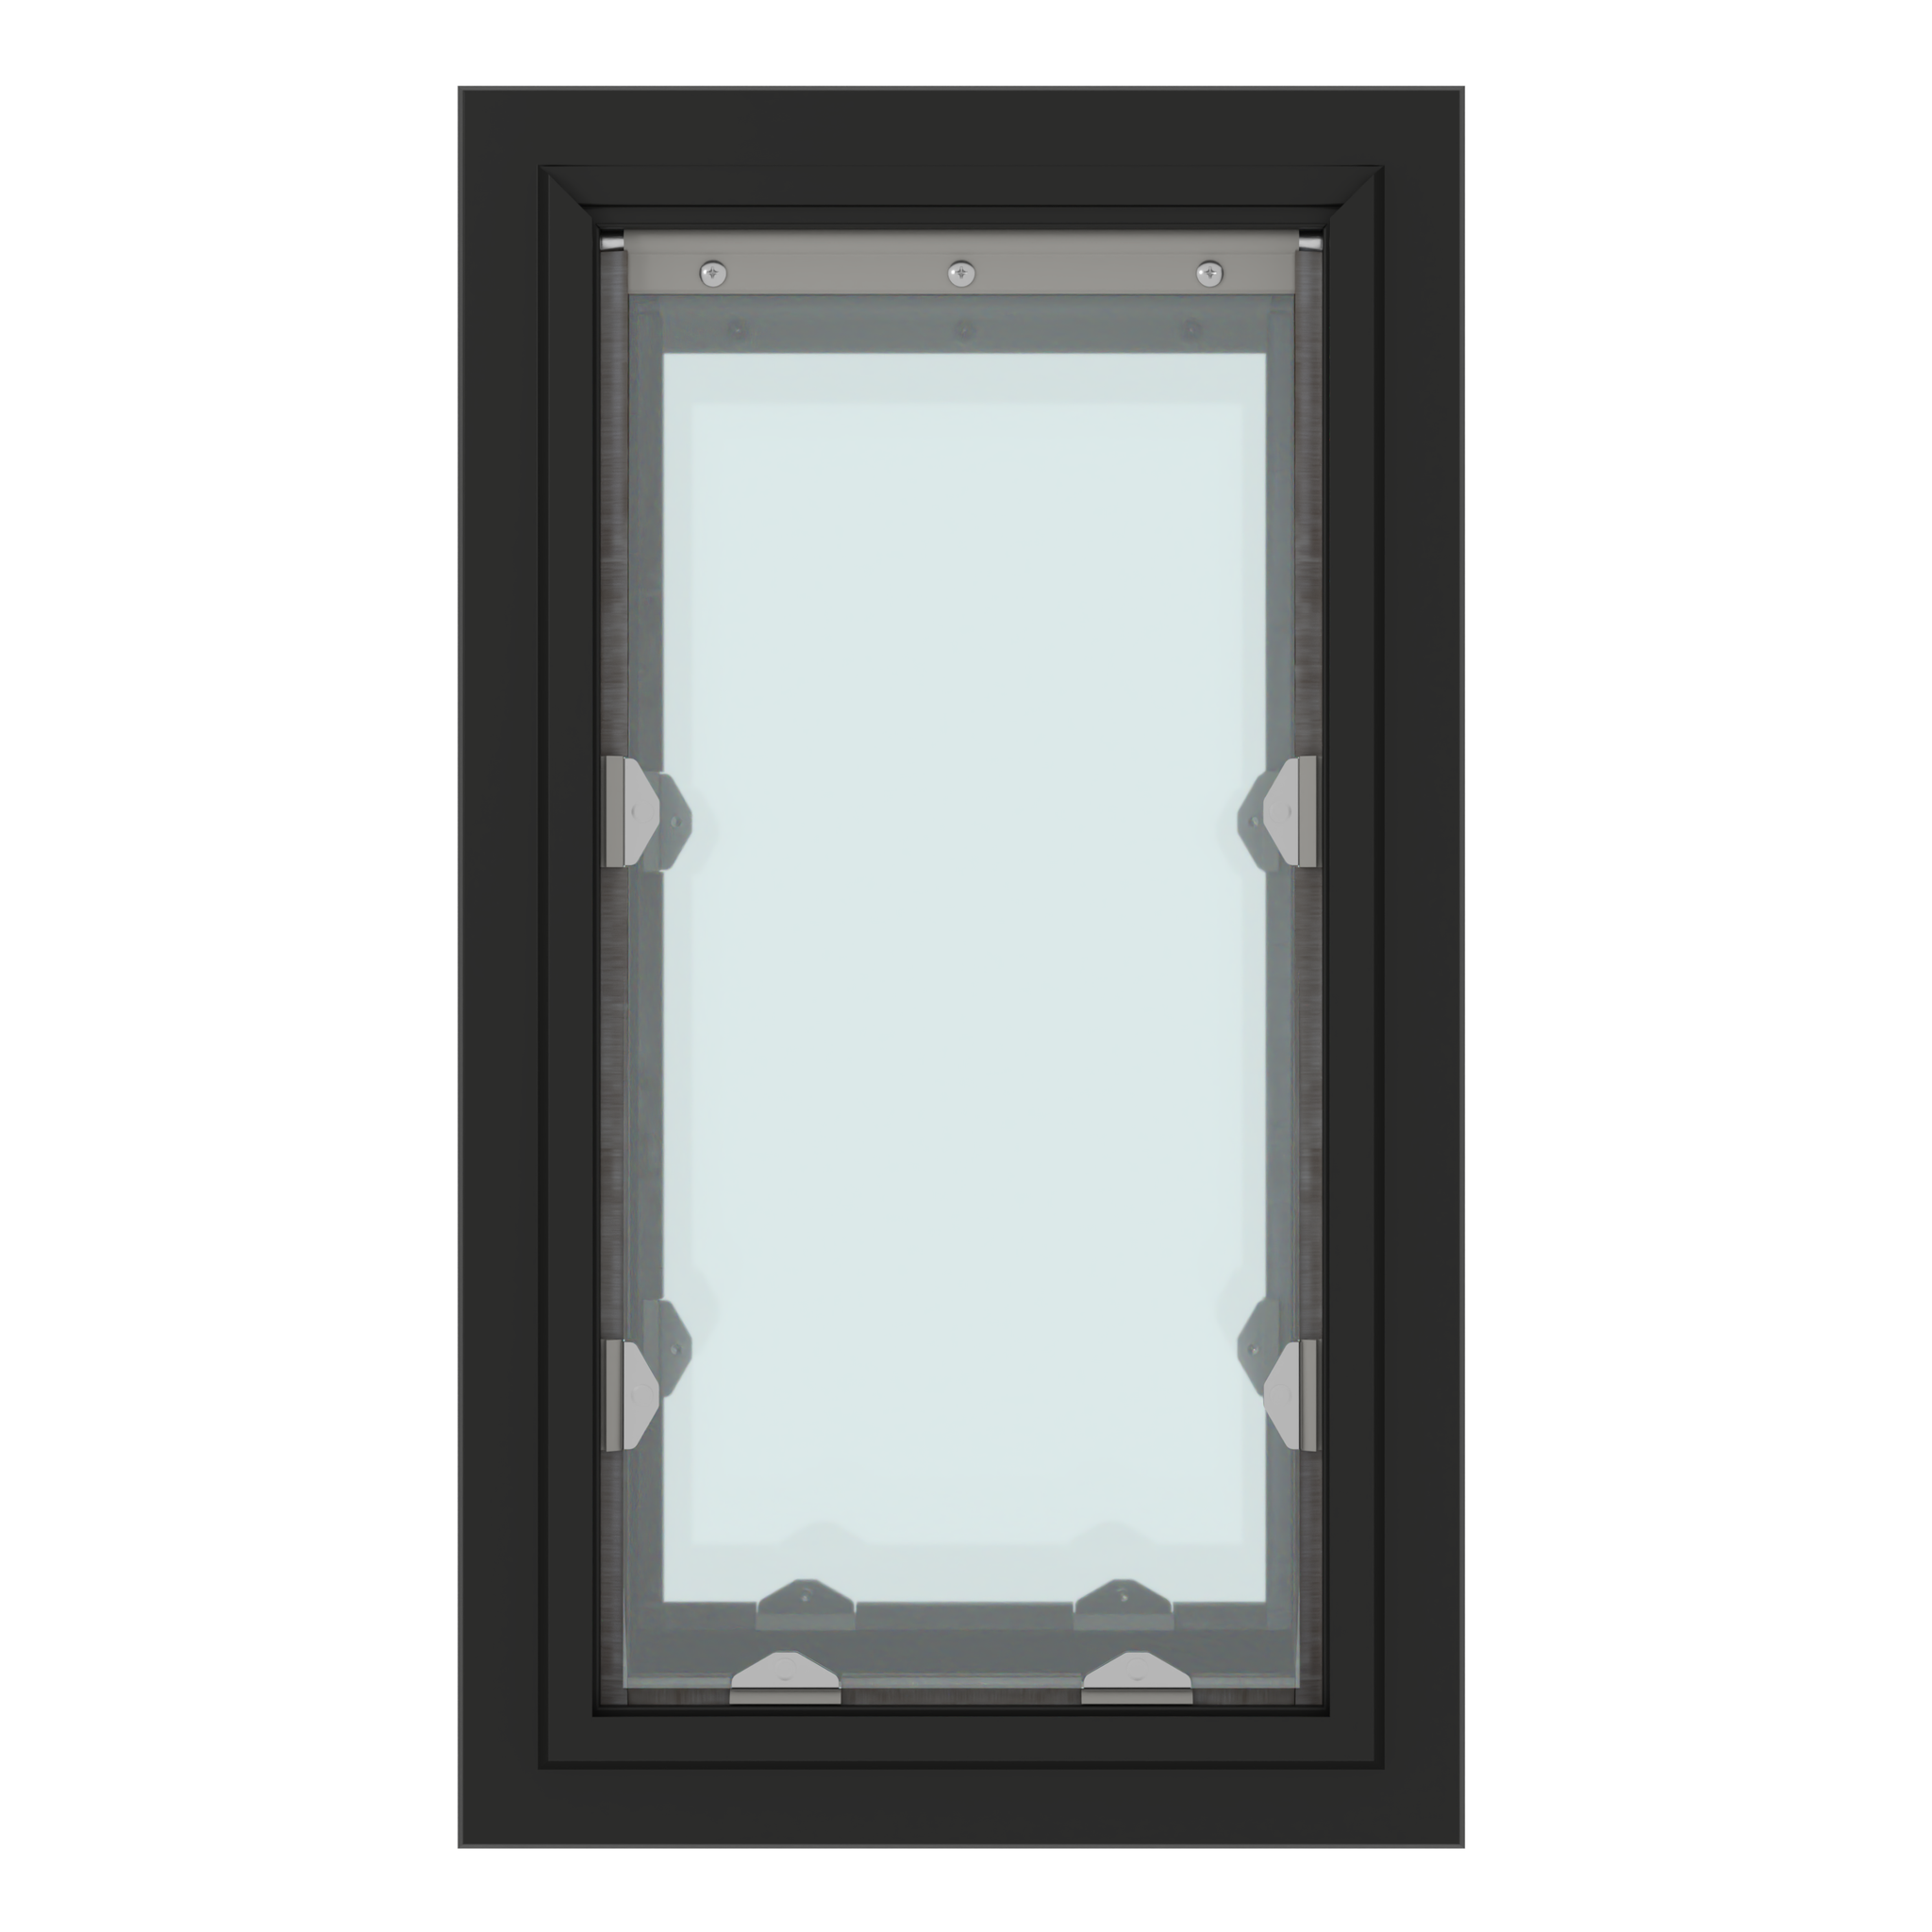
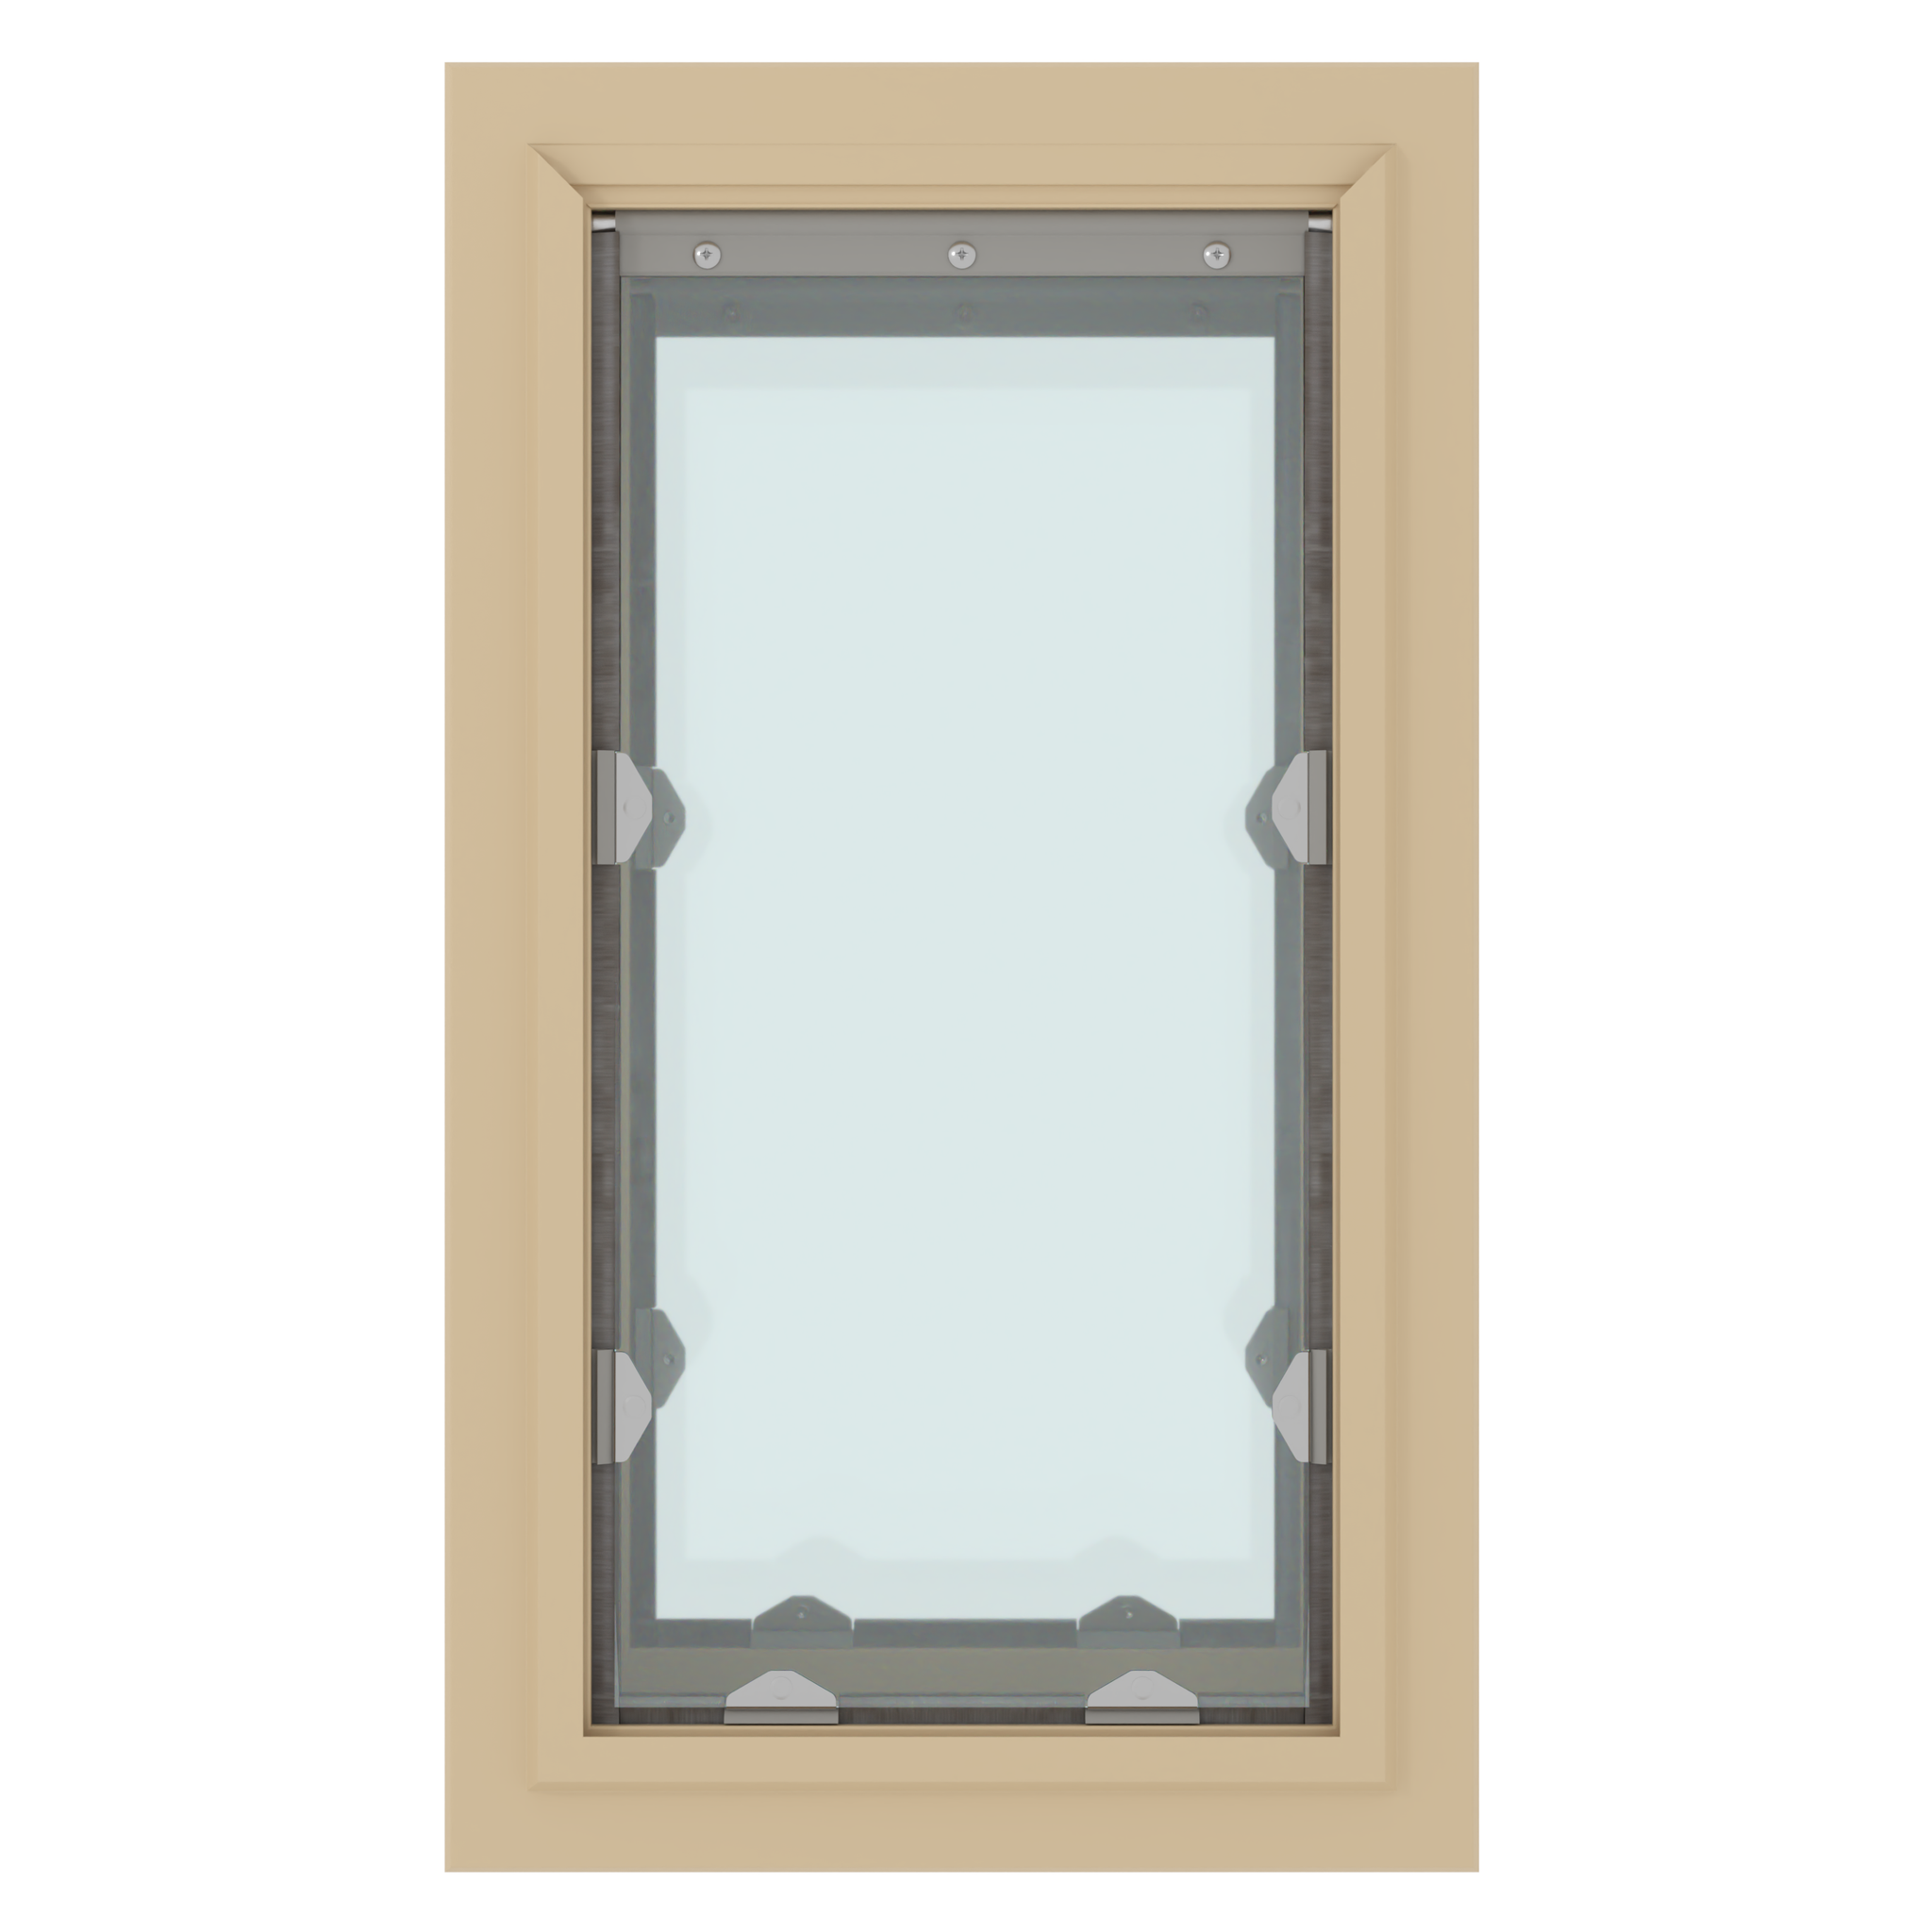
Crafted to withstand the elements, the door's clear vinyl flap can function in the most frigid temperatures while offering your pets a transparent view. The lightweight flap is easy for timid pets to use, and is perfect for homes where dogs and cats share the same pet door. The flap can also be easily cleaned with dish soap and water.
The magnets and weatherstripping on the flap protect your home in both heat waves and cold fronts. Whether in high heat or frigid cold, the magnets adjust with your flap to protect against shrinkage and expansion, and ensure a secure seal.
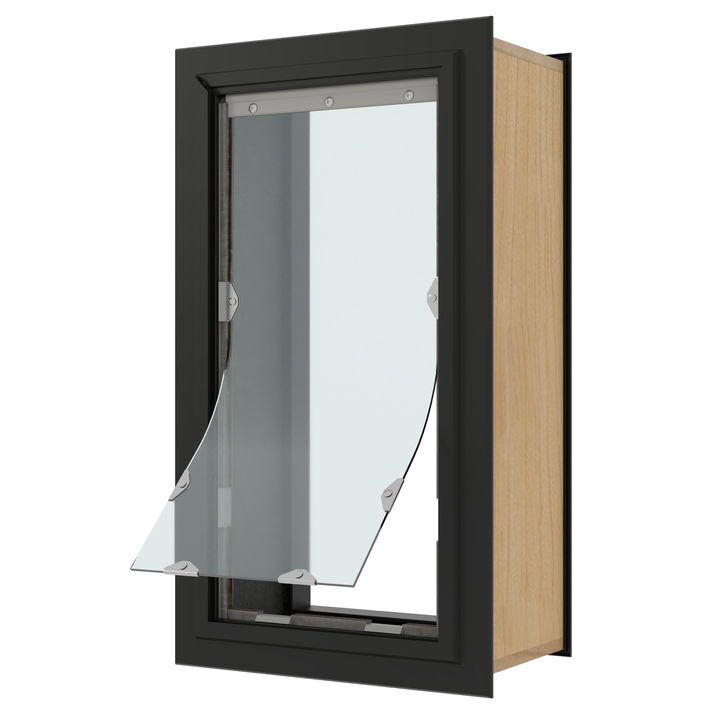
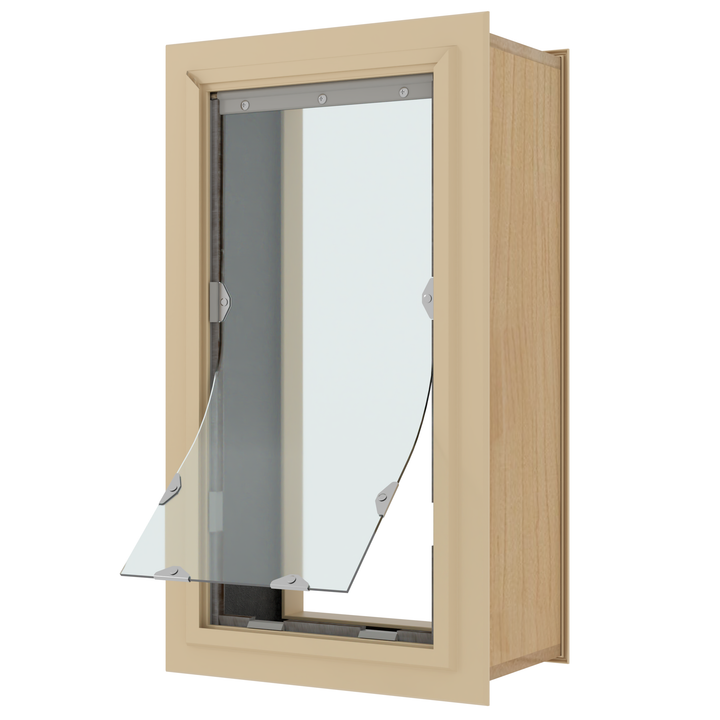
Uniquely engineered for walls ranging from 2" to 7 3/4" thick, this pet door stands out for its adaptability and ease of installation. The wood tunnel and protective sealing tape included simplify the installation process, making it a seamless addition to your home. The flap installs with three screws and swings on a rod for increase durability.
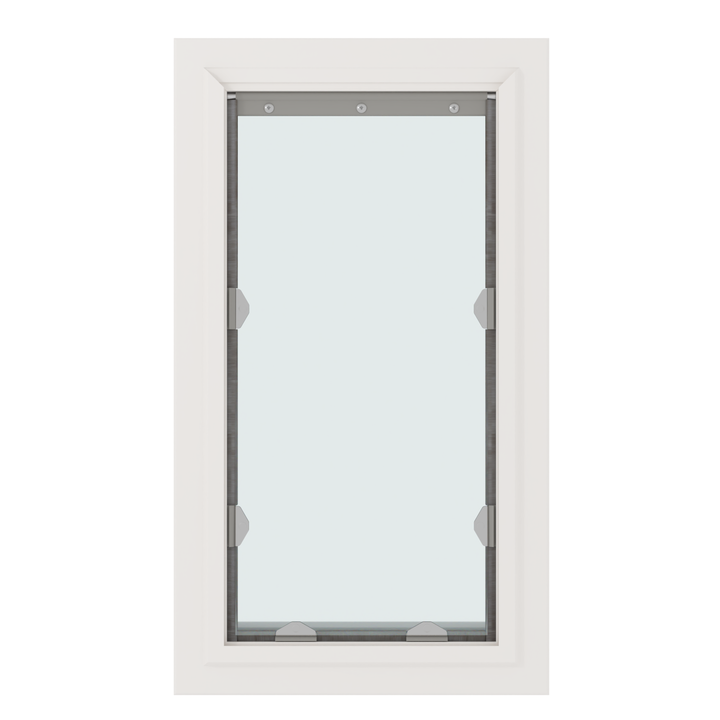
Not just functional, the aluminum outer frame (available in white, black or tan), adds a touch of elegance, blending seamlessly into your home decor.
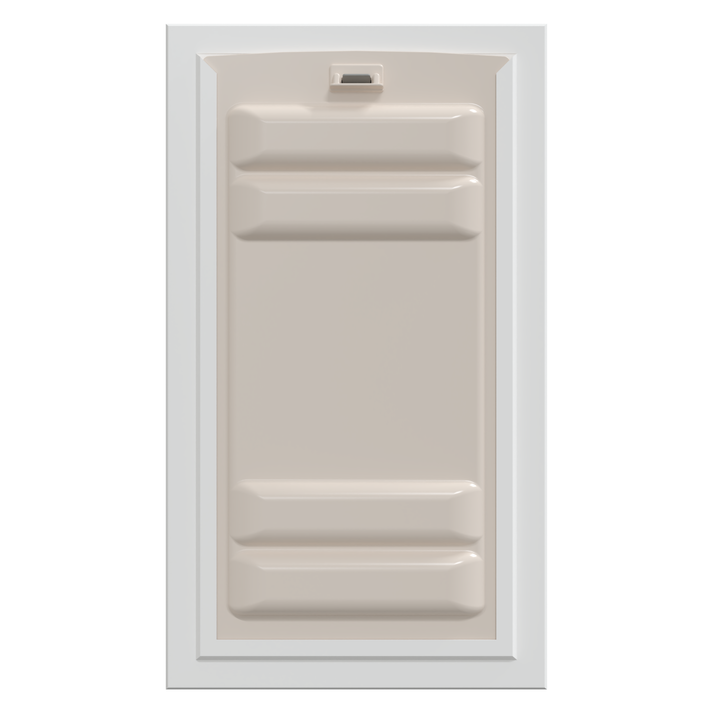
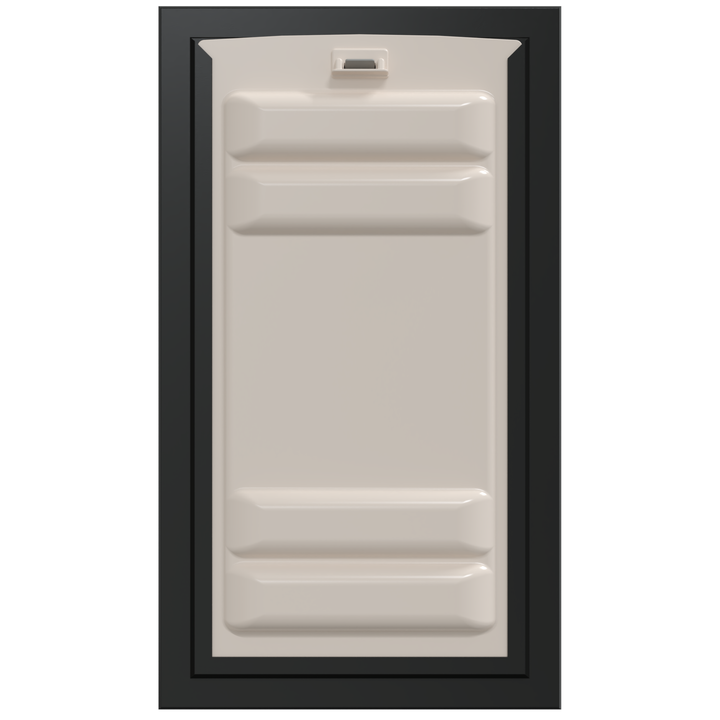
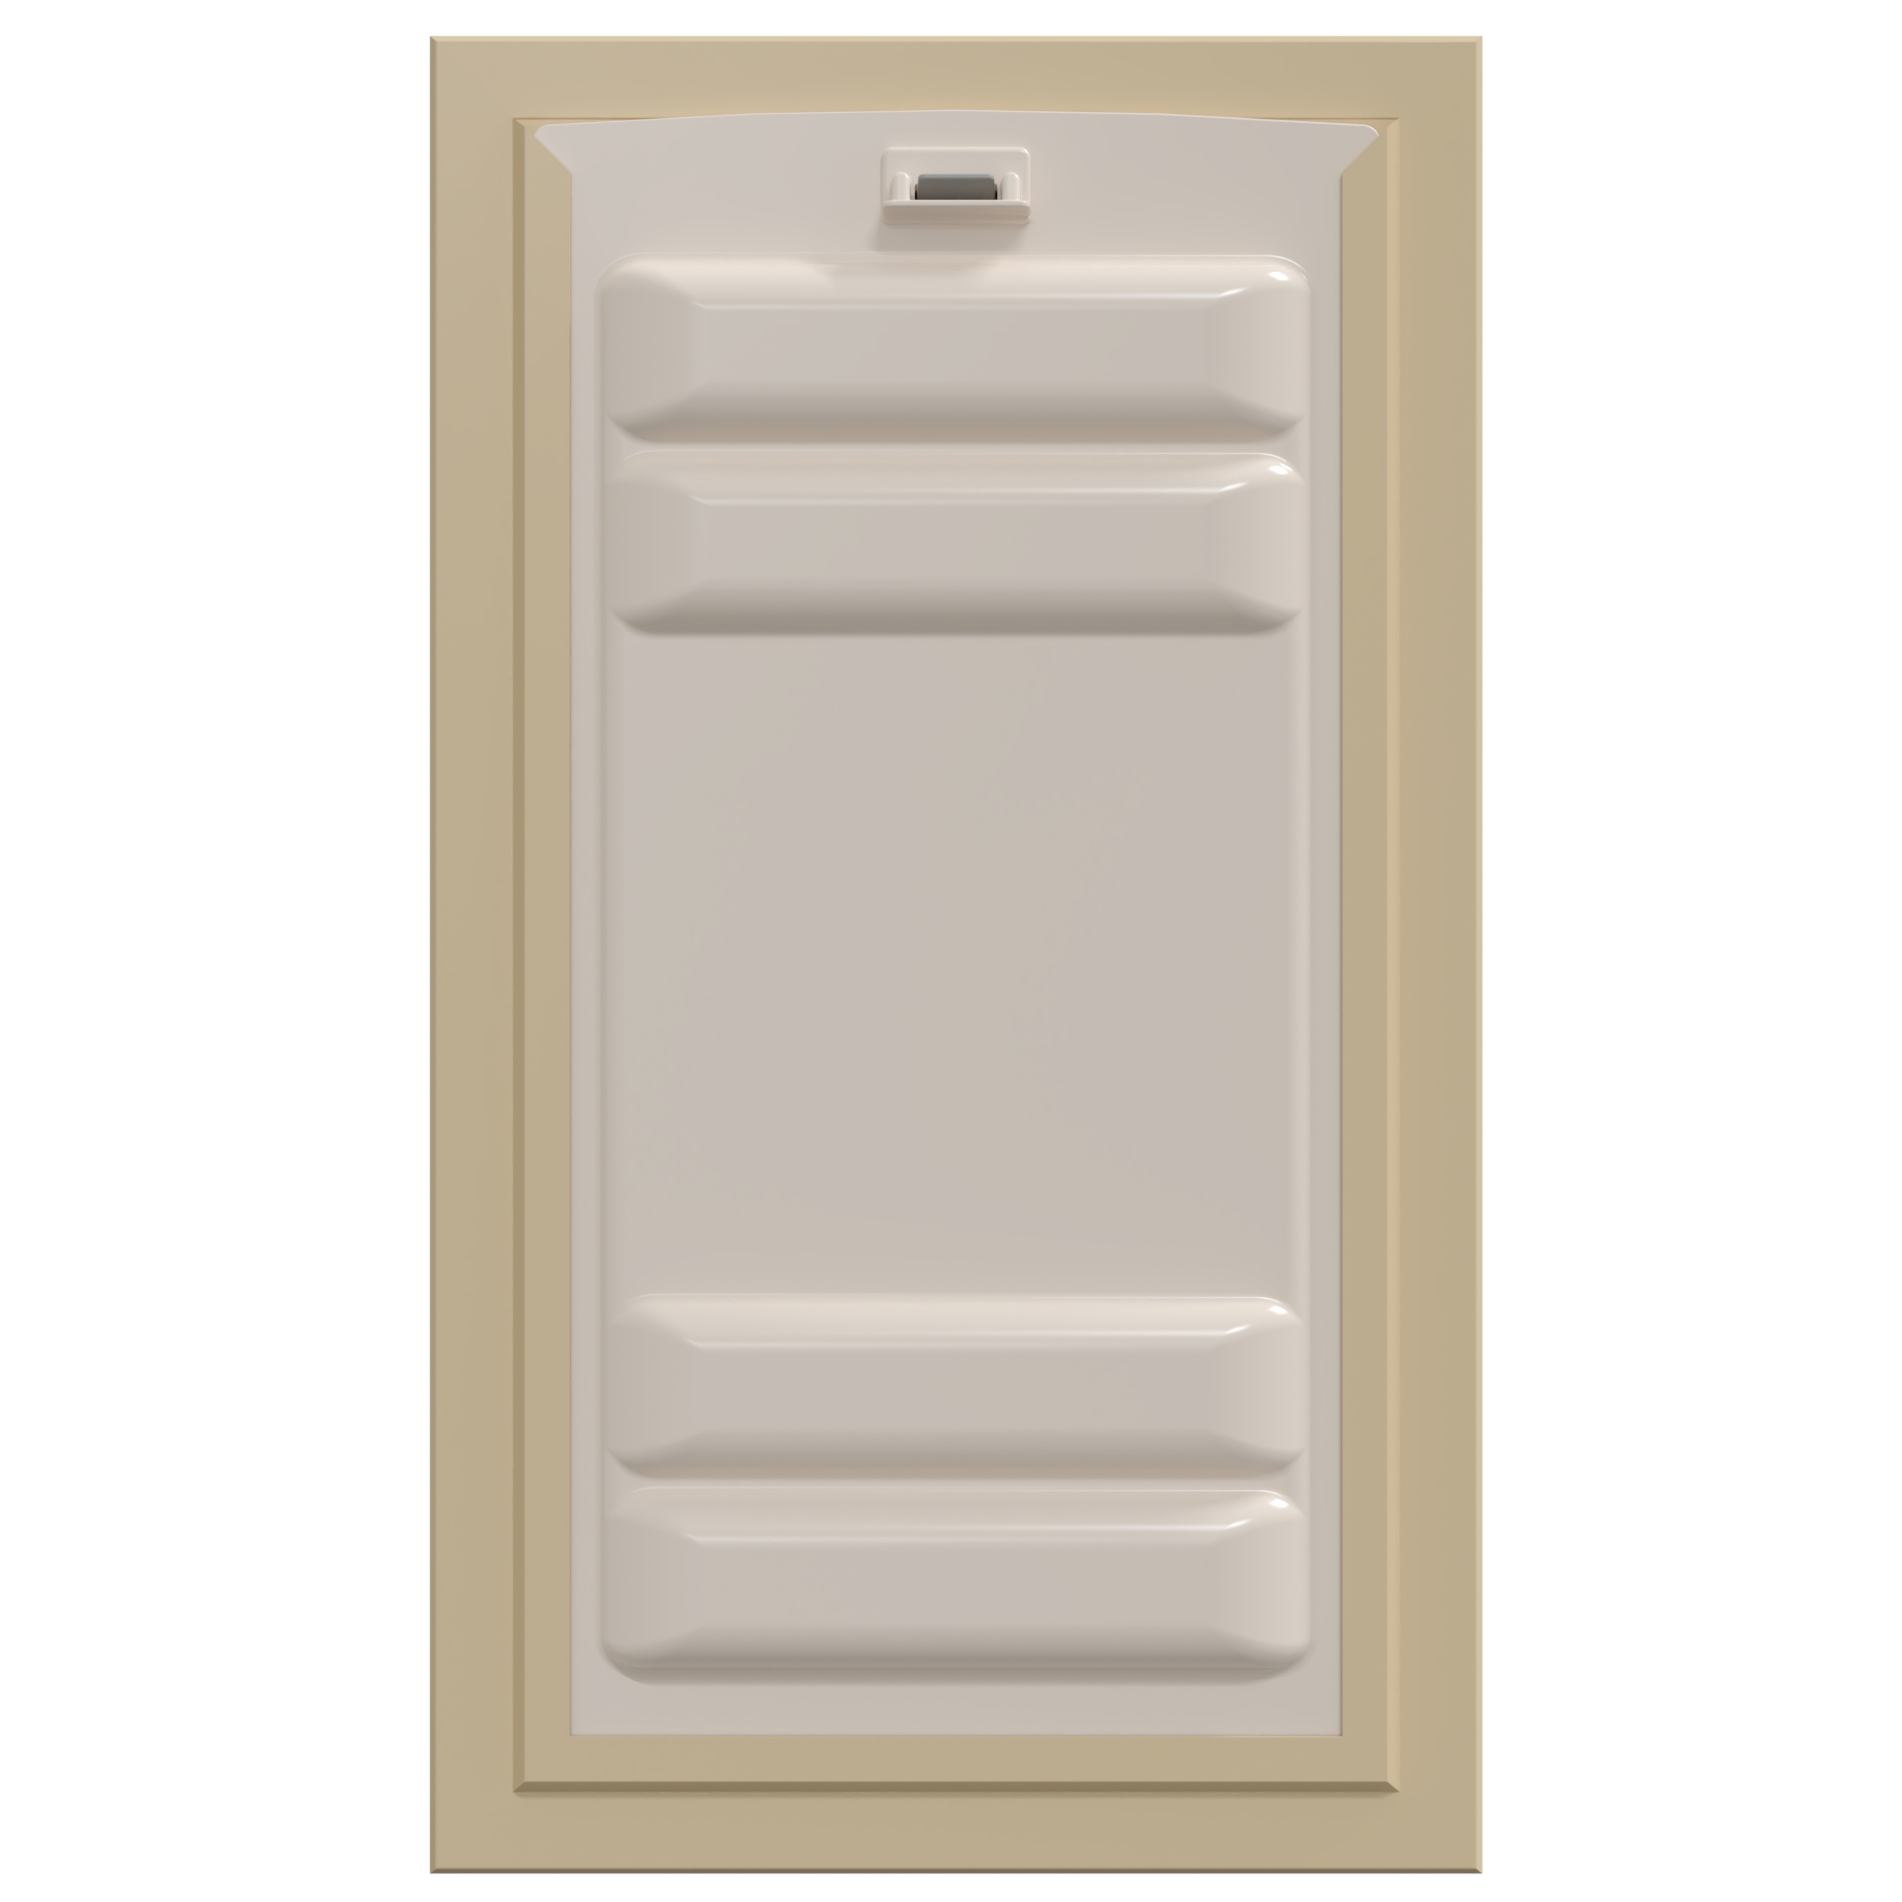
Beyond its aesthetics, this pet door is designed to prioritize your peace of mind. The sturdy locking cover slides over the flap to secure your pet door against outdoor critters when you are away. Made by American craftsmanship, this the Liberty Pet Door is made with durability in mind so that it can withstand harsh weather and frequent use.
The Liberty Pet Door for Walls represents a lifestyle upgrade, both for you and your pets. It epitomizes the ideal blend of practicality, style, and long-lasting quality, making it the preferred choice for anyone who wants the best for their home and pets.
Features:
- Size Flexibility: Select from multiple flap sizes and single or double flap options to suit different pet needs.
- Security Assured: Includes a sturdy locking cover for added safety and peace of mind.
- Easy for Pets: Clear, lightweight flap design is perfect for both small and large pets, making it perfect for multi-pet households.
- Simple Maintenance: The flap is easy to clean with dish soap and a wet cloth, ideal for high-traffic pet doors; the flap is also easy to replace when needed.
- Proudly American: Manufactured in the USA, ensuring top-notch quality and durability.


Size Chart
- Small 6" w x 12" h
- Medium 8" w x 16" h
- Large 10" w x 20" h
- Extra Large 12" w x 24" h
Flap Dimensions:
6" w x 12" h
The entry way your dog goes through.Outside Frame Dimensions
10 1/8" w x 16 3/4" h
The outer edge of the pet door.


Rough Cut Out:
8" w x 14 5/8" h
The size of the hole needed to fit your pet door into your door.Flap Dimensions:
8" w x 16" h
The entry way your dog goes through.Outside Frame Dimensions
12 1/8" w x 20 13/16" h
The outer edge of the pet door.


Rough Cut Out:
10" w x 18 5/8" h
The size of the hole needed to fit your pet door into your door.Flap Dimensions:
10" w x 20" h
The entry way your dog goes through.Outside Frame Dimensions
14 3/16" w x 24 13/16"
The outer edge of the pet door.


Rough Cut Out:
12 1/8" w x 22 5/8" h
The size of the hole needed to fit your pet door into your door.Flap Dimensions:
12" w x 24" h
The entry way your dog goes through.Outside Frame Dimensions
16 1/4" w x 28 7/8" h
The outer edge of the pet door.


Rough Cut Out:
14 3/8" w x 26 5/8" h
The size of the hole needed to fit your pet door into your door.| Flap Size | Flap Dimension | Rough Cut Out | Outside Frame Dimension | Recommended Pet Height |
|---|---|---|---|---|
| Small | 6" w x 12" h | 8" w x 14 5/8" h | 10 1/8" w x 16 3/4" h | 9" - 17" |
| Medium | 8" w x 16" h | 10" w x 18 5/8" h | 12 1/8" w x 20 13/16" h | 9" - 23" |
| Large | 10" w x 20" h | 12 1/8" w x 22 5/8" h | 14 3/16" w x 24 13/16" | 9" - 29" |
| Extra Large | 12" w x 24" h | 14 3/8" w x 26 5/8" h | 16 1/4" w x 28 7/8" h | 9" - 37" |
Number of Flaps:
- 1 - Single Flap: Flap on the inside of the wall (same side as locking cover).
- 2 - Double Flap: One flap on each side. The included dead-air-space and extra flap add significantly to its insulation and sealing values.
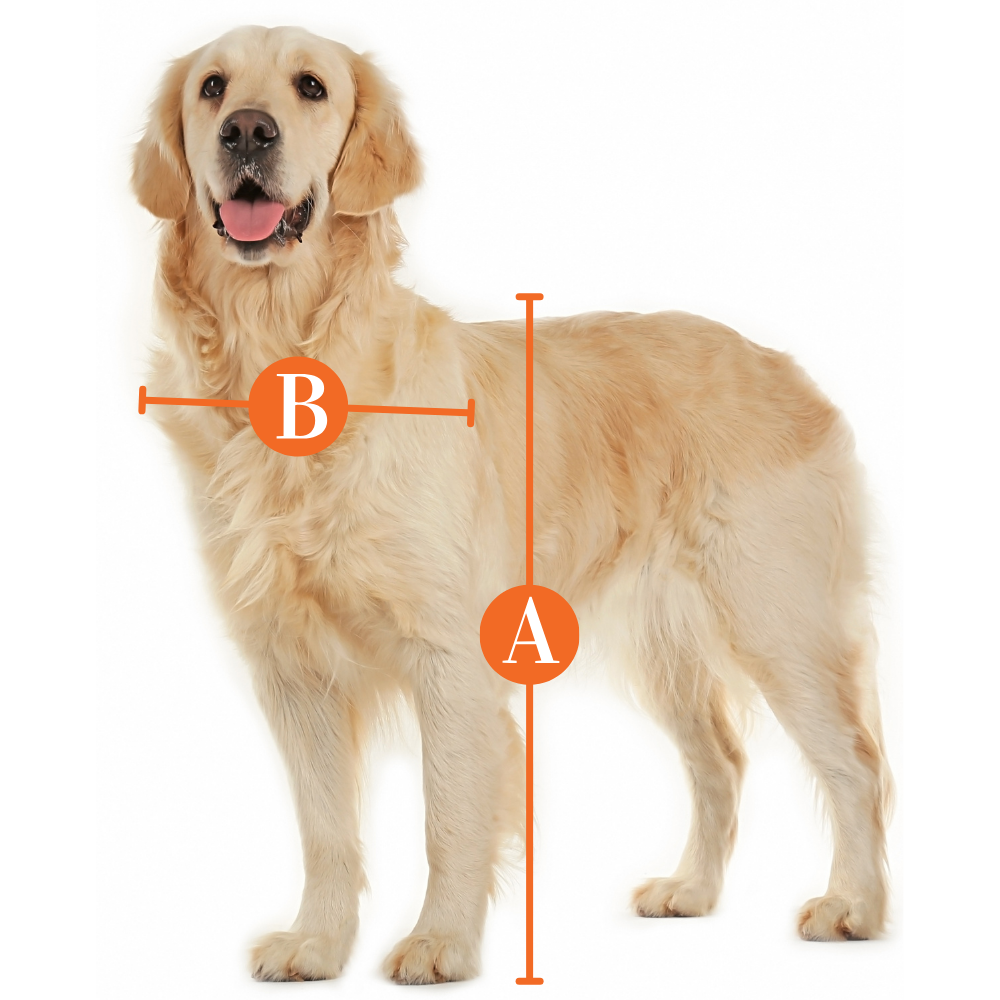
Find The Best Pet Door Size For My Pet

A
Pet Height: inches
B
Pet Width: inches
Installation Instructions

 Difficulty
High
Difficulty
High
 Steps
15
Steps
15
 Time Required
2-3 hours
Time Required
2-3 hours
 Sections
04
Sections
04
 Flags
01
Flags
01
Parts
- 4 Corner Brackets
- 24 Wood Screws
- 1 Long Wood Screw
- 1 Roll of Sealing Tunnel Tape
- 1 Tube of Silicone
- 1 Hole Transfer Jig with Level
- 1 Locking Cover
- 1 Cutout Template
- 6 Plywood Tunnel Pieces (4 for XL)
- 1 Inside Frame
- 1 Outside Frame
Tools
- Pencil
- Hammer/Mallet
- Measuring Tape
- Electric Drill
- Safety Gear
- Stud Finder
- Drywall Knife (or other for cutting inner wall)
- Saw for Cutting Outer Wall (compatible with your wall material)
- Razorblade (for trimming tape)
- ⅜” Drill Bit
- Philips Screwdriver
Step 1 Measure Your Pet


- Measure your pet and make a mark at least 3” above your pet’s height on your wall, this will line up with the top of the template.
- If a height taller than the max is needed, you will need to cut a new piece of lumber for your pet door tunnel.
Step 2 Prepare Wall for Installation

- Find a section of your wall that is against a stud on one side, but does not contain any plumbing or wiring.
- Extra-Large Size Only: This section will span from stud to stud for typical stud spacing of 16” on center (14.5" between studs).
Step 3 Make the Rough Cutout

| Wall Mount Template Dimensions | ||
|---|---|---|
| Flap Size | Width | Height |
| Small | 8" | 14-5/8" |
| Medium | 10" | 18-5/8" |
| Large | 12-1/8" | 22-5/8" |
| Extra Large | 14-3/8" | 26-5/8" |
- Line up the provided template with the edge of the stud and tape it to the wall. Trace the side of the template along the stud. Remove the template, then cut along the stud line with a saw.
- Line up the template again, adjusting to match the edge of the stud. Trace the remaining outline of the template. Remove the template and cut the rest of the lines drawn.
Step 4 Measure the Studs

- Determine the width of tunnel pieces to use by test fitting each width or measuring the width of studs inside the wall.
- For 2x4 studs, use the narrower (3.5”) plywood sections.
- For 2x6 studs, use the wider (5.5”) plywood sections.
Step 5 Insert the Vertical Tunnel Piece


- Screw the long wood screw halfway into the middle of the vertical piece to act as a handle. Insert the vertical tunnel section inside the wall cavity and tap into place with a mallet or hammer. The face of the plywood should be flush with the cutout. Add back any insulation that can fit under the cutout.
- Extra-Large Size Only: For standard 16" on center studs, the top and bottom pieces will span from stud to stud so you can skip this step.
- Extra-Large Size Only: For non-standard stud spacing, you will need to get wood from a local hardware store to create the frame for the pet door. The frame opening should match the size of the provided template.
Step 6 Install Corner Brackets

- Pre-install the four corner brackets at both ends of the two shorter plywood sections that match the width of your studs. The brackets must be flush with the edge of the short plywood pieces and centered.
Step 7 Install Bottom and Top Tunnel Pieces


- Insert the bottom tunnel piece and screw it into the existing stud making sure it is even with the cut edge of the drywall and level or slightly angled down towards the outside. You may need a hammer/mallet to tap it into place if the fit is snug.
- Screw the bottom tunnel piece to the vertical tunnel piece, making sure the vertical tunnel piece is resting on the bottom of the inner wall for support.
- Use the long wood screw partially inserted into the vertical piece to hold onto it.
- Insert the top tunnel piece and screw it into the existing stud and vertical tunnel piece making sure it’s level and even with the cut edge of the drywall.
Step 8 Drill Through the Outer Wall


- Remove the long screw from the vertical tunnel piece.
- Using the provided transfer jig, drill ⅜” holes through the outer wall from the inside of the opening on the top-left and bottom-right corners.
Step 9 Mark Where to Cut the Outer Wall


- From the outside, line up the hole transfer jig with the drilled holes. Level the hole transfer jig and mark the jig’s corners on your wall.
- Using the template lined up with marked corners, mark all cut lines.
Step 10 Cut Outer Wall Opening

- Cut along the inside of the lines as accurately as possible.
- Trim up any areas that aren’t flush with the plywood tunnel. Clean the inside of your wall of any dust or debris.
Step 11a Prepare Tunnel for Sealing Tunnel Tape

- Make sure the tunnel area is clean and dry.
- To apply the sealing tunnel tape, start at the middle of the upper tunnel and apply the tape all around the tunnel, ending with a slight overlap at the top. Make sure to press the tape tightly into the corners as you go.
- Once in place, firmly apply pressure all along the tape to activate the adhesive.
Step 11b Apply Sealing Tunnel Tape


- Cut each corner up to the outer wall.
- Fold back each piece of the sealing tape against the outer wall, pressing firmly.
- Apply caulking to the openings in all four corners, sealing the cut area of the tape to the outer wall.
Step 12 Screw in the Frames


- Make sure the four tabs are upright and snug to the inside frame. You may have to loosen the screw to rotate it into place using a Phillips screwdriver.
- Insert the inside frame and level it in the opening with the hole transfer jig. While holding the frame flush against the wall, use four wood screws to screw the mounting tabs to the inside of the tunnel.
- If there are larger gaps you can pre-bend the mounting tab toward the tunnel.
Step 13 Install the Outside Frame

- Repeat installation step #12 for the outside frame, making sure the flap(s) swing through both frames without interference.
Step 14 Seal the Inside Frame

- From the outside, apply silicone in the tunnel, around the sides and bottom edges of the inside frame. This will seal the tunnel tape to prevent water intrusion.
Step 15 Seal the Outside Frame


- Use a sharp razor blade to trim off any excess tunnel tape that is sticking out past the outside frame on all four sides.
- Apply silicone where the outside frame meets the exterior wall on the top and sides, but leave the bottom open to allow for drainage.
FAQ
|
How does the Liberty Pet Door for Walls install into different wall thicknesses? The two frames are joined by the wood that comes with your installation kit. You can trim the wood down to the thickness of your wall. |
|
Can the Liberty Pet Door handle extreme temperatures, both hot and cold? The Liberty pet door can withstand temperatures between 0 and 125 degrees. For an extreme weather pet door, we would recommend checking out the Endura Flap pet door. |
|
Are any other colors available for the Liberty Pet Door's aluminum frame? No. At this time, the frame is only available in white, black, and tan. |
|
Is the flap on the Liberty Pet Door durable for both small and large pets? Yes! The door is made to withstand frequent use from all kinds of pets. |
|
What sizes are available for the Liberty Pet Door, and how do I choose the right one? The Liberty Pet Door is available in sizes small, medium, large, and extra large. The ideal flap size is one that will be at least 1” taller than the tallest point of your dog’s back when it is installed into the wall. You can check out our measuring guide for more details. |
|
How easy is it to clean the flap on the Liberty Pet Door? It is extremely easy to clean the flap. All you need to do is wipe it down with warm water and mild dish soap. Do not use any cleaners as you may damage the vinyl. |
|
Can the Liberty Pet Door be installed in any area of the wall? To maintain the integrity of your wall, we suggest installing the door at least 3” above the floorboards. Beyond that, you can install the door anywhere with corresponding studs. |
|
What materials are used in the construction of the Liberty Pet Door? The frame for the Liberty Pet Door is made from aluminum while the flap is made from vinyl. |
|
How secure is the locking cover on the Liberty Pet Door? The locking cover is perfect for keeping pets and other animals from accessing the flap. A determined person or raccoon could figure out how to lift it up from the other side, though. |
|
Is the Liberty Pet Door suitable for both dogs and cats? Yes! The flap can be used by dogs, cats, and both at the same time! Just make sure that the flap is tall enough for your tallest pet while the door is installed low enough for your smallest pet to step through. |
|
How does the flap design ensure ease of use for timid pets? Unlike other high quality pet doors, the flap is made from clear vinyl, which allows pets to see what is on the other side of the door. This can ease the anxiety of pets who are hesitant to step into a room without knowing what is going on. |
|
What is the warranty period for the Liberty Pet Door, and what does it cover? The warranty lasts for 3 years, and covers manufacturing defects. The warranty does not cover mistakes made during installation and damage caused by pet chewing. Are replacement flaps available for the Liberty Pet Door? |
|
How does the Liberty Pet Door contribute to energy efficiency in a home? The flap’s magnetic closures keep the flap closed against wind and rain. The weather stripping lining, as well as the option double flap configuration, adds extra insulation and prevents drafts. |
|
What tools and materials are included for the installation of the Liberty Pet Door? The Liberty Pet Door for walls comes with the following: 4 Corner Brackets, 24 Wood Screws, 1 Long Wood Screw, 1 Roll of Sealing Tunnel Tape, 1 Tube of Silicone, 1 Hole Transfer Jig with Level, 1 Locking Cover, 1 Cutout Template, 6 Plywood Tunnel Pieces (4 for XL), 1 Inside Frame, and 1 Outside Frame. |
|
How long does the installation process take for the Liberty Pet Door? The installation process is involved and recommended for skilled handyman only. Depending on your level of expertise and your wall, installation can take up to a few hours. |
|
How do I measure my pet to ensure the Liberty Pet Door fits correctly? Use a measuring tape to find your pet’s height from the floor to the tallest point of their backs. Their ideal pet door size is one that, when installed, will be at least 1” taller than their height. Check out our measuring guide for more details. |
|
Can the Liberty Pet Door be customized for pets with limited mobility? For pets with limited mobility, we recommend sticking to the single flap model and installing the pet door as low to the ground as possible. If your pet is having difficulties opening the flap, you can put tape on the magnets to make them less strong. |
|
How much does shipping cost? Shipping is calculated at checkout. |
Warranty
Liberty Pet Doors have a three-year warranty for normal wear & tear and manufacturing defects.Customer Reviews

Size Chart
- Small 6" w x 12" h
- Medium 8" w x 16" h
- Large 10" w x 20" h
- Extra Large 12" w x 24" h
Flap Dimensions:
6" w x 12" h
The entry way your dog goes through.Outside Frame Dimensions
10 1/8" w x 16 3/4" h
The outer edge of the pet door. Rough Cut Out:
8" w x 14 5/8" h
The size of the hole needed to fit your pet door into your door.Flap Dimensions:
8" w x 16" h
The entry way your dog goes through.Outside Frame Dimensions
12 1/8" w x 20 13/16" h
The outer edge of the pet door. Rough Cut Out:
10" w x 18 5/8" h
The size of the hole needed to fit your pet door into your door.Flap Dimensions:
10" w x 20" h
The entry way your dog goes through.Outside Frame Dimensions
14 3/16" w x 24 13/16"
The outer edge of the pet door. Rough Cut Out:
12 1/8" w x 22 5/8" h
The size of the hole needed to fit your pet door into your door.Flap Dimensions:
12" w x 24" h
The entry way your dog goes through.Outside Frame Dimensions
16 1/4" w x 28 7/8" h
The outer edge of the pet door. Rough Cut Out:
14 3/8" w x 26 5/8" h
The size of the hole needed to fit your pet door into your door.| Flap Size | Flap Dimension | Rough Cut Out | Outside Frame Dimension | Recommended Pet Height |
|---|---|---|---|---|
| Small | 6" w x 12" h | 8" w x 14 5/8" h | 10 1/8" w x 16 3/4" h | 9" - 17" |
| Medium | 8" w x 16" h | 10" w x 18 5/8" h | 12 1/8" w x 20 13/16" h | 9" - 23" |
| Large | 10" w x 20" h | 12 1/8" w x 22 5/8" h | 14 3/16" w x 24 13/16" | 9" - 29" |
| Extra Large | 12" w x 24" h | 14 3/8" w x 26 5/8" h | 16 1/4" w x 28 7/8" h | 9" - 37" |
Number of Flaps:
- 1 - Single Flap: Flap on the inside of the wall (same side as locking cover).
- 2 - Double Flap: One flap on each side. The included dead-air-space and extra flap add significantly to its insulation and sealing values.
Find The Best Pet Door Size For My Pet
A
Pet Height: inches
B
Pet Width: inches
Installation Instructions
Difficulty
High
Steps
15
Time Required
2-3 hours
Sections
04
Flags
01
Parts
- 4 Corner Brackets
- 24 Wood Screws
- 1 Long Wood Screw
- 1 Roll of Sealing Tunnel Tape
- 1 Tube of Silicone
- 1 Hole Transfer Jig with Level
- 1 Locking Cover
- 1 Cutout Template
- 6 Plywood Tunnel Pieces (4 for XL)
- 1 Inside Frame
- 1 Outside Frame
Tools
- Pencil
- Hammer/Mallet
- Measuring Tape
- Electric Drill
- Safety Gear
- Stud Finder
- Drywall Knife (or other for cutting inner wall)
- Saw for Cutting Outer Wall (compatible with your wall material)
- Razorblade (for trimming tape)
- ⅜” Drill Bit
- Philips Screwdriver
Step 1 Measure Your Pet
- Measure your pet and make a mark at least 3” above your pet’s height on your wall, this will line up with the top of the template.
- If a height taller than the max is needed, you will need to cut a new piece of lumber for your pet door tunnel.
Step 2 Prepare Wall for Installation
- Find a section of your wall that is against a stud on one side, but does not contain any plumbing or wiring.
- Extra-Large Size Only: This section will span from stud to stud for typical stud spacing of 16” on center (14.5" between studs).
Step 3 Make the Rough Cutout
| Wall Mount Template Dimensions | ||
|---|---|---|
| Flap Size | Width | Height |
| Small | 8" | 14-5/8" |
| Medium | 10" | 18-5/8" |
| Large | 12-1/8" | 22-5/8" |
| Extra Large | 14-3/8" | 26-5/8" |
- Line up the provided template with the edge of the stud and tape it to the wall. Trace the side of the template along the stud. Remove the template, then cut along the stud line with a saw.
- Line up the template again, adjusting to match the edge of the stud. Trace the remaining outline of the template. Remove the template and cut the rest of the lines drawn.
Step 4 Measure the Studs
- Determine the width of tunnel pieces to use by test fitting each width or measuring the width of studs inside the wall.
- For 2x4 studs, use the narrower (3.5”) plywood sections.
- For 2x6 studs, use the wider (5.5”) plywood sections.
Step 5 Insert the Vertical Tunnel Piece
- Screw the long wood screw halfway into the middle of the vertical piece to act as a handle. Insert the vertical tunnel section inside the wall cavity and tap into place with a mallet or hammer. The face of the plywood should be flush with the cutout. Add back any insulation that can fit under the cutout.
- Extra-Large Size Only: For standard 16" on center studs, the top and bottom pieces will span from stud to stud so you can skip this step.
- Extra-Large Size Only: For non-standard stud spacing, you will need to get wood from a local hardware store to create the frame for the pet door. The frame opening should match the size of the provided template.
Step 6 Install Corner Brackets
- Pre-install the four corner brackets at both ends of the two shorter plywood sections that match the width of your studs. The brackets must be flush with the edge of the short plywood pieces and centered.
Step 7 Install Bottom and Top Tunnel Pieces
- Insert the bottom tunnel piece and screw it into the existing stud making sure it is even with the cut edge of the drywall and level or slightly angled down towards the outside. You may need a hammer/mallet to tap it into place if the fit is snug.
- Screw the bottom tunnel piece to the vertical tunnel piece, making sure the vertical tunnel piece is resting on the bottom of the inner wall for support.
- Use the long wood screw partially inserted into the vertical piece to hold onto it.
- Insert the top tunnel piece and screw it into the existing stud and vertical tunnel piece making sure it’s level and even with the cut edge of the drywall.
Step 8 Drill Through the Outer Wall
- Remove the long screw from the vertical tunnel piece.
- Using the provided transfer jig, drill ⅜” holes through the outer wall from the inside of the opening on the top-left and bottom-right corners.
Step 9 Mark Where to Cut the Outer Wall
- From the outside, line up the hole transfer jig with the drilled holes. Level the hole transfer jig and mark the jig’s corners on your wall.
- Using the template lined up with marked corners, mark all cut lines.
Step 10 Cut Outer Wall Opening
- Cut along the inside of the lines as accurately as possible.
- Trim up any areas that aren’t flush with the plywood tunnel. Clean the inside of your wall of any dust or debris.
Step 11a Prepare Tunnel for Sealing Tunnel Tape
- Make sure the tunnel area is clean and dry.
- To apply the sealing tunnel tape, start at the middle of the upper tunnel and apply the tape all around the tunnel, ending with a slight overlap at the top. Make sure to press the tape tightly into the corners as you go.
- Once in place, firmly apply pressure all along the tape to activate the adhesive.
Step 11b Apply Sealing Tunnel Tape
- Cut each corner up to the outer wall.
- Fold back each piece of the sealing tape against the outer wall, pressing firmly.
- Apply caulking to the openings in all four corners, sealing the cut area of the tape to the outer wall.
Step 12 Screw in the Frames
- Make sure the four tabs are upright and snug to the inside frame. You may have to loosen the screw to rotate it into place using a Phillips screwdriver.
- Insert the inside frame and level it in the opening with the hole transfer jig. While holding the frame flush against the wall, use four wood screws to screw the mounting tabs to the inside of the tunnel.
- If there are larger gaps you can pre-bend the mounting tab toward the tunnel.
Step 13 Install the Outside Frame
- Repeat installation step #12 for the outside frame, making sure the flap(s) swing through both frames without interference.
Step 14 Seal the Inside Frame
- From the outside, apply silicone in the tunnel, around the sides and bottom edges of the inside frame. This will seal the tunnel tape to prevent water intrusion.
Step 15 Seal the Outside Frame
- Use a sharp razor blade to trim off any excess tunnel tape that is sticking out past the outside frame on all four sides.
- Apply silicone where the outside frame meets the exterior wall on the top and sides, but leave the bottom open to allow for drainage.
FAQ
|
How does the Liberty Pet Door for Walls install into different wall thicknesses? The two frames are joined by the wood that comes with your installation kit. You can trim the wood down to the thickness of your wall. |
|
Can the Liberty Pet Door handle extreme temperatures, both hot and cold? The Liberty pet door can withstand temperatures between 0 and 125 degrees. For an extreme weather pet door, we would recommend checking out the Endura Flap pet door. |
|
Are any other colors available for the Liberty Pet Door's aluminum frame? No. At this time, the frame is only available in white, black, and tan. |
|
Is the flap on the Liberty Pet Door durable for both small and large pets? Yes! The door is made to withstand frequent use from all kinds of pets. |
|
What sizes are available for the Liberty Pet Door, and how do I choose the right one? The Liberty Pet Door is available in sizes small, medium, large, and extra large. The ideal flap size is one that will be at least 1” taller than the tallest point of your dog’s back when it is installed into the wall. You can check out our measuring guide for more details. |
|
How easy is it to clean the flap on the Liberty Pet Door? It is extremely easy to clean the flap. All you need to do is wipe it down with warm water and mild dish soap. Do not use any cleaners as you may damage the vinyl. |
|
Can the Liberty Pet Door be installed in any area of the wall? To maintain the integrity of your wall, we suggest installing the door at least 3” above the floorboards. Beyond that, you can install the door anywhere with corresponding studs. |
|
What materials are used in the construction of the Liberty Pet Door? The frame for the Liberty Pet Door is made from aluminum while the flap is made from vinyl. |
|
How secure is the locking cover on the Liberty Pet Door? The locking cover is perfect for keeping pets and other animals from accessing the flap. A determined person or raccoon could figure out how to lift it up from the other side, though. |
|
Is the Liberty Pet Door suitable for both dogs and cats? Yes! The flap can be used by dogs, cats, and both at the same time! Just make sure that the flap is tall enough for your tallest pet while the door is installed low enough for your smallest pet to step through. |
|
How does the flap design ensure ease of use for timid pets? Unlike other high quality pet doors, the flap is made from clear vinyl, which allows pets to see what is on the other side of the door. This can ease the anxiety of pets who are hesitant to step into a room without knowing what is going on. |
|
What is the warranty period for the Liberty Pet Door, and what does it cover? The warranty lasts for 3 years, and covers manufacturing defects. The warranty does not cover mistakes made during installation and damage caused by pet chewing. Are replacement flaps available for the Liberty Pet Door? |
|
How does the Liberty Pet Door contribute to energy efficiency in a home? The flap’s magnetic closures keep the flap closed against wind and rain. The weather stripping lining, as well as the option double flap configuration, adds extra insulation and prevents drafts. |
|
What tools and materials are included for the installation of the Liberty Pet Door? The Liberty Pet Door for walls comes with the following: 4 Corner Brackets, 24 Wood Screws, 1 Long Wood Screw, 1 Roll of Sealing Tunnel Tape, 1 Tube of Silicone, 1 Hole Transfer Jig with Level, 1 Locking Cover, 1 Cutout Template, 6 Plywood Tunnel Pieces (4 for XL), 1 Inside Frame, and 1 Outside Frame. |
|
How long does the installation process take for the Liberty Pet Door? The installation process is involved and recommended for skilled handyman only. Depending on your level of expertise and your wall, installation can take up to a few hours. |
|
How do I measure my pet to ensure the Liberty Pet Door fits correctly? Use a measuring tape to find your pet’s height from the floor to the tallest point of their backs. Their ideal pet door size is one that, when installed, will be at least 1” taller than their height. Check out our measuring guide for more details. |
|
Can the Liberty Pet Door be customized for pets with limited mobility? For pets with limited mobility, we recommend sticking to the single flap model and installing the pet door as low to the ground as possible. If your pet is having difficulties opening the flap, you can put tape on the magnets to make them less strong. |
|
How much does shipping cost? Shipping is calculated at checkout. |