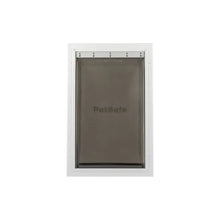
PetSafe Extreme Weather Aluminum Pet Door
- Regular price
- $278.00
- Sale price
- $278.00
- Regular price
-
- Unit price
- per
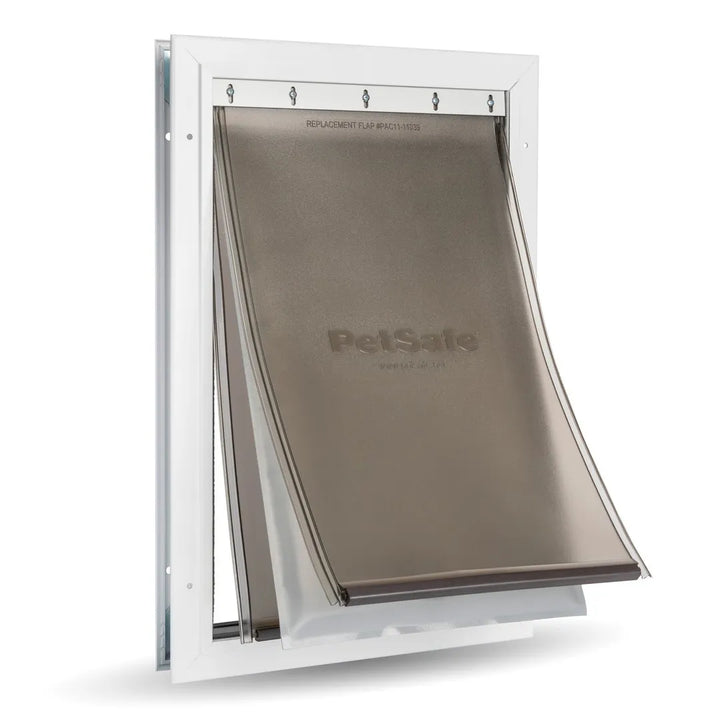
- Triple-flap design for maximum energy efficiency and weather protection
- Durable aluminum frame fits doors 1-1/2" to 2" thick
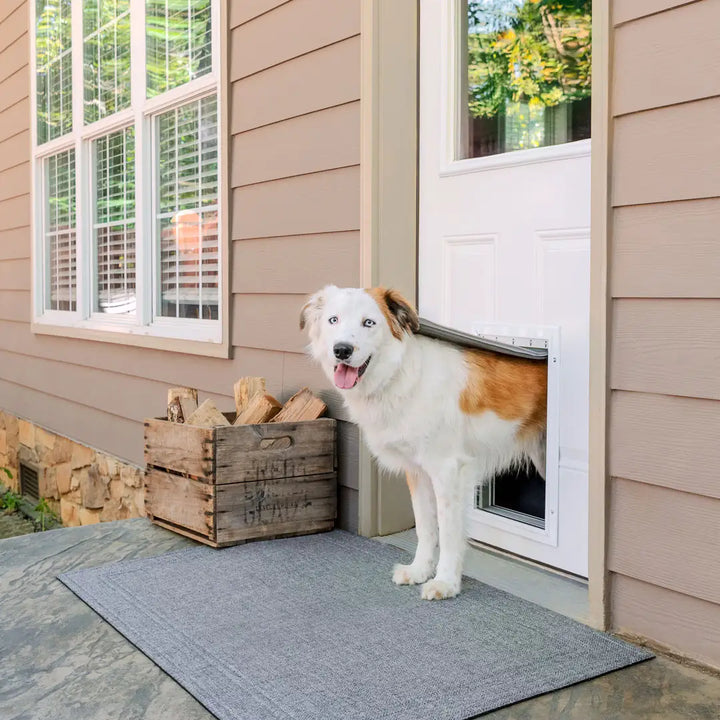
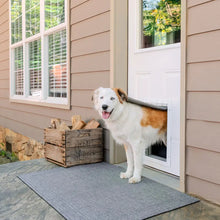
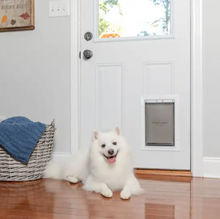
- Suitable for cats and dogs of all sizes
- Magnetic seal keeps flaps securely closed in windy conditions
- Insulating interior foam flap maintains comfortable indoor temperature
Product Details
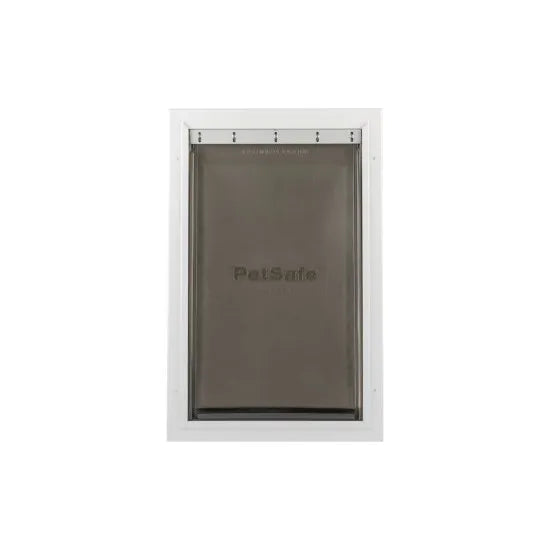
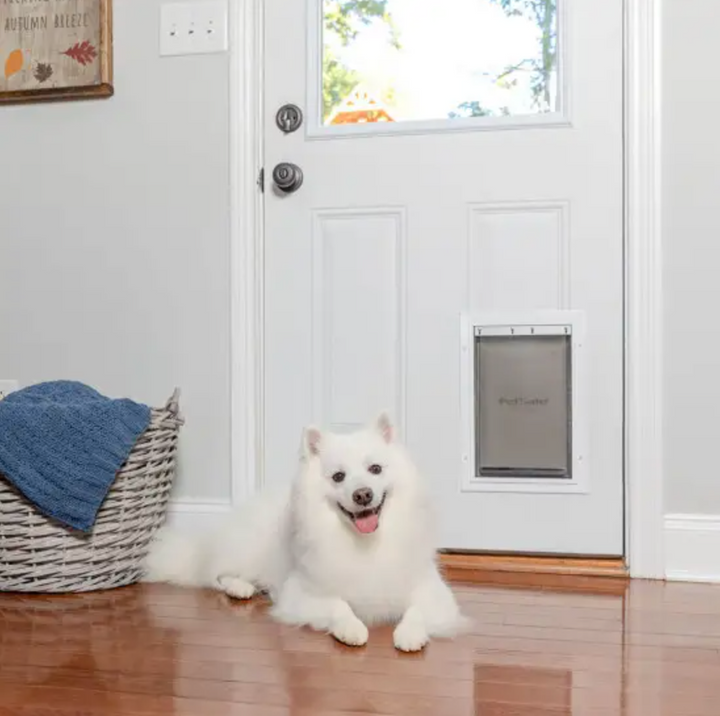
The PetSafe Extreme Weather Aluminum Pet Door provides the perfect balance between energy efficiency and convenience for both you and your furry friends. Its innovative triple-flap design ensures maximum insulation against harsh weather conditions, keeping your home comfortable all year round. The durable aluminum frame is built to last and can be easily installed in most exterior wood, paneled, PVC, and metal doors that are 1-1/2" to 2" thick.
This extreme weather pet door is a favorite among pet owners due to its versatility, accommodating cats and dogs of all sizes. The magnetic seal along the bottom of the two outer flaps ensures the door remains securely closed in windy conditions, while the insulating interior foam flap offers additional protection against the elements. No more worrying about winter drafts or sweltering summer heat!
The PetSafe Extreme Weather Aluminum Pet Door offers a great value for those looking to balance energy efficiency and affordability. Its sturdy construction and clever three-part flap design have received praise from happy pet owners who appreciate the reduced drafts and energy savings. Installation is easy, and the snap-on locking cover provides peace of mind, knowing that your pets will remain safe inside when needed.
Experience the freedom and convenience of the PetSafe Extreme Weather Aluminum Pet Door for yourself and your pets. Enjoy year-round comfort and energy savings, while providing your furry family members with the independence they crave. Invest in a pet door that stands up to the elements and gives your pets the freedom they deserve.
Features:
- Three-flap system blocks 3 times more energy than standard pet doors
- Premium, reinforced aluminum frame and corners for lasting durability
- Center insulation flap effectively combats hot and cold climates
- Compatible with standard-size paneled, wood, metal, and PVC doors
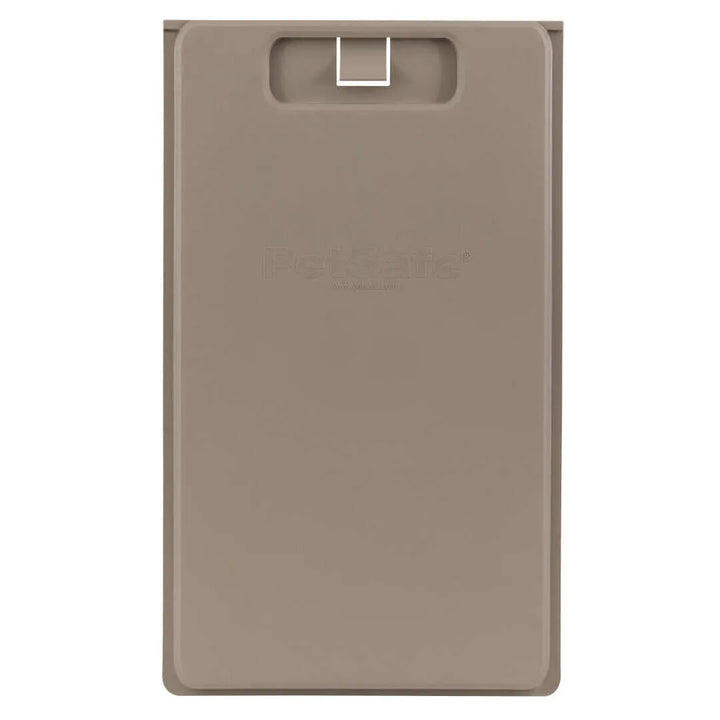
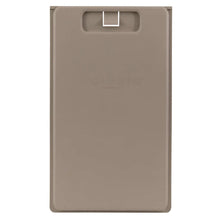
- Snap-on locking cover for added security and control of pet access
Benefits:
- Summer and winter-proof flaps
- Great for cats and dogs
- Reduces your energy bill
- Keeps out bugs
Size Chart
- Medium 8 1/4"w x 12 1/4"h
- Large 10 1/4"w x 16 1/4"h
- Extra Large 13 3/4"w x 23 3/4"h
Flap Dimensions:
8 1/4"w x 12 1/4"h
The entry way your dog goes through.Outside Frame Dimensions
10 7/8"w x 15 5/8"h
The outer edge of the pet door.


Rough Cut Out:
9 1/16"w x 13 3/4"h
The size of the hole needed to fit your pet door into your door.Flap Dimensions:
10 1/4"w x 16 1/4"h
The entry way your dog goes through.Outside Frame Dimensions
12 3/4"w x 19 5/8"h
The outer edge of the pet door.


Rough Cut Out:
11 1/16"w x 17 7/8"h
The size of the hole needed to fit your pet door into your door.Flap Dimensions:
13 3/4"w x 23 3/4"h
The entry way your dog goes through.Outside Frame Dimensions
16 1/4"w x 27 1/8"h
The outer edge of the pet door.


Rough Cut Out:
14 3/8"w x 25 2/4"h
The size of the hole needed to fit your pet door into your door.| Flap Size | Flap Dimension | Rough Cut Out | Outside Frame Dimensions | Recommended Pet Height |
|---|---|---|---|---|
| Medium | 8 ¼" x 12 ¼" | 9 1/16" x 13 ¾" | 10 7/8" x 15 5/8" | 6" - 17" |
| Large | 10 ¼" x 16 ¼" | 11 1/16" x 17 7/8" | 12 ¾" x 19 5/8" | 6" - 24" |
| Extra Large | 13 ¾" x 23 ¾" | 14 3/8" x 25 ¼" | 16 ¼" x 27 1/8" | 6" - 27" |
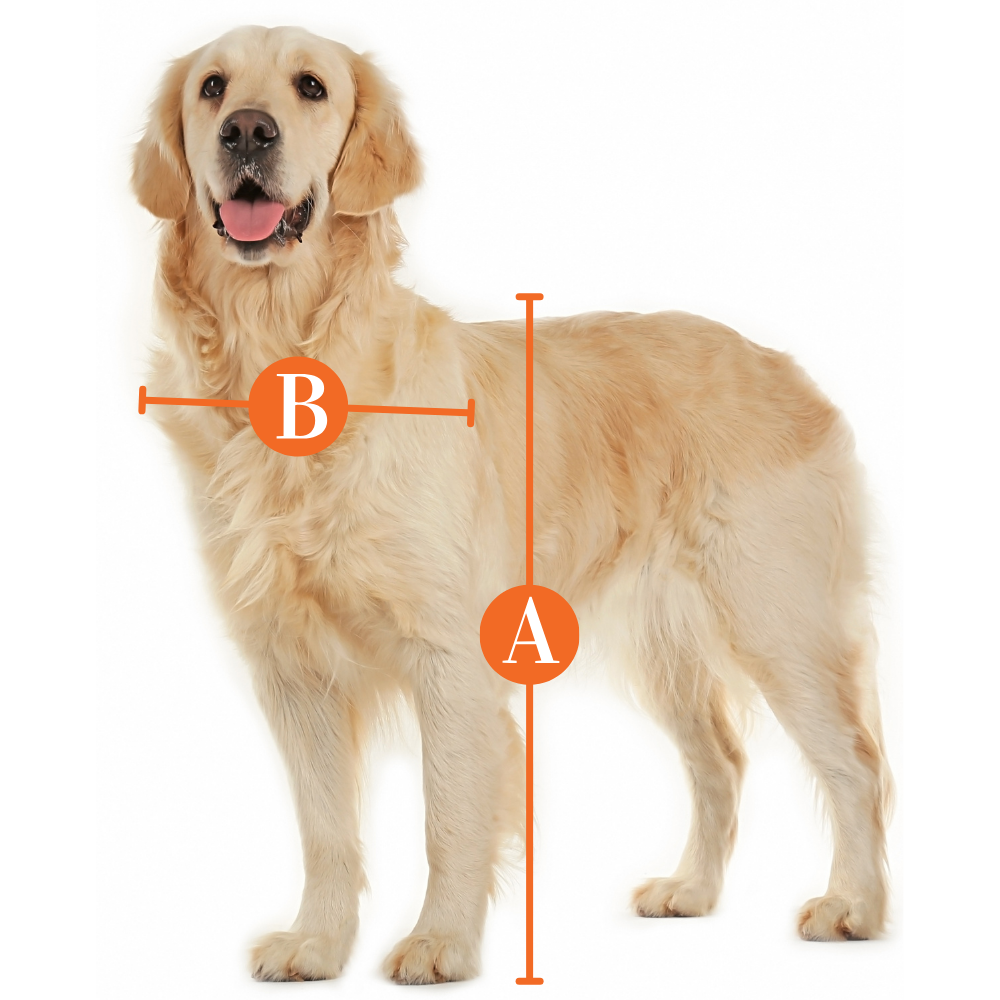
Find The Best Pet Door Size For My Pet

A
Pet Height: inches
B
Pet Width: inches
Installation Instructions
 Difficulty
High
 Steps
05
 Time Required
2-3 hours
 Sections
01
 Flags
03
Parts
- Interior Frame
- Exterior Frame
- Cutout Template
- Screw Sleeves (Medium 4 pcs., Large 4 pcs., XL 6 pcs.)
- Nylon Screws (Medium 4 pcs., Large 4 pcs., XL 6 pcs.)
- Metal Screws (Medium 4 pcs., Large 4 pcs., XL 6 pcs.)
Tools
- Tape measure
- Level
- Pencil
- Hammer and slotted screwdriver (if removing door from hinges to install pet door)
- Scissors
- Masking or painter’s tape
- Drill
- 1/2-in (12-mm) drill bit
- 1/4-in (7-mm) drill bit
- Jigsaw (or keyhole saw) with appropriate blade for the material you will be cutting
- Phillips screwdriver
- Wire cutters
- Caulk
- Safety glasses
If the mounting surface (door, wall, etc.) is not level, the pet door must still be installed level to swing properly.
When applying the cutting template, there should be a minimum of 3 inches (8 centimetres) between the bottom and sides of the door and the outer edge of the template to maintain the structural integrity of the door.
Use a manual screwdriver to tighten screws. Do not overtighten. Overtightening can strip the screws or warp the pet door frame.
Step 1 Mark the Pet Door Location

- Measure and mark your pet’s shoulder height on the inside of the door where you will install the pet door (A).
- Using a level, draw a vertical line where you want the center/centre of the pet door to be located (B).
Step 2 Prepare the Door

- If possible, remove the door from its hinges (C) and place it on a raised level surface, such as two saw horses (D). The interior side of the door should face up. Make sure there is nothing underneath the door where you will cut the opening for the pet door.
- Cut out the correct size cutting template for your pet door. Tape the cutting template to the interior side of the door, matching the shoulder and center/centre lines on the template with the shoulder and center/centre lines you drew previously (E).
- Trace the outside edge of the cutting template, making sure to connect the corners. Remove the cutting template and any excess tape from the door.
Step 3 Cut the Pet Door Opening

- Drill 1/2-inch (12-millimetre) holes just inside the corners of the drawn template (F). These will be the pilot holes for the saw blade.
- Cut between the holes you just drilled, along the drawn template lines (G).
Step 4 Drill Holes for the Frame

- Place the interior frame (the frame with one flap) in the opening and mark the screw holes (four holes for the medium and large pet doors, six holes for the x-large pet door) (H).
- Remove the frame and drill 1/4-inch (7-millimetre) holes in the marked locations (I).
Step 5 Install the Pet Door

- Place the interior frame (the frame with one flap) in the opening on the interior side of the door (J).
- Place the exterior frame (the frame with two flaps) in the opening on the exterior side of the door.
- Insert screws through the holes in the interior and exterior frames and match screw sleeves to the end of each screw
- Tighten the screws until the frames come together and the screw sleeves are flush with the exterior frame.
- If using nylon screws, cut off the excess screw length with wire cutters and remove any rough edges with a metal file.
- For best weather resistance, caulk around the exterior frame and inside the threshold where the frames meet. If you removed your door from its hinges, rehang it now.
Videos
PetSafe Extreme Weather Aluminum Pet Door
FAQ
|
What is the frame made of? The frame is made of durable aluminum. |
|
What is the middle flap made of? It is insulated foam with a vinyl covering. |
|
What replacement flaps are compatible with the outside vinyl flaps? The PetSafe "Freedom" Flaps are the only flaps compatible with the outer vinyl flaps on the PetSafe extreme weather pet door. |
|
Where can I find the center replacement flap? To replace the center insulation flap, please contact the manufacturer, PetSafe. |
|
Oh no! I over-tightened the screws and cracked the plastic bar. Where can I get a replacement? To get a replacement, please contact the manufacturer, PetSafe. |
|
Where does this door stand in terms of insulation? Compared to any of the other PetSafe single flap doors, this door is 3x more energy efficient. However, it is still not ideal for areas with incredibly harsh conditions and winds. It is the perfect balance between functional and affordable. |
|
How much does shipping cost? Shipping is calculated at checkout. |
Warranty
Warranty Type: One Year Non-Transferable Limited Warranty
Duration: Valid for one (1) year from the purchase date for the original retail consumer purchaser only.
Coverage:
PetSafe product will be free from defects in material or workmanship when subject to normal and proper residential use.
Labor and parts are covered for the first year of ownership.
In the event of a defect, PetSafe will replace the part with a new or refurbished part.
Exclusions:
Products represented as used, refurbished, or “as-is”, or not in the original packaging are not covered.
Warranty does not cover damage or defects caused by animals, commercial use, misuse, neglect, improper installation, use of non-PetSafe accessories, events beyond normal residential conditions, and any cause not involving manufacturing defects.
Does not cover labor for removal or installation of parts.
Customer Reviews

Size Chart
- Medium 8 1/4"w x 12 1/4"h
- Large 10 1/4"w x 16 1/4"h
- Extra Large 13 3/4"w x 23 3/4"h
Flap Dimensions:
8 1/4"w x 12 1/4"h
The entry way your dog goes through.Outside Frame Dimensions
10 7/8"w x 15 5/8"h
The outer edge of the pet door.


Rough Cut Out:
9 1/16"w x 13 3/4"h
The size of the hole needed to fit your pet door into your door.Flap Dimensions:
10 1/4"w x 16 1/4"h
The entry way your dog goes through.Outside Frame Dimensions
12 3/4"w x 19 5/8"h
The outer edge of the pet door.


Rough Cut Out:
11 1/16"w x 17 7/8"h
The size of the hole needed to fit your pet door into your door.Flap Dimensions:
13 3/4"w x 23 3/4"h
The entry way your dog goes through.Outside Frame Dimensions
16 1/4"w x 27 1/8"h
The outer edge of the pet door.


Rough Cut Out:
14 3/8"w x 25 2/4"h
The size of the hole needed to fit your pet door into your door.| Flap Size | Flap Dimension | Rough Cut Out | Outside Frame Dimensions | Recommended Pet Height |
|---|---|---|---|---|
| Medium | 8 ¼" x 12 ¼" | 9 1/16" x 13 ¾" | 10 7/8" x 15 5/8" | 6" - 17" |
| Large | 10 ¼" x 16 ¼" | 11 1/16" x 17 7/8" | 12 ¾" x 19 5/8" | 6" - 24" |
| Extra Large | 13 ¾" x 23 ¾" | 14 3/8" x 25 ¼" | 16 ¼" x 27 1/8" | 6" - 27" |
Find The Best Pet Door Size For My Pet

A
Pet Height: inches
B
Pet Width: inches
Installation Instructions
 Difficulty
High
 Steps
05
 Time Required
2-3 hours
 Sections
01
 Flags
03
Parts
- Interior Frame
- Exterior Frame
- Cutout Template
- Screw Sleeves (Medium 4 pcs., Large 4 pcs., XL 6 pcs.)
- Nylon Screws (Medium 4 pcs., Large 4 pcs., XL 6 pcs.)
- Metal Screws (Medium 4 pcs., Large 4 pcs., XL 6 pcs.)
Tools
- Tape measure
- Level
- Pencil
- Hammer and slotted screwdriver (if removing door from hinges to install pet door)
- Scissors
- Masking or painter’s tape
- Drill
- 1/2-in (12-mm) drill bit
- 1/4-in (7-mm) drill bit
- Jigsaw (or keyhole saw) with appropriate blade for the material you will be cutting
- Phillips screwdriver
- Wire cutters
- Caulk
- Safety glasses
If the mounting surface (door, wall, etc.) is not level, the pet door must still be installed level to swing properly.
When applying the cutting template, there should be a minimum of 3 inches (8 centimetres) between the bottom and sides of the door and the outer edge of the template to maintain the structural integrity of the door.
Use a manual screwdriver to tighten screws. Do not overtighten. Overtightening can strip the screws or warp the pet door frame.
Step 1 Mark the Pet Door Location

- Measure and mark your pet’s shoulder height on the inside of the door where you will install the pet door (A).
- Using a level, draw a vertical line where you want the center/centre of the pet door to be located (B).
Step 2 Prepare the Door

- If possible, remove the door from its hinges (C) and place it on a raised level surface, such as two saw horses (D). The interior side of the door should face up. Make sure there is nothing underneath the door where you will cut the opening for the pet door.
- Cut out the correct size cutting template for your pet door. Tape the cutting template to the interior side of the door, matching the shoulder and center/centre lines on the template with the shoulder and center/centre lines you drew previously (E).
- Trace the outside edge of the cutting template, making sure to connect the corners. Remove the cutting template and any excess tape from the door.
Step 3 Cut the Pet Door Opening

- Drill 1/2-inch (12-millimetre) holes just inside the corners of the drawn template (F). These will be the pilot holes for the saw blade.
- Cut between the holes you just drilled, along the drawn template lines (G).
Step 4 Drill Holes for the Frame

- Place the interior frame (the frame with one flap) in the opening and mark the screw holes (four holes for the medium and large pet doors, six holes for the x-large pet door) (H).
- Remove the frame and drill 1/4-inch (7-millimetre) holes in the marked locations (I).
Step 5 Install the Pet Door

- Place the interior frame (the frame with one flap) in the opening on the interior side of the door (J).
- Place the exterior frame (the frame with two flaps) in the opening on the exterior side of the door.
- Insert screws through the holes in the interior and exterior frames and match screw sleeves to the end of each screw
- Tighten the screws until the frames come together and the screw sleeves are flush with the exterior frame.
- If using nylon screws, cut off the excess screw length with wire cutters and remove any rough edges with a metal file.
- For best weather resistance, caulk around the exterior frame and inside the threshold where the frames meet. If you removed your door from its hinges, rehang it now.
Videos
PetSafe Extreme Weather Aluminum Pet Door
FAQ
|
What is the frame made of? The frame is made of durable aluminum. |
|
What is the middle flap made of? It is insulated foam with a vinyl covering. |
|
What replacement flaps are compatible with the outside vinyl flaps? The PetSafe "Freedom" Flaps are the only flaps compatible with the outer vinyl flaps on the PetSafe extreme weather pet door. |
|
Where can I find the center replacement flap? To replace the center insulation flap, please contact the manufacturer, PetSafe. |
|
Oh no! I over-tightened the screws and cracked the plastic bar. Where can I get a replacement? To get a replacement, please contact the manufacturer, PetSafe. |
|
Where does this door stand in terms of insulation? Compared to any of the other PetSafe single flap doors, this door is 3x more energy efficient. However, it is still not ideal for areas with incredibly harsh conditions and winds. It is the perfect balance between functional and affordable. |
|
How much does shipping cost? Shipping is calculated at checkout. |
Warranty
Warranty Type: One Year Non-Transferable Limited Warranty
Duration: Valid for one (1) year from the purchase date for the original retail consumer purchaser only.
Coverage:
PetSafe product will be free from defects in material or workmanship when subject to normal and proper residential use.
Labor and parts are covered for the first year of ownership.
In the event of a defect, PetSafe will replace the part with a new or refurbished part.
Exclusions:
Products represented as used, refurbished, or “as-is”, or not in the original packaging are not covered.
Warranty does not cover damage or defects caused by animals, commercial use, misuse, neglect, improper installation, use of non-PetSafe accessories, events beyond normal residential conditions, and any cause not involving manufacturing defects.
Does not cover labor for removal or installation of parts.


 Product Details

