Screen Pet Door Conversion and Replacement Kit
- Regular price
- $93.00
- Sale price
- $93.00
- Regular price
-
- Unit price
- per
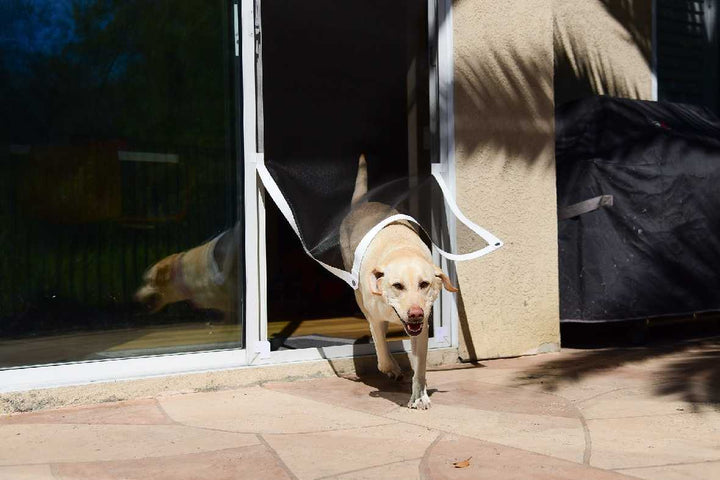
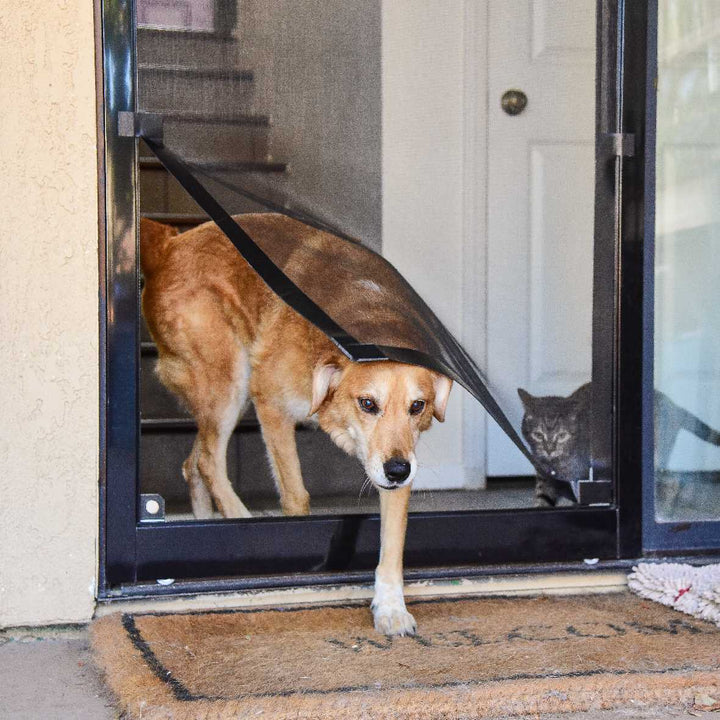
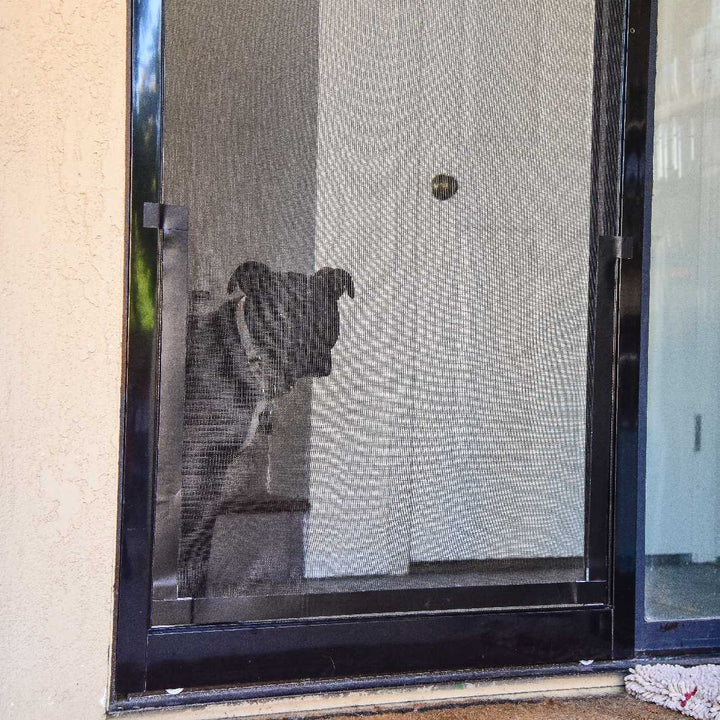
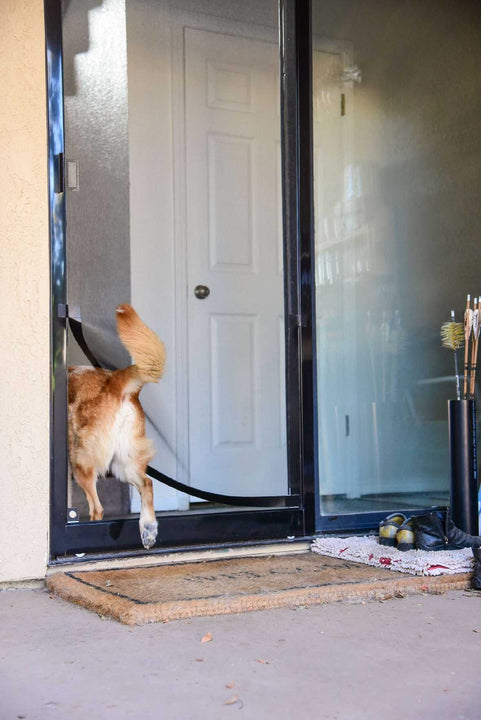
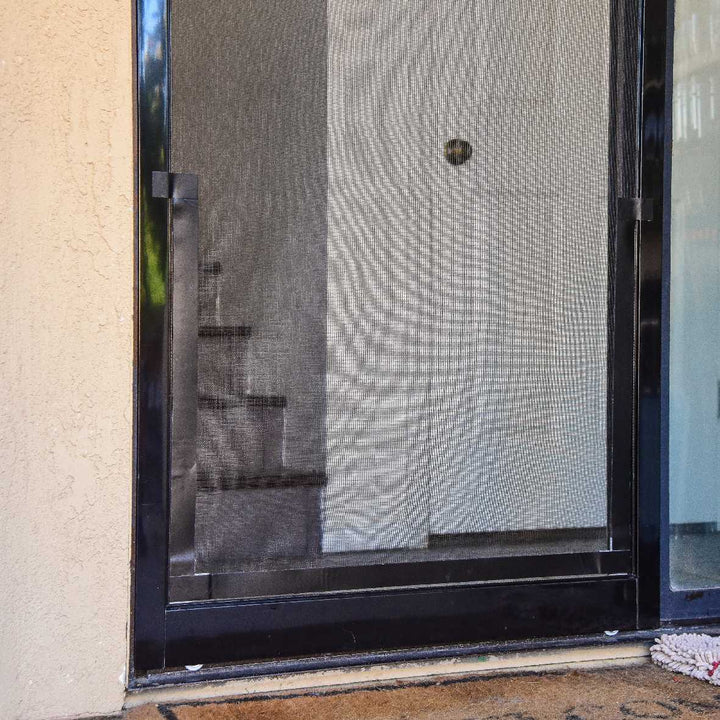
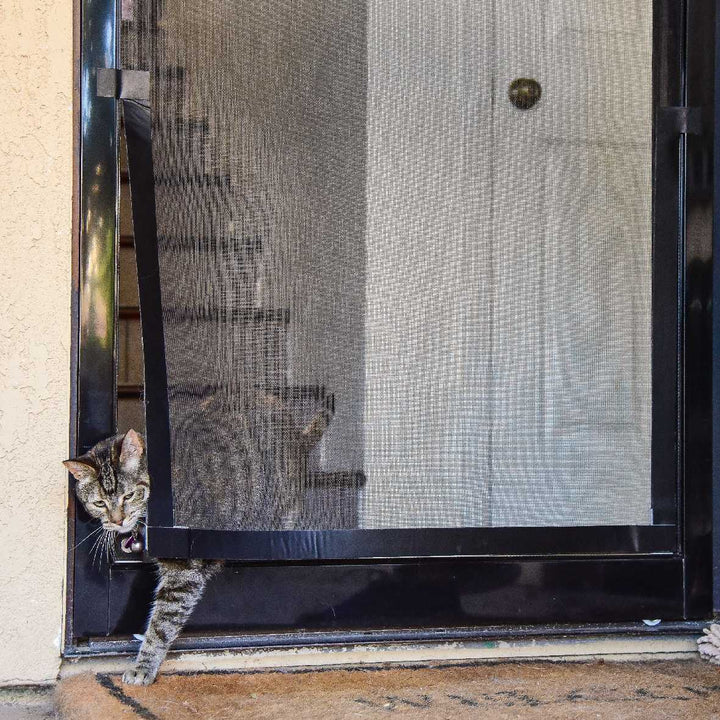
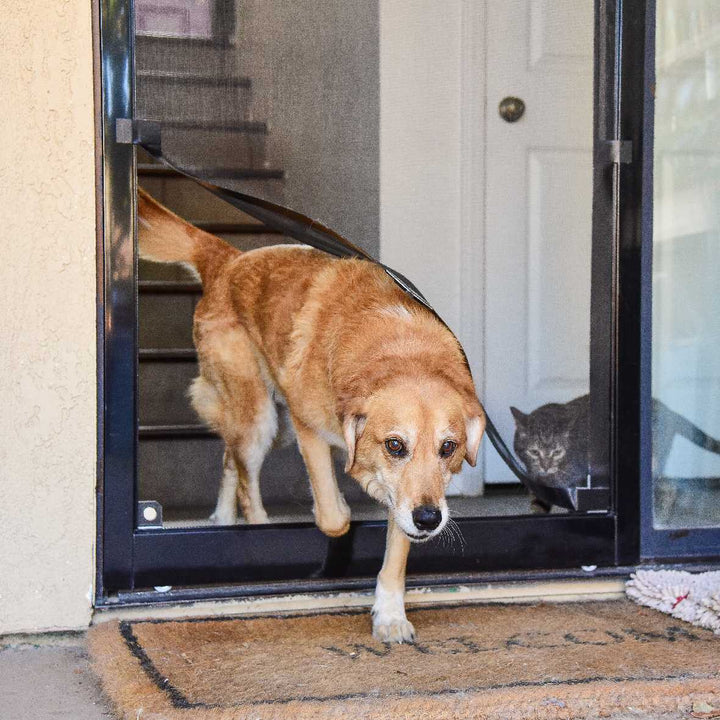
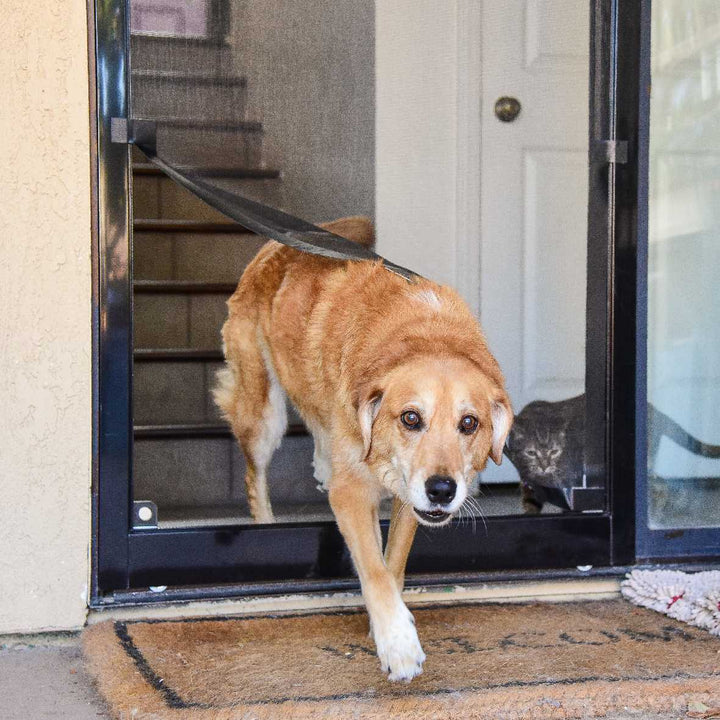
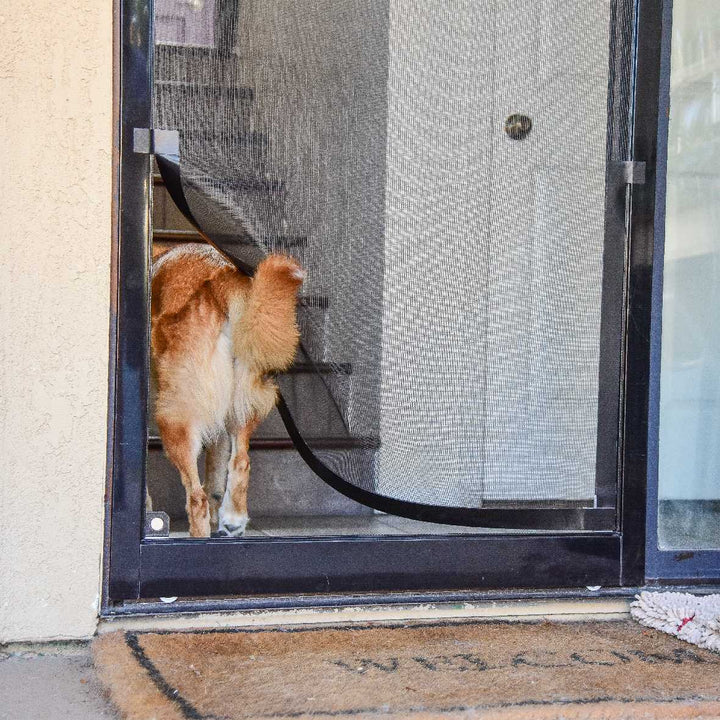
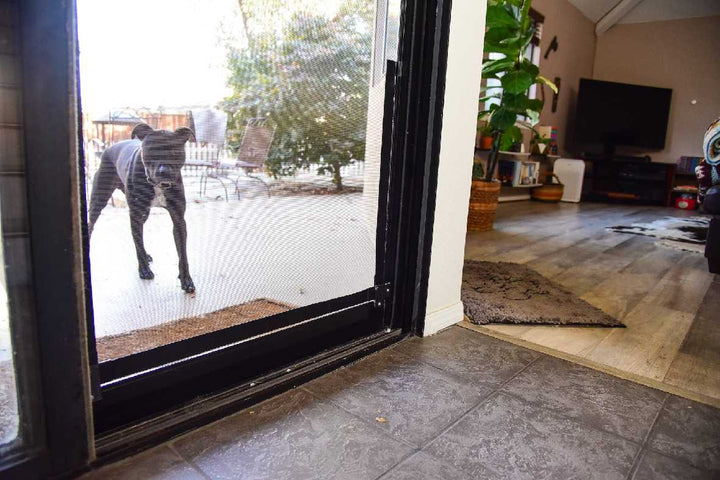
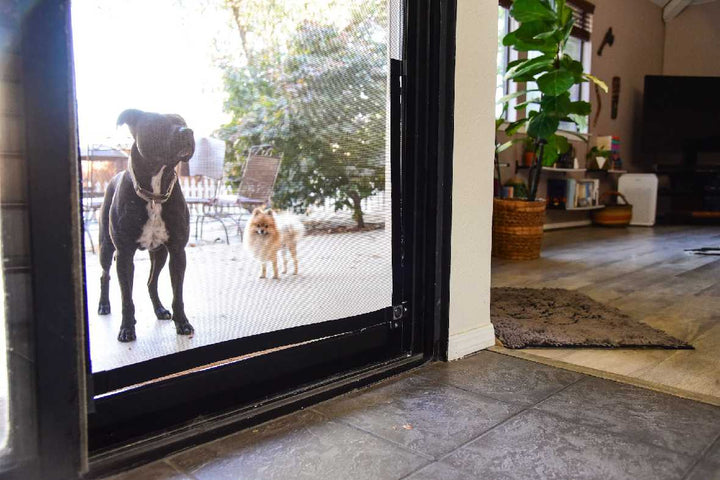
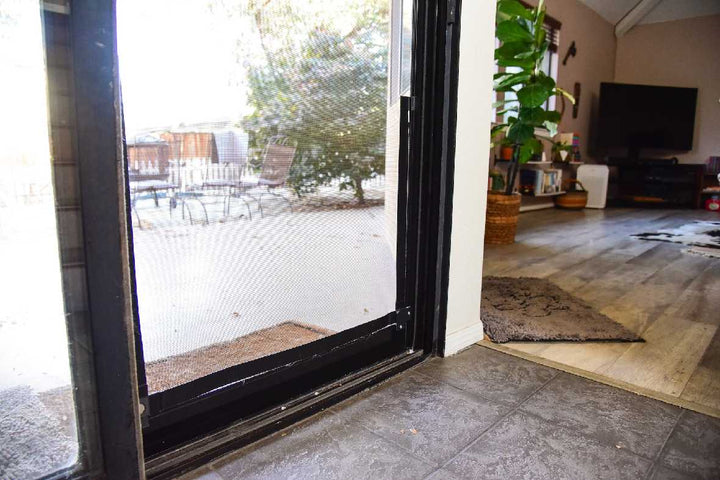
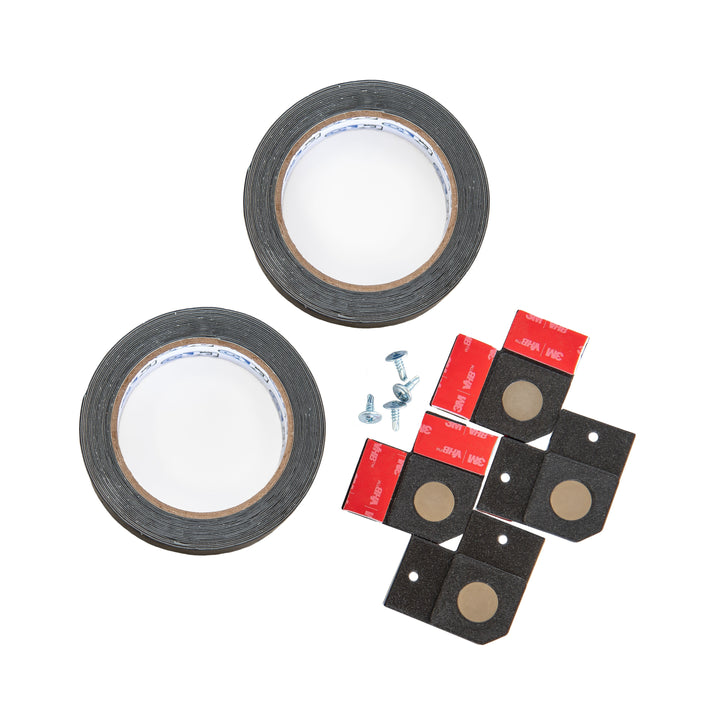
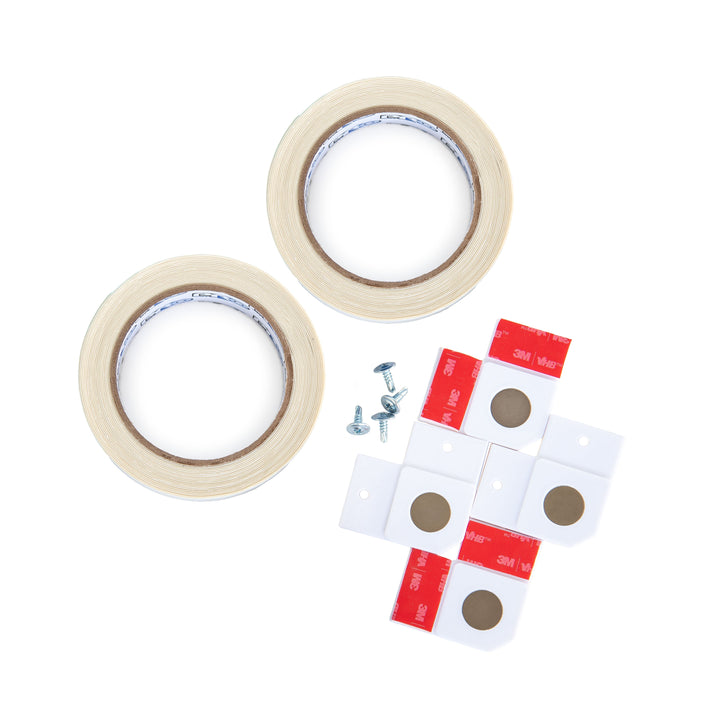
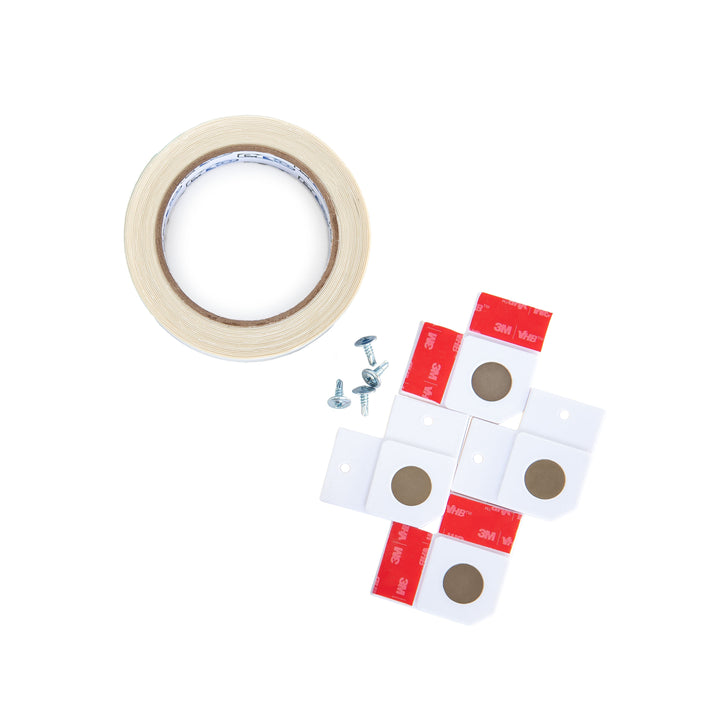
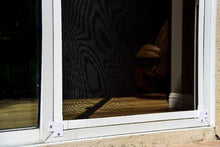
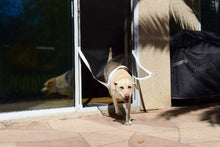
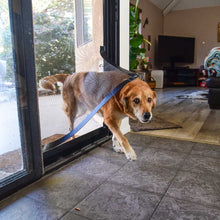
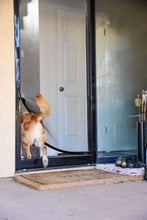
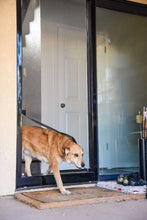
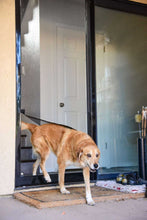
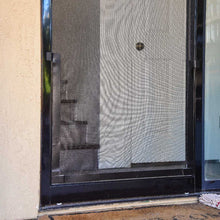
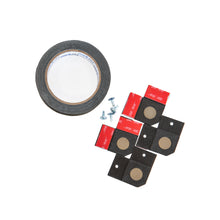
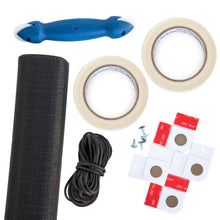
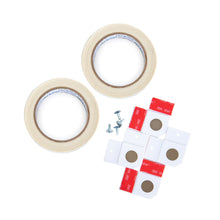
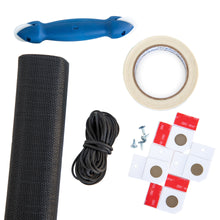
- Pet screen door dog door kit comes with everything needed to convert your existing screen door into a dog door
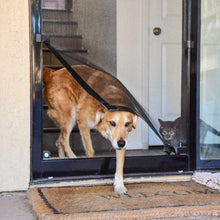
- Transform any screen door into a pet door with a versatile and easy-to-install kit
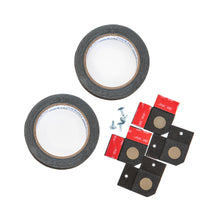
- Quick installation using included screen tape and door magnets
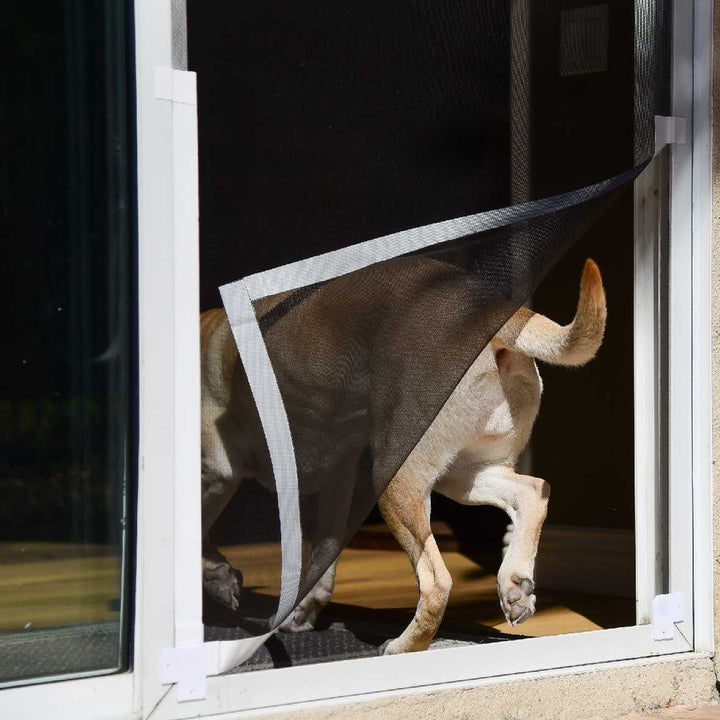
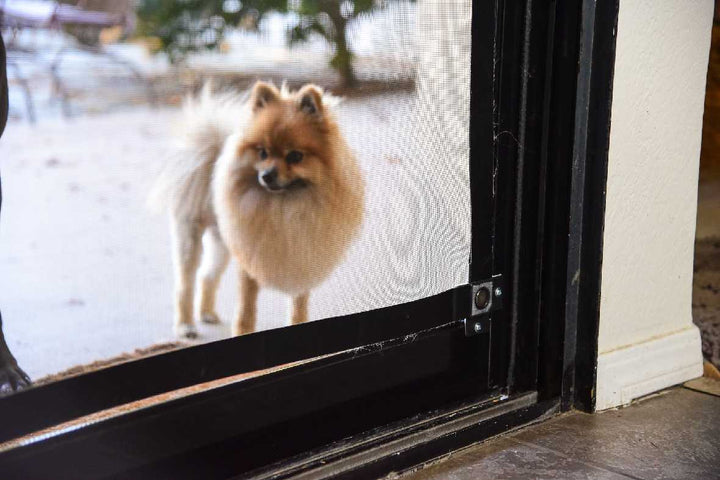
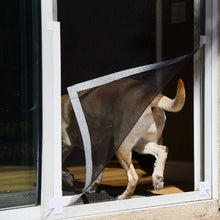
- Silent magnetic closure seals against wind and prevents insect entry
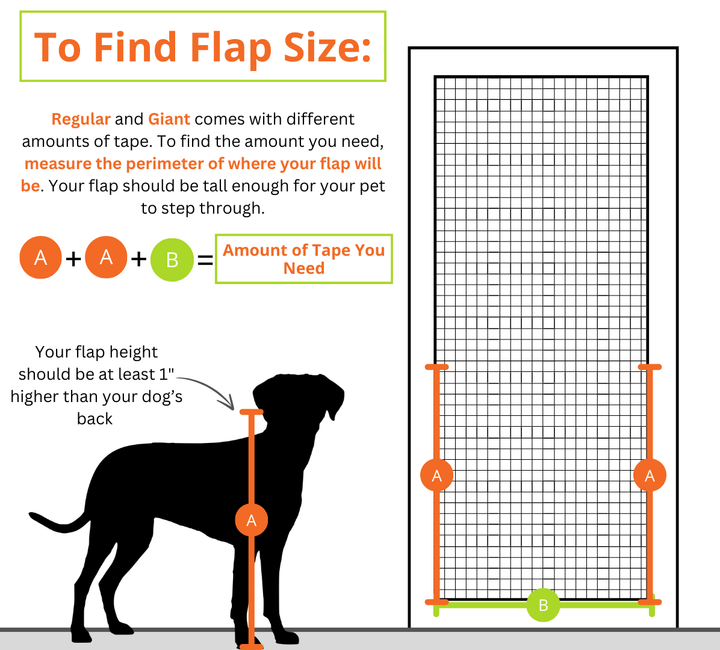
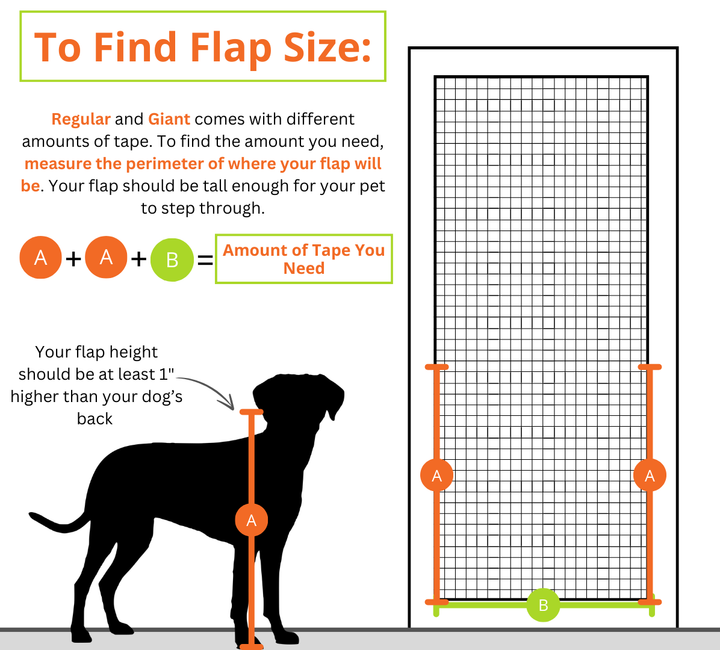
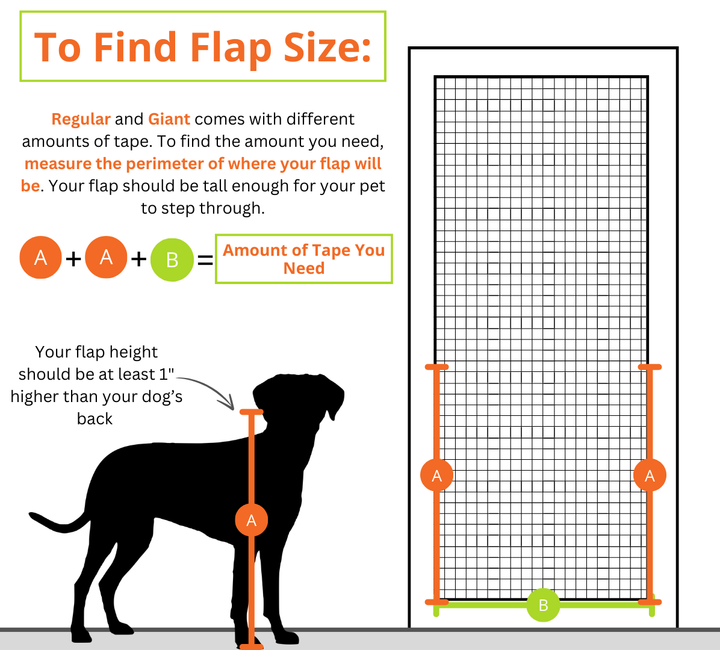
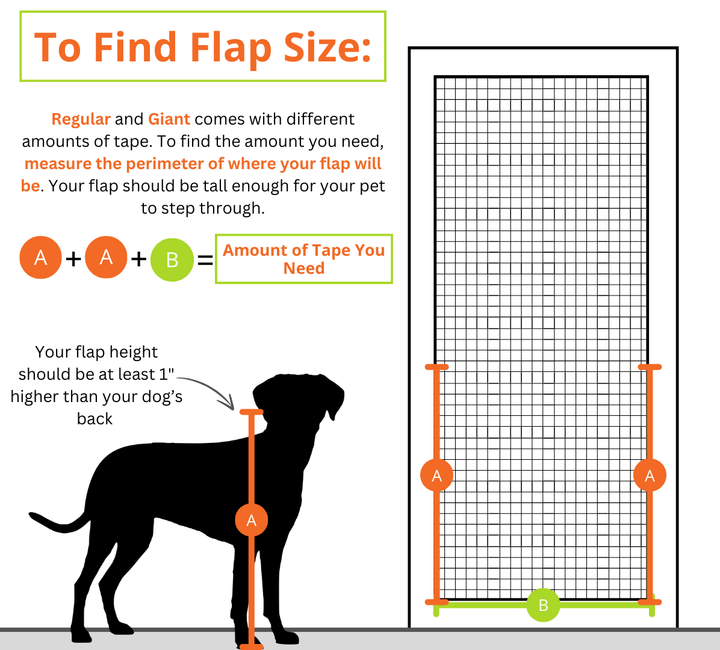
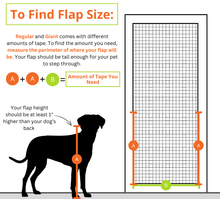
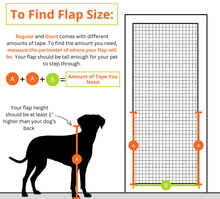
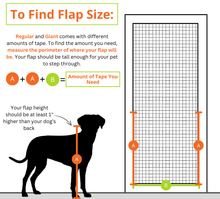
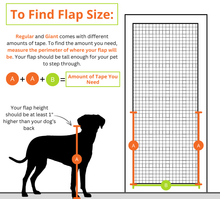
- Flap Size details: Regular provides 9 linear feet and Giant 18 linear feet of screen tape; make sure to order enough to protect the perimeter of your flap
-
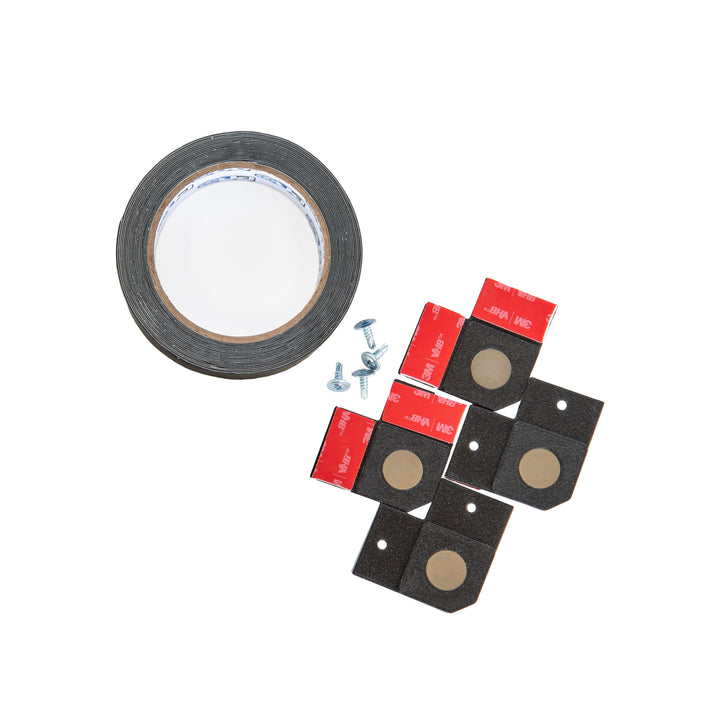
Conversion Style uses your existing screen
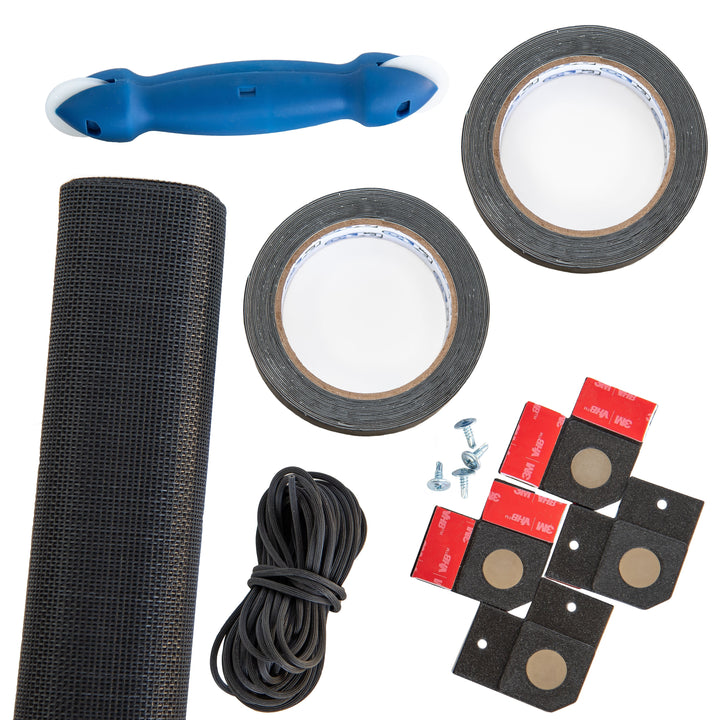
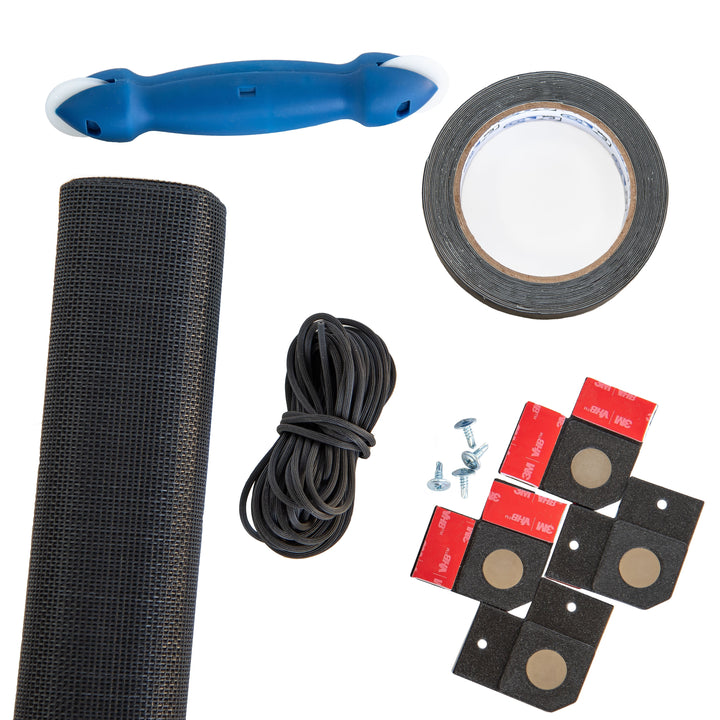
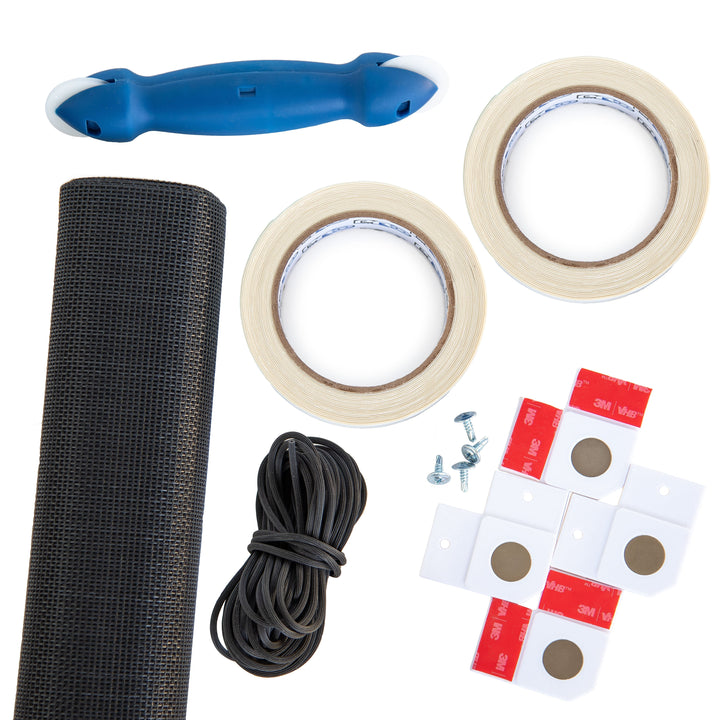
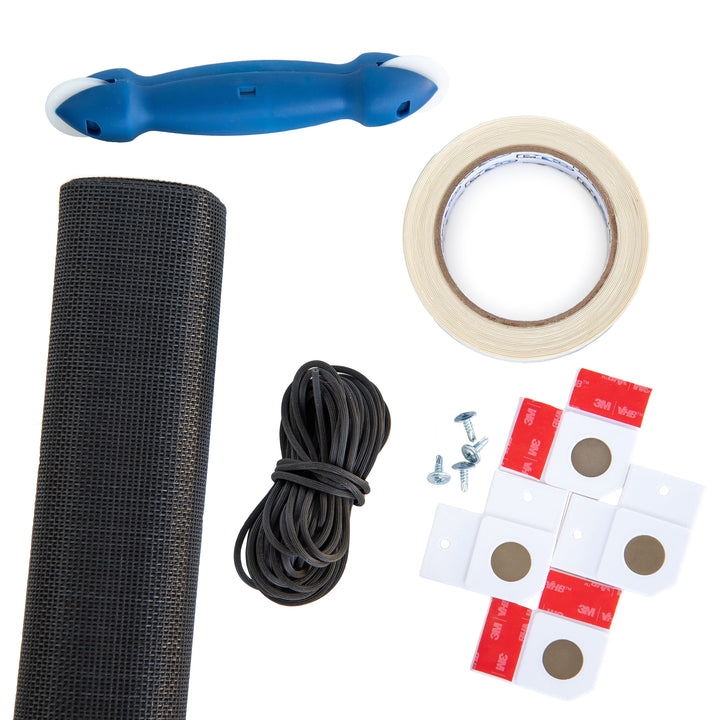
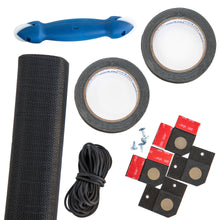
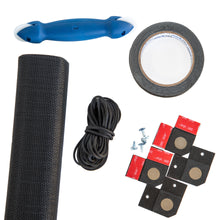
- Replacement Style supplies you with new screen mesh (3'w x 7'h), a 1/8" spline, and a spline tool

Product Details
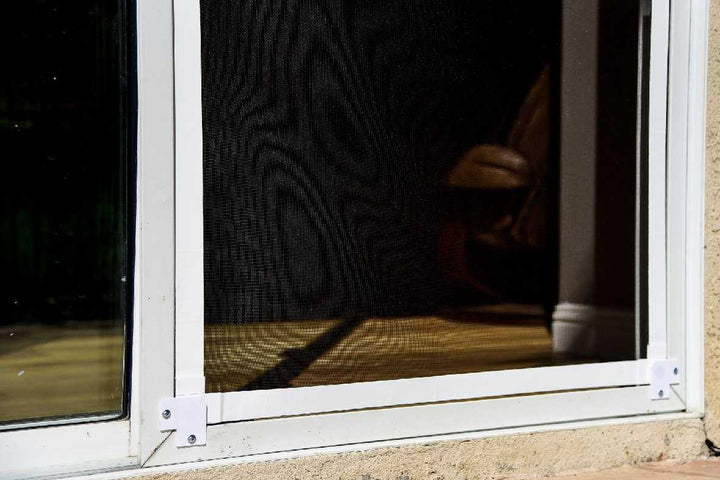
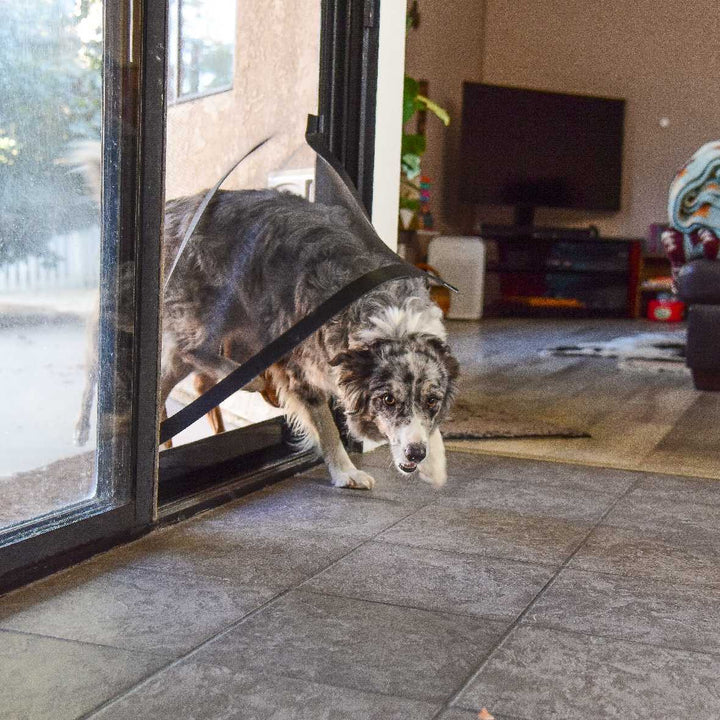
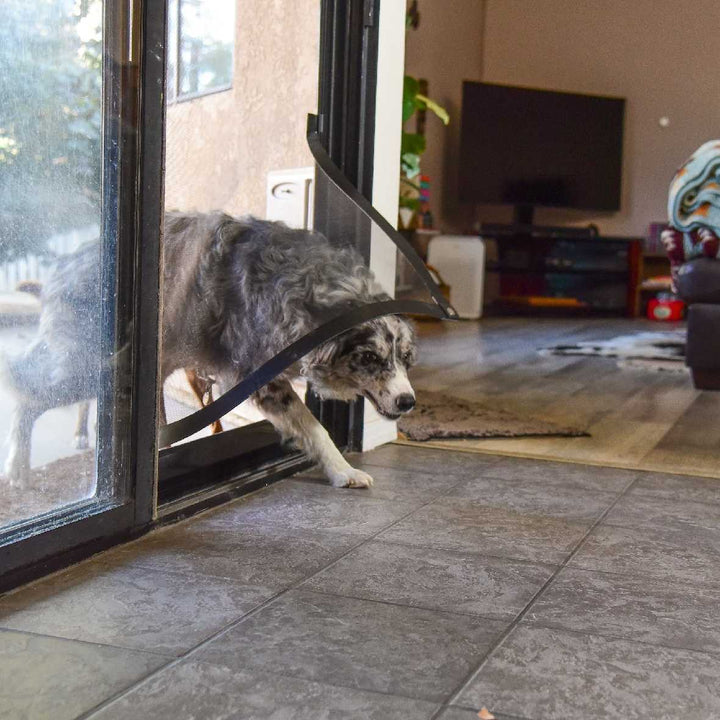
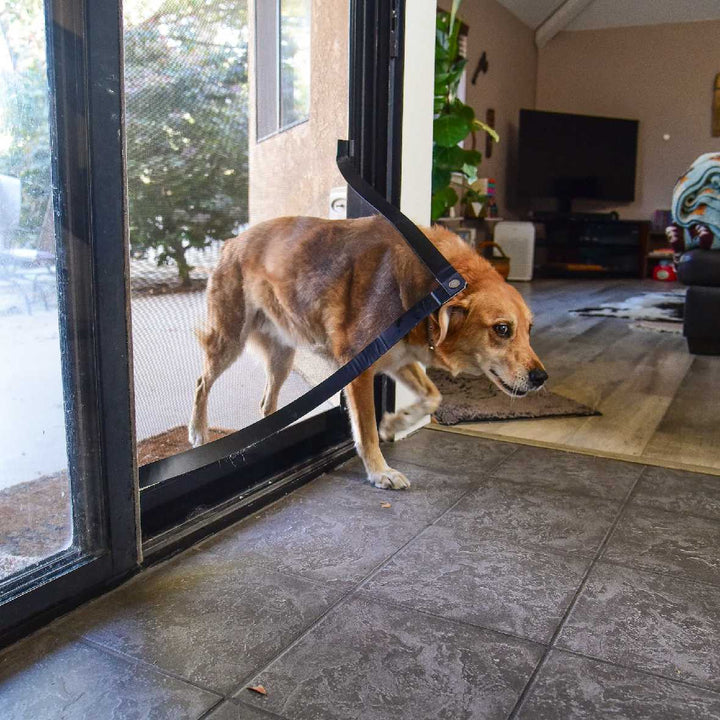
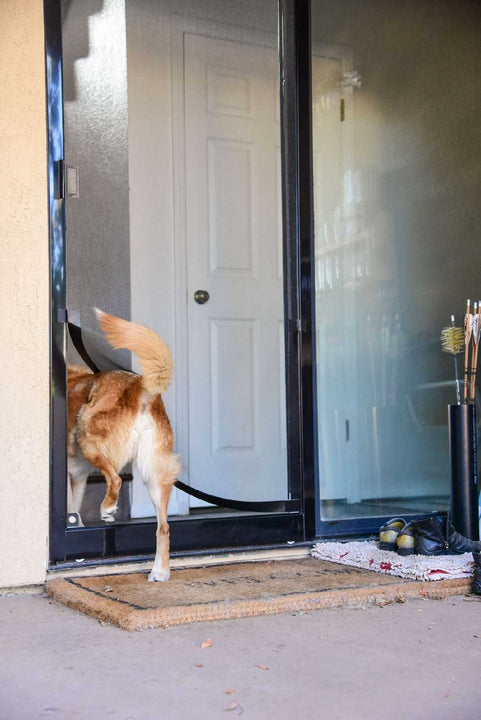
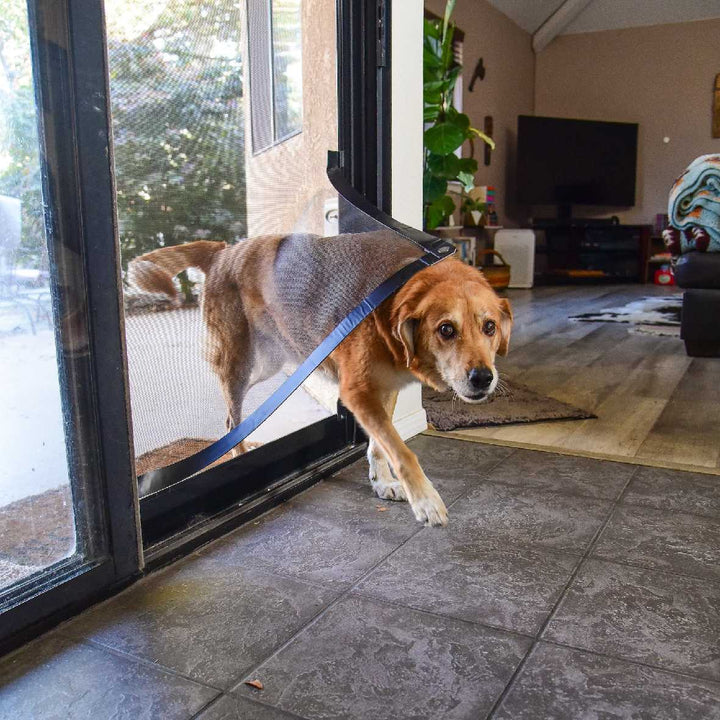
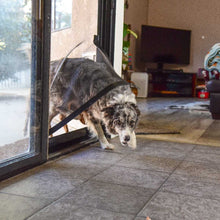
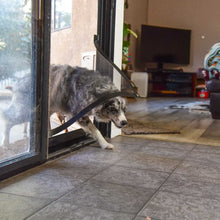
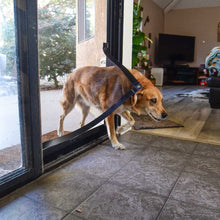
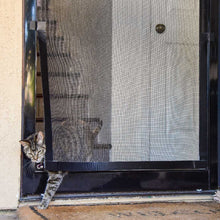
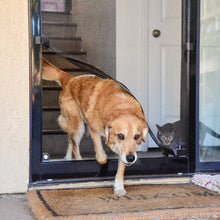
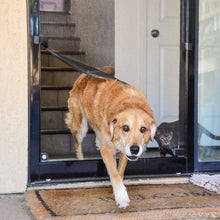
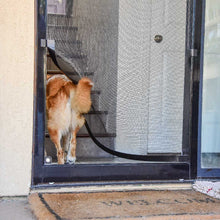
These Screen Pet Door Conversion and Replacement Kits is designed to transform any swinging or sliding screen door into a convenient pet door. This innovative solution offers a simple installation process that takes just minutes, utilizing screen tape and door magnets to create a silent magnetic closure that protects your home from wind and insects.
Choose between the Regular and Giant sizes to accommodate your specific needs, with the Regular size offering up to 9 linear feet of coverage (up to 3' on left side, 3' across the bottom and up to 3' on right side) and the Giant size offering up to 18 linear feet. For those in need of a full-screen replacement, the Replacement option includes everything required, such as a 3' x 7' roll of heavy-duty, fiberglass mesh screen, a 1/8" spline, and a spline tool.
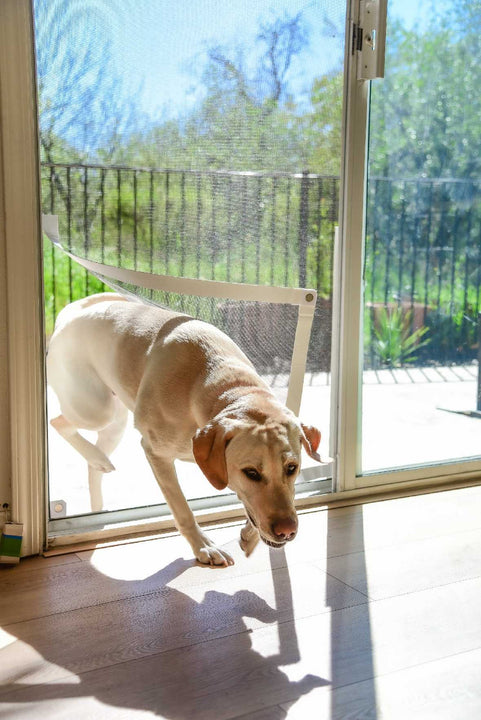
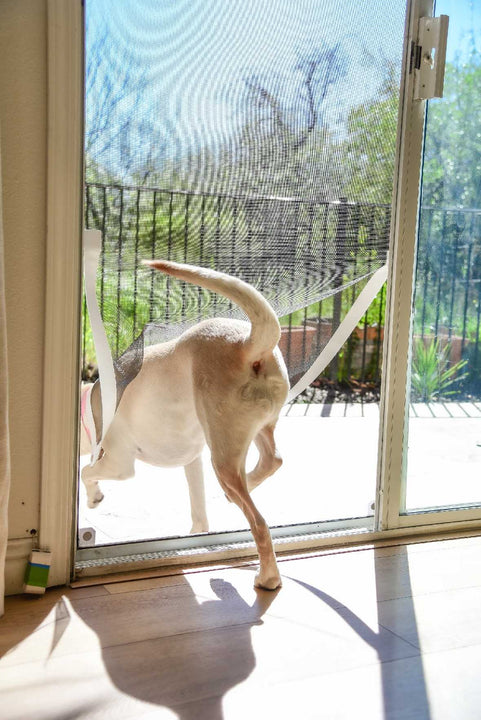
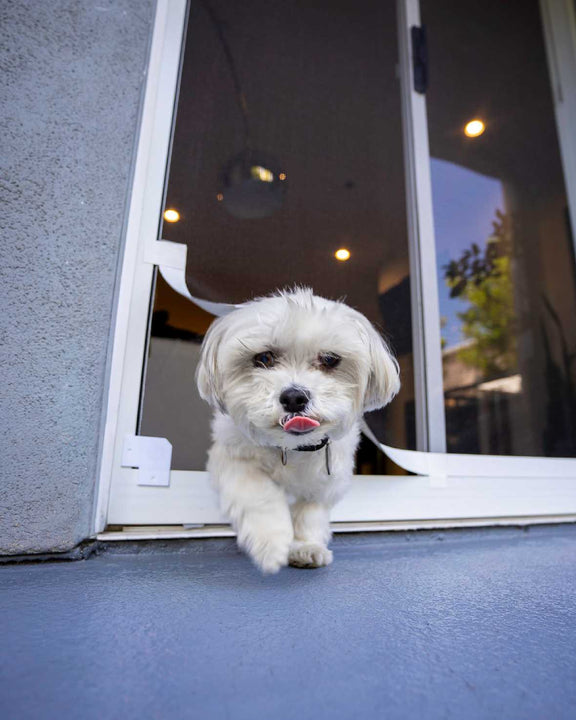
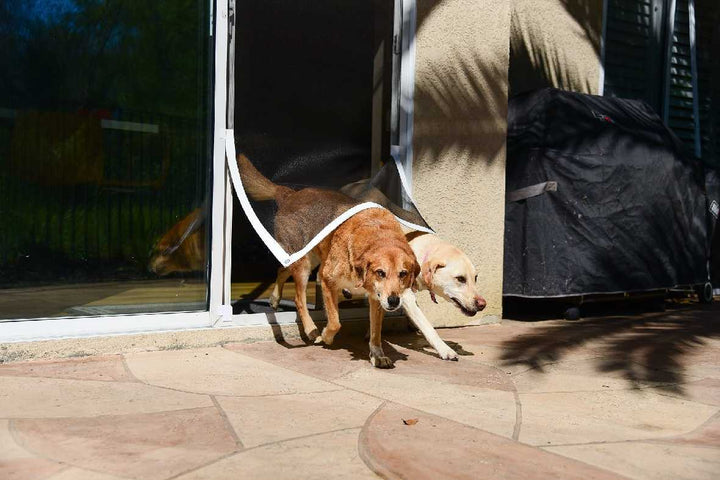
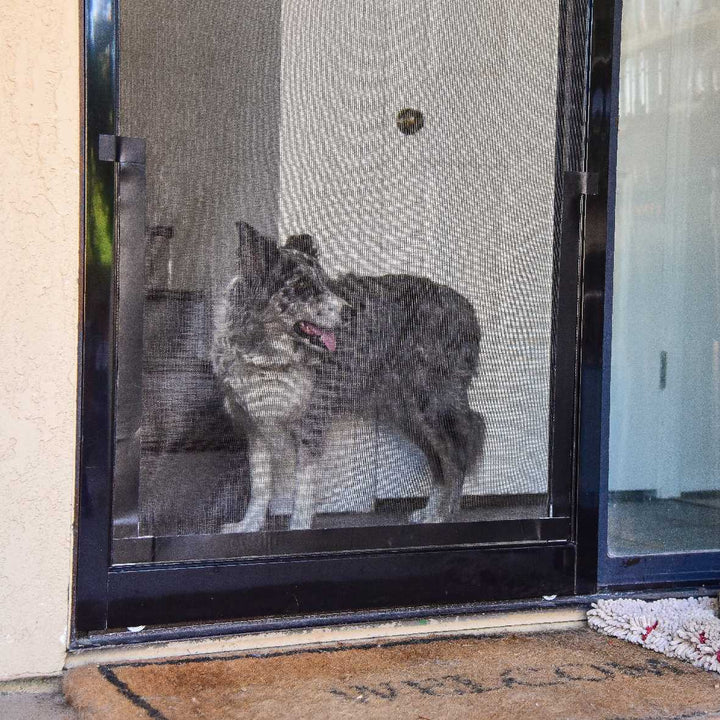
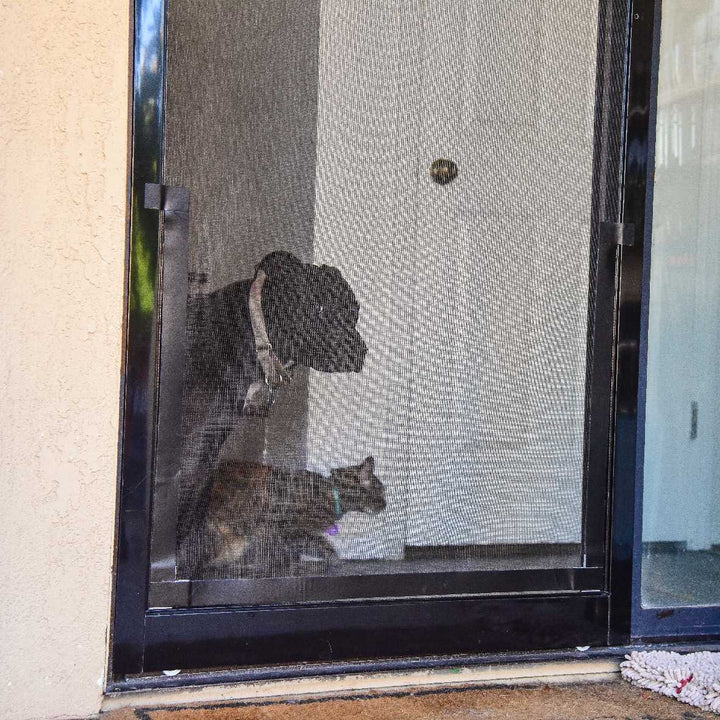
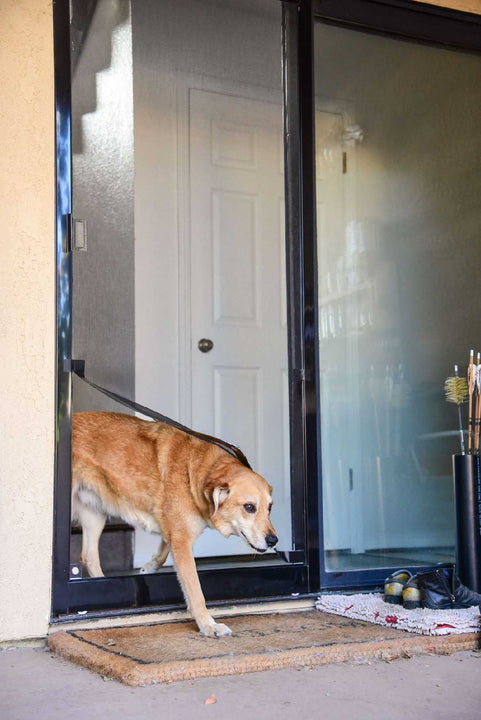
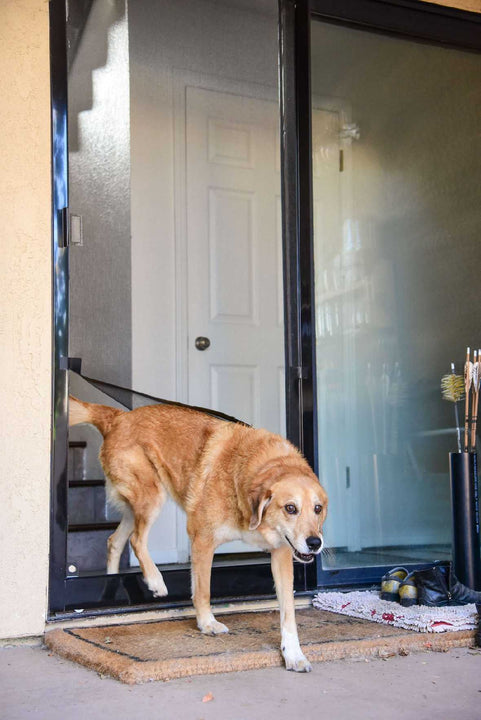
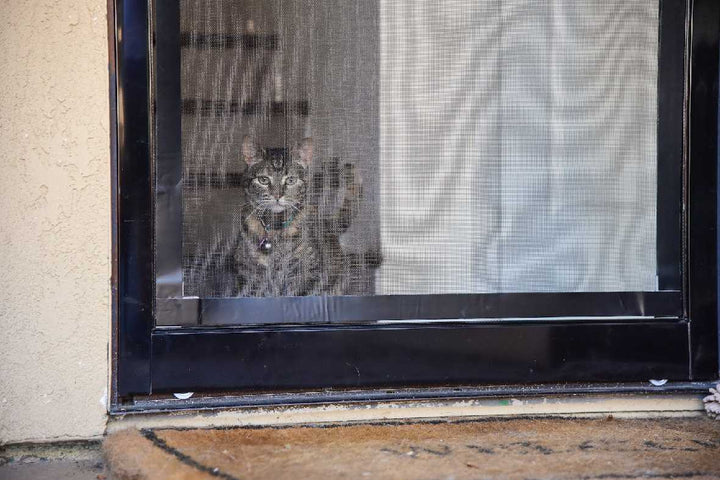
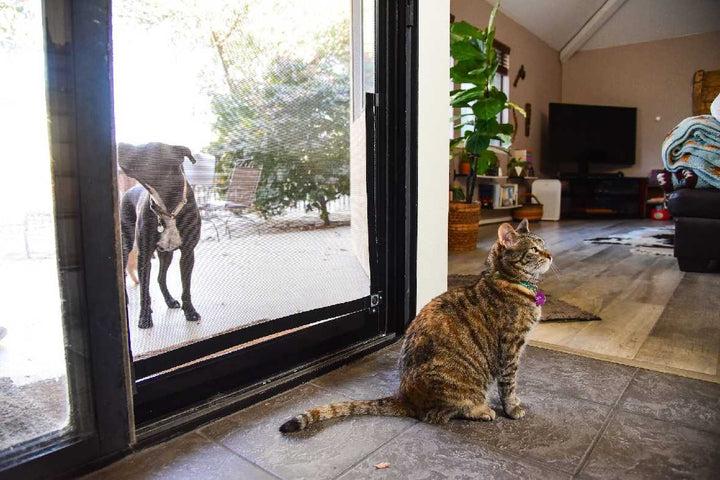
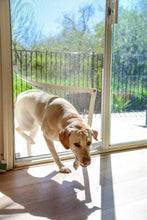
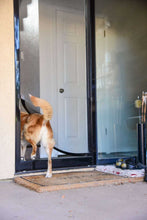
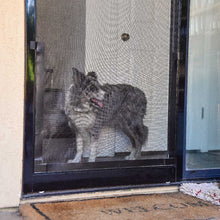
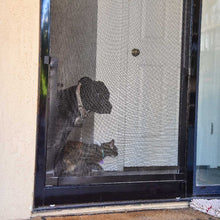
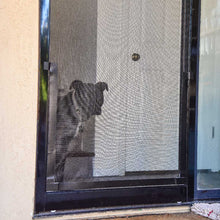
The Screen Pet Door Kit turns your screen door into a lightweight pet flap that's gentle on timid or arthritic pets, while the strong magnetic closure ensures the screen stays shut after use, keeping unwanted pests out. Customize the pet flap size to fit your furry friends, from cats to large dogs, and experience the convenience of a versatile design that can be installed in various locations, such as RV screens, window screens, and more.
The Screen Pet Door Conversion and Replacement Kit is a practical solution for pet owners looking to improve their home's functionality and grant their pets easy access to the yard while maintaining a clean, bug-free environment. It can be installed into your door or window screen in less than fifteen minutes, making it the easiest magnetic door screen for pets you will ever install.
Features:
- DIY pet door conversion kit suitable for swinging or sliding screen doors
- Rainproof tape and magnets ensure a durable, weather-resistant solution
- Lightweight pet flap allows easy access for pets of all sizes
- Strong magnetic closure keeps flap shut, maintaining a bug-free home
- Customizable for various installation locations such as RV screens, window screens, and more
Benefits:
- Doggie door for screen door lets pets access the yard while keeping nature out
- Versatile design can be installed in your RV screen, window screen, outdoor cat enclosures, balcony screen, porch screen, front door screen, and more
- Unlike removable pet screens, this DIY screen pet door stays shut after every use, keeping wildlife out of your home
Size Chart
| Pet Door Conversion Kit Size | Linear Feet of Screen Sides and Bottom Covered |
|---|---|
| Regular | Up to 9' |
| Giant | Up to 18' |
For more sizing information, check out oursize measurement guide.
Installation Instructions
 Difficulty
Easy
 Steps
11
 Time Required
0.5 hours
 Sections
01
 Flags
04
Parts
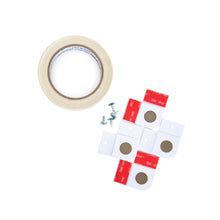
- 2 Screen Magnets
- 2 Frame Magnets
- 1 Roll of Protective Tape
Tools
- Scissors
- Painter’s Tape
- A Pencil
- A Screwdriver (optional)
Please read instructions & notes thoroughly before installation.
Step 1 Prep Your Door

- Remove your screen door from its hinges or track and place it on a flat, clean spot.
Step 2 Measure Your Pet

- Measure your pet’s height from the floor to the tallest portion of their shoulders (their haunches).
- Apply painter’s tape to the outside face of your screen door’s frame so that you have an easy surface to write on.
- Make a mark 5" above your pet's height.
Step 3 Attach the Screen Magnets

- Turn the screen so that the outside face is up.
- Remove the double sided tape liner on the screen magnets. Attach the screen magnets, one for each of the two bottom corners of the screen.
Step 4 Apply Bottom Layer of Tape

- Measure out a piece of protective tape to fit on the bottom edge of the screen, overlapping the lips of the screen magnets. Cut it with sharp scissors and remove the liner. Carefully apply with only light pressure until you’re confident in it’s placement.
Step 5 Apply Tape to Sides of Screen

- Apply another strip of tape along the right side of the door, starting on the upper lip of the screen magnet to your mark. Use the same application technique here that you used in Step 4.
- Repeat on the left side of the screen.
Step 6 Tape Opposite Side of Screen

- Flip your screen door over so that you are looking at the underside of the tape.
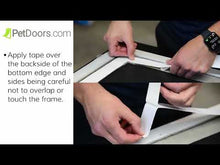
- Apply tape over the backside of the bottom edge and sides, being careful not to overlap or touch the frame. Make sure that this layer is aligned as close as possible to the first layer.
Step 7 Reinforce Screen Flap

- Apply a patch of tape horizontally over the top split of the screen, connecting the tape to the screen frame. The patch should overlap the side tape and extend halfway onto your frame. Do this for both sides of the screen.
- Flip the door over and repeat.
Step 8 Remove Screen Spline
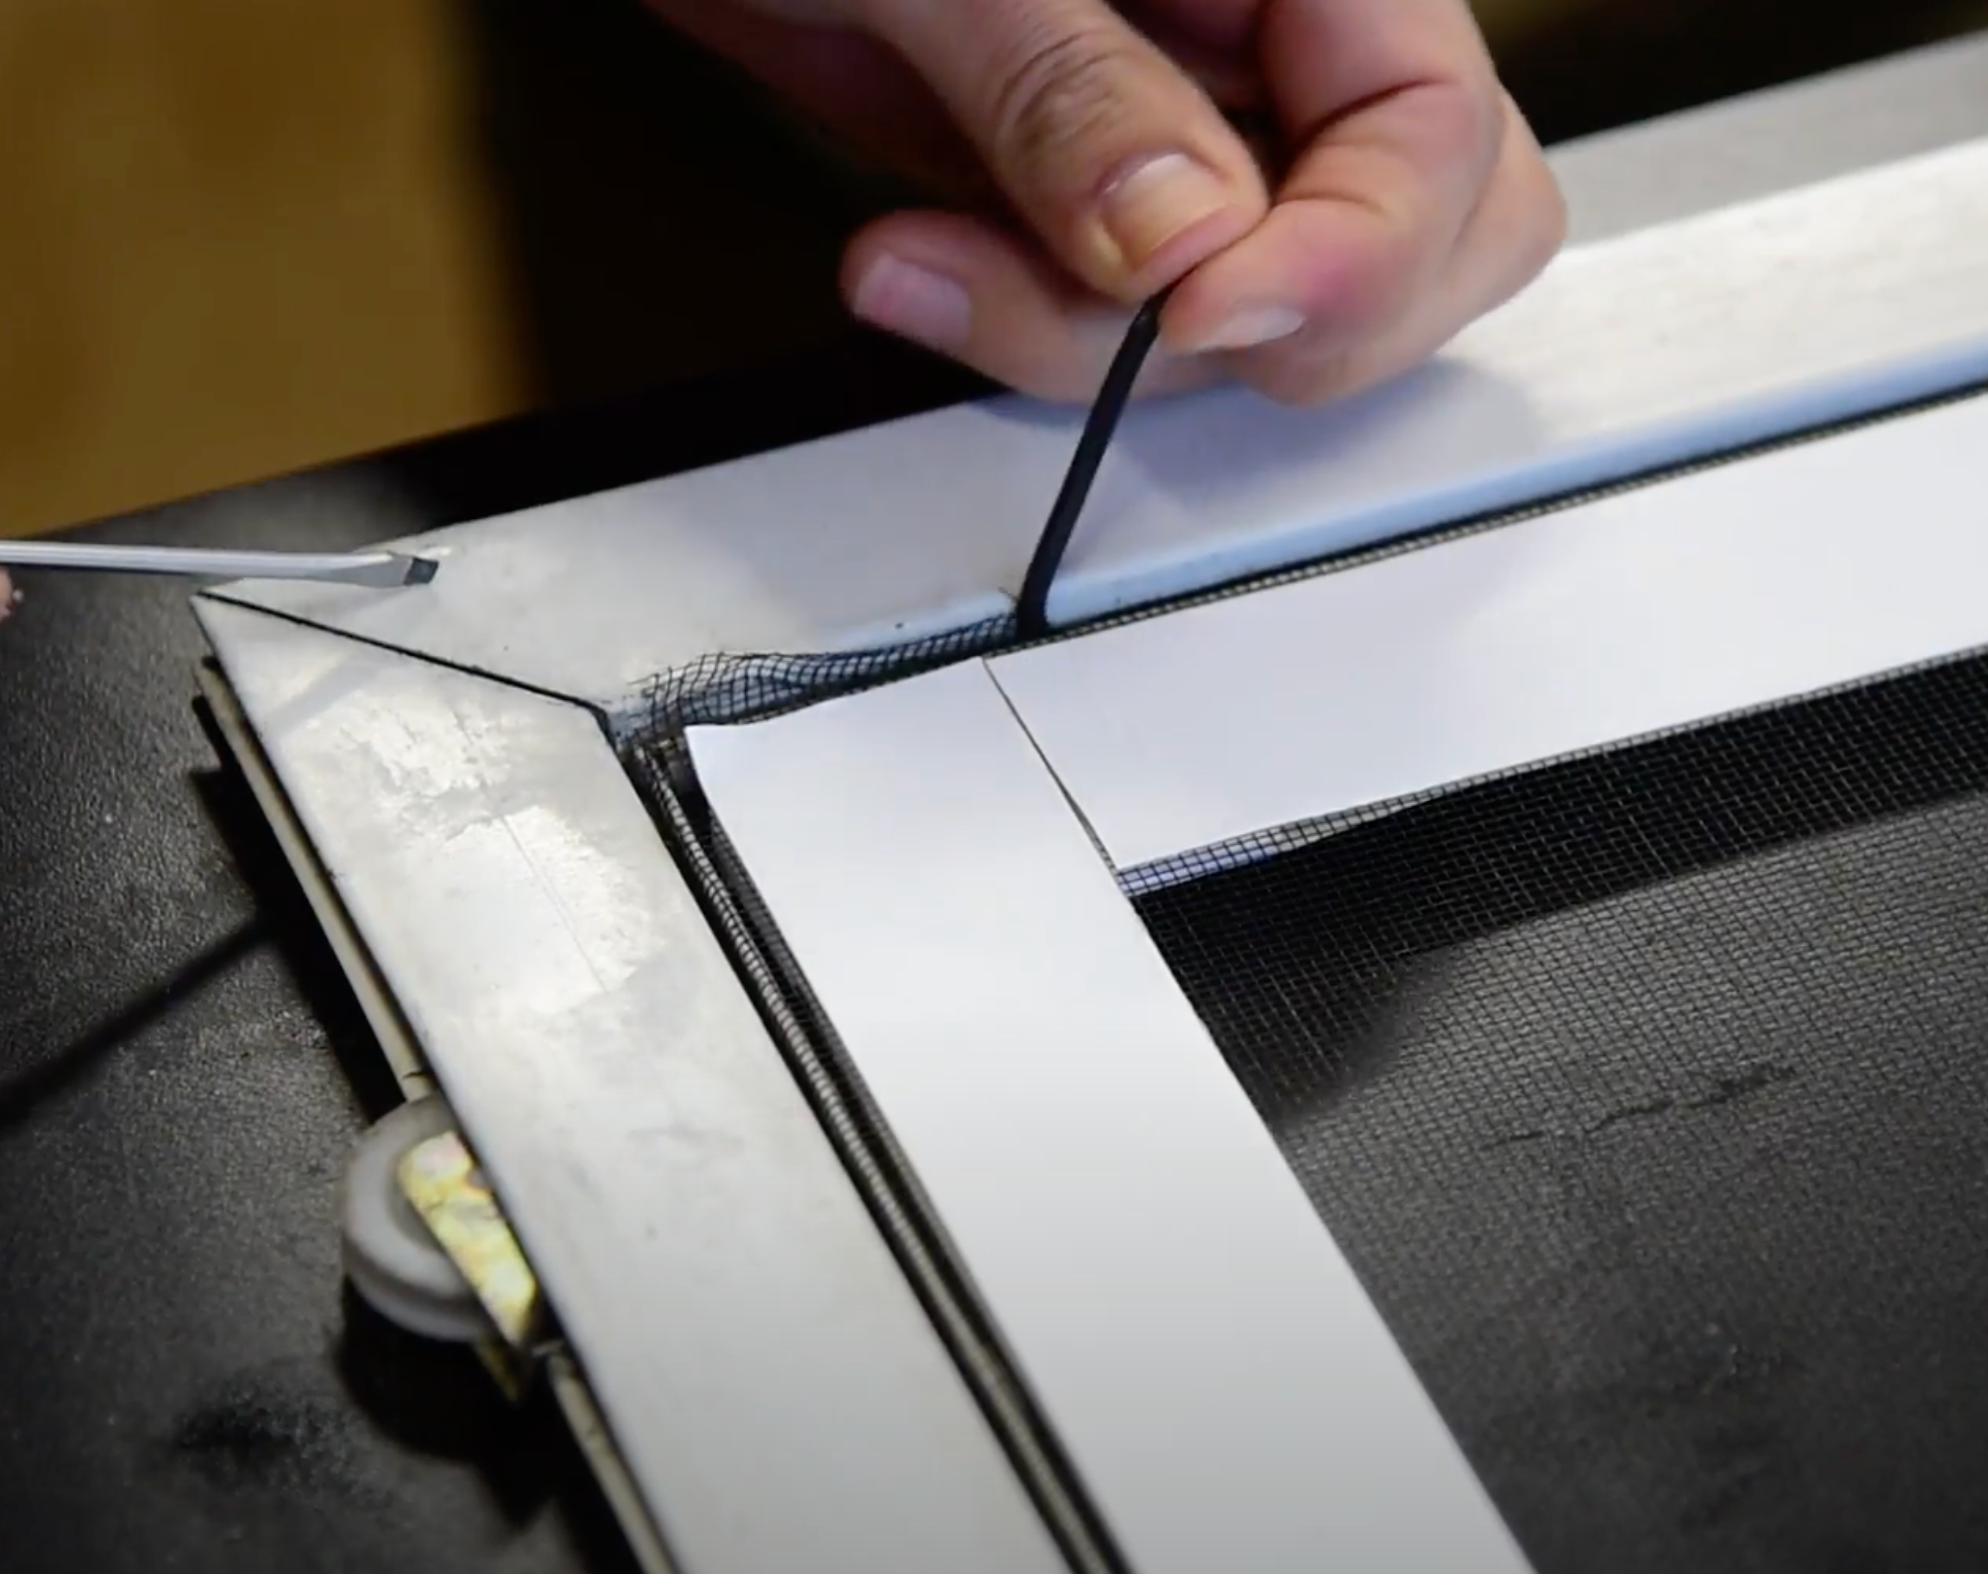


- Locate the end of the spline (usually in one of the lower corners of the screen frame). Use a screwdriver or another pointy tool to pry the end of the spline out of the screen frame.
- Pull out the rest of the spline below the patches by hand (down one side, across the bottom, and up the other side).
- Use scissors to cut the spline directly beneath the patches on each side of the screen. Press any spline that is left back into the groove in the frame.
- Pull the screen material out where you removed the spline allowing it to swing freely. There will be extra screen material that will be trimmed in a later step.
Step 9 Reinstall Screen Door

- Install the screen door back into the doorway.
Step 10 Attach the Frame Magnets

- Remove the liner on the tape for the frame magnets. Allow the frame magnets to attach to the screen magnets face to face.
- With the flap hanging, apply a small amount of tension and attach the sticky side of the frame magnets there so that the two magnet faces connect when the flap closes.
Step 11 Trim Excess Screen Material

- Trim excess screen material along the edges as needed.
Warranty
Screen Pet Door Conversion Kit 30 Day Warranty
The Screen Pet Door Conversion Kit has a 30 day warranty for normal wear & tear and manufacturing defects.
Customer Reviews

Size Chart
| Pet Door Conversion Kit Size | Linear Feet of Screen Sides and Bottom Covered |
|---|---|
| Regular | Up to 9' |
| Giant | Up to 18' |
For more sizing information, check out oursize measurement guide.
Installation Instructions
 Difficulty
Easy
 Steps
11
 Time Required
0.5 hours
 Sections
01
 Flags
04
Parts
- 2 Screen Magnets
- 2 Frame Magnets
- 1 Roll of Protective Tape
Tools
- Scissors
- Painter’s Tape
- A Pencil
- A Screwdriver (optional)
Please read instructions & notes thoroughly before installation.
Step 1 Prep Your Door

- Remove your screen door from its hinges or track and place it on a flat, clean spot.
Step 2 Measure Your Pet

- Measure your pet’s height from the floor to the tallest portion of their shoulders (their haunches).
- Apply painter’s tape to the outside face of your screen door’s frame so that you have an easy surface to write on.
- Make a mark 5" above your pet's height.
Step 3 Attach the Screen Magnets

- Turn the screen so that the outside face is up.
- Remove the double sided tape liner on the screen magnets. Attach the screen magnets, one for each of the two bottom corners of the screen.
Step 4 Apply Bottom Layer of Tape

- Measure out a piece of protective tape to fit on the bottom edge of the screen, overlapping the lips of the screen magnets. Cut it with sharp scissors and remove the liner. Carefully apply with only light pressure until you’re confident in it’s placement.
Step 5 Apply Tape to Sides of Screen

- Apply another strip of tape along the right side of the door, starting on the upper lip of the screen magnet to your mark. Use the same application technique here that you used in Step 4.
- Repeat on the left side of the screen.
Step 6 Tape Opposite Side of Screen

- Flip your screen door over so that you are looking at the underside of the tape.
- Apply tape over the backside of the bottom edge and sides, being careful not to overlap or touch the frame. Make sure that this layer is aligned as close as possible to the first layer.
Step 7 Reinforce Screen Flap

- Apply a patch of tape horizontally over the top split of the screen, connecting the tape to the screen frame. The patch should overlap the side tape and extend halfway onto your frame. Do this for both sides of the screen.
- Flip the door over and repeat.
Step 8 Remove Screen Spline


- Locate the end of the spline (usually in one of the lower corners of the screen frame). Use a screwdriver or another pointy tool to pry the end of the spline out of the screen frame.
- Pull out the rest of the spline below the patches by hand (down one side, across the bottom, and up the other side).
- Use scissors to cut the spline directly beneath the patches on each side of the screen. Press any spline that is left back into the groove in the frame.
- Pull the screen material out where you removed the spline allowing it to swing freely. There will be extra screen material that will be trimmed in a later step.
Step 9 Reinstall Screen Door

- Install the screen door back into the doorway.
Step 10 Attach the Frame Magnets

- Remove the liner on the tape for the frame magnets. Allow the frame magnets to attach to the screen magnets face to face.
- With the flap hanging, apply a small amount of tension and attach the sticky side of the frame magnets there so that the two magnet faces connect when the flap closes.
Step 11 Trim Excess Screen Material

- Trim excess screen material along the edges as needed.
Warranty
Screen Pet Door Conversion Kit 30 Day Warranty
The Screen Pet Door Conversion Kit has a 30 day warranty for normal wear & tear and manufacturing defects.







 Product Details

