Installation Instructions
 Difficulty
High
Difficulty
High
 Steps
15
Steps
15
 Time Required
2-3 hours
Time Required
2-3 hours
 Sections
04
Sections
04
 Flags
01
Flags
01
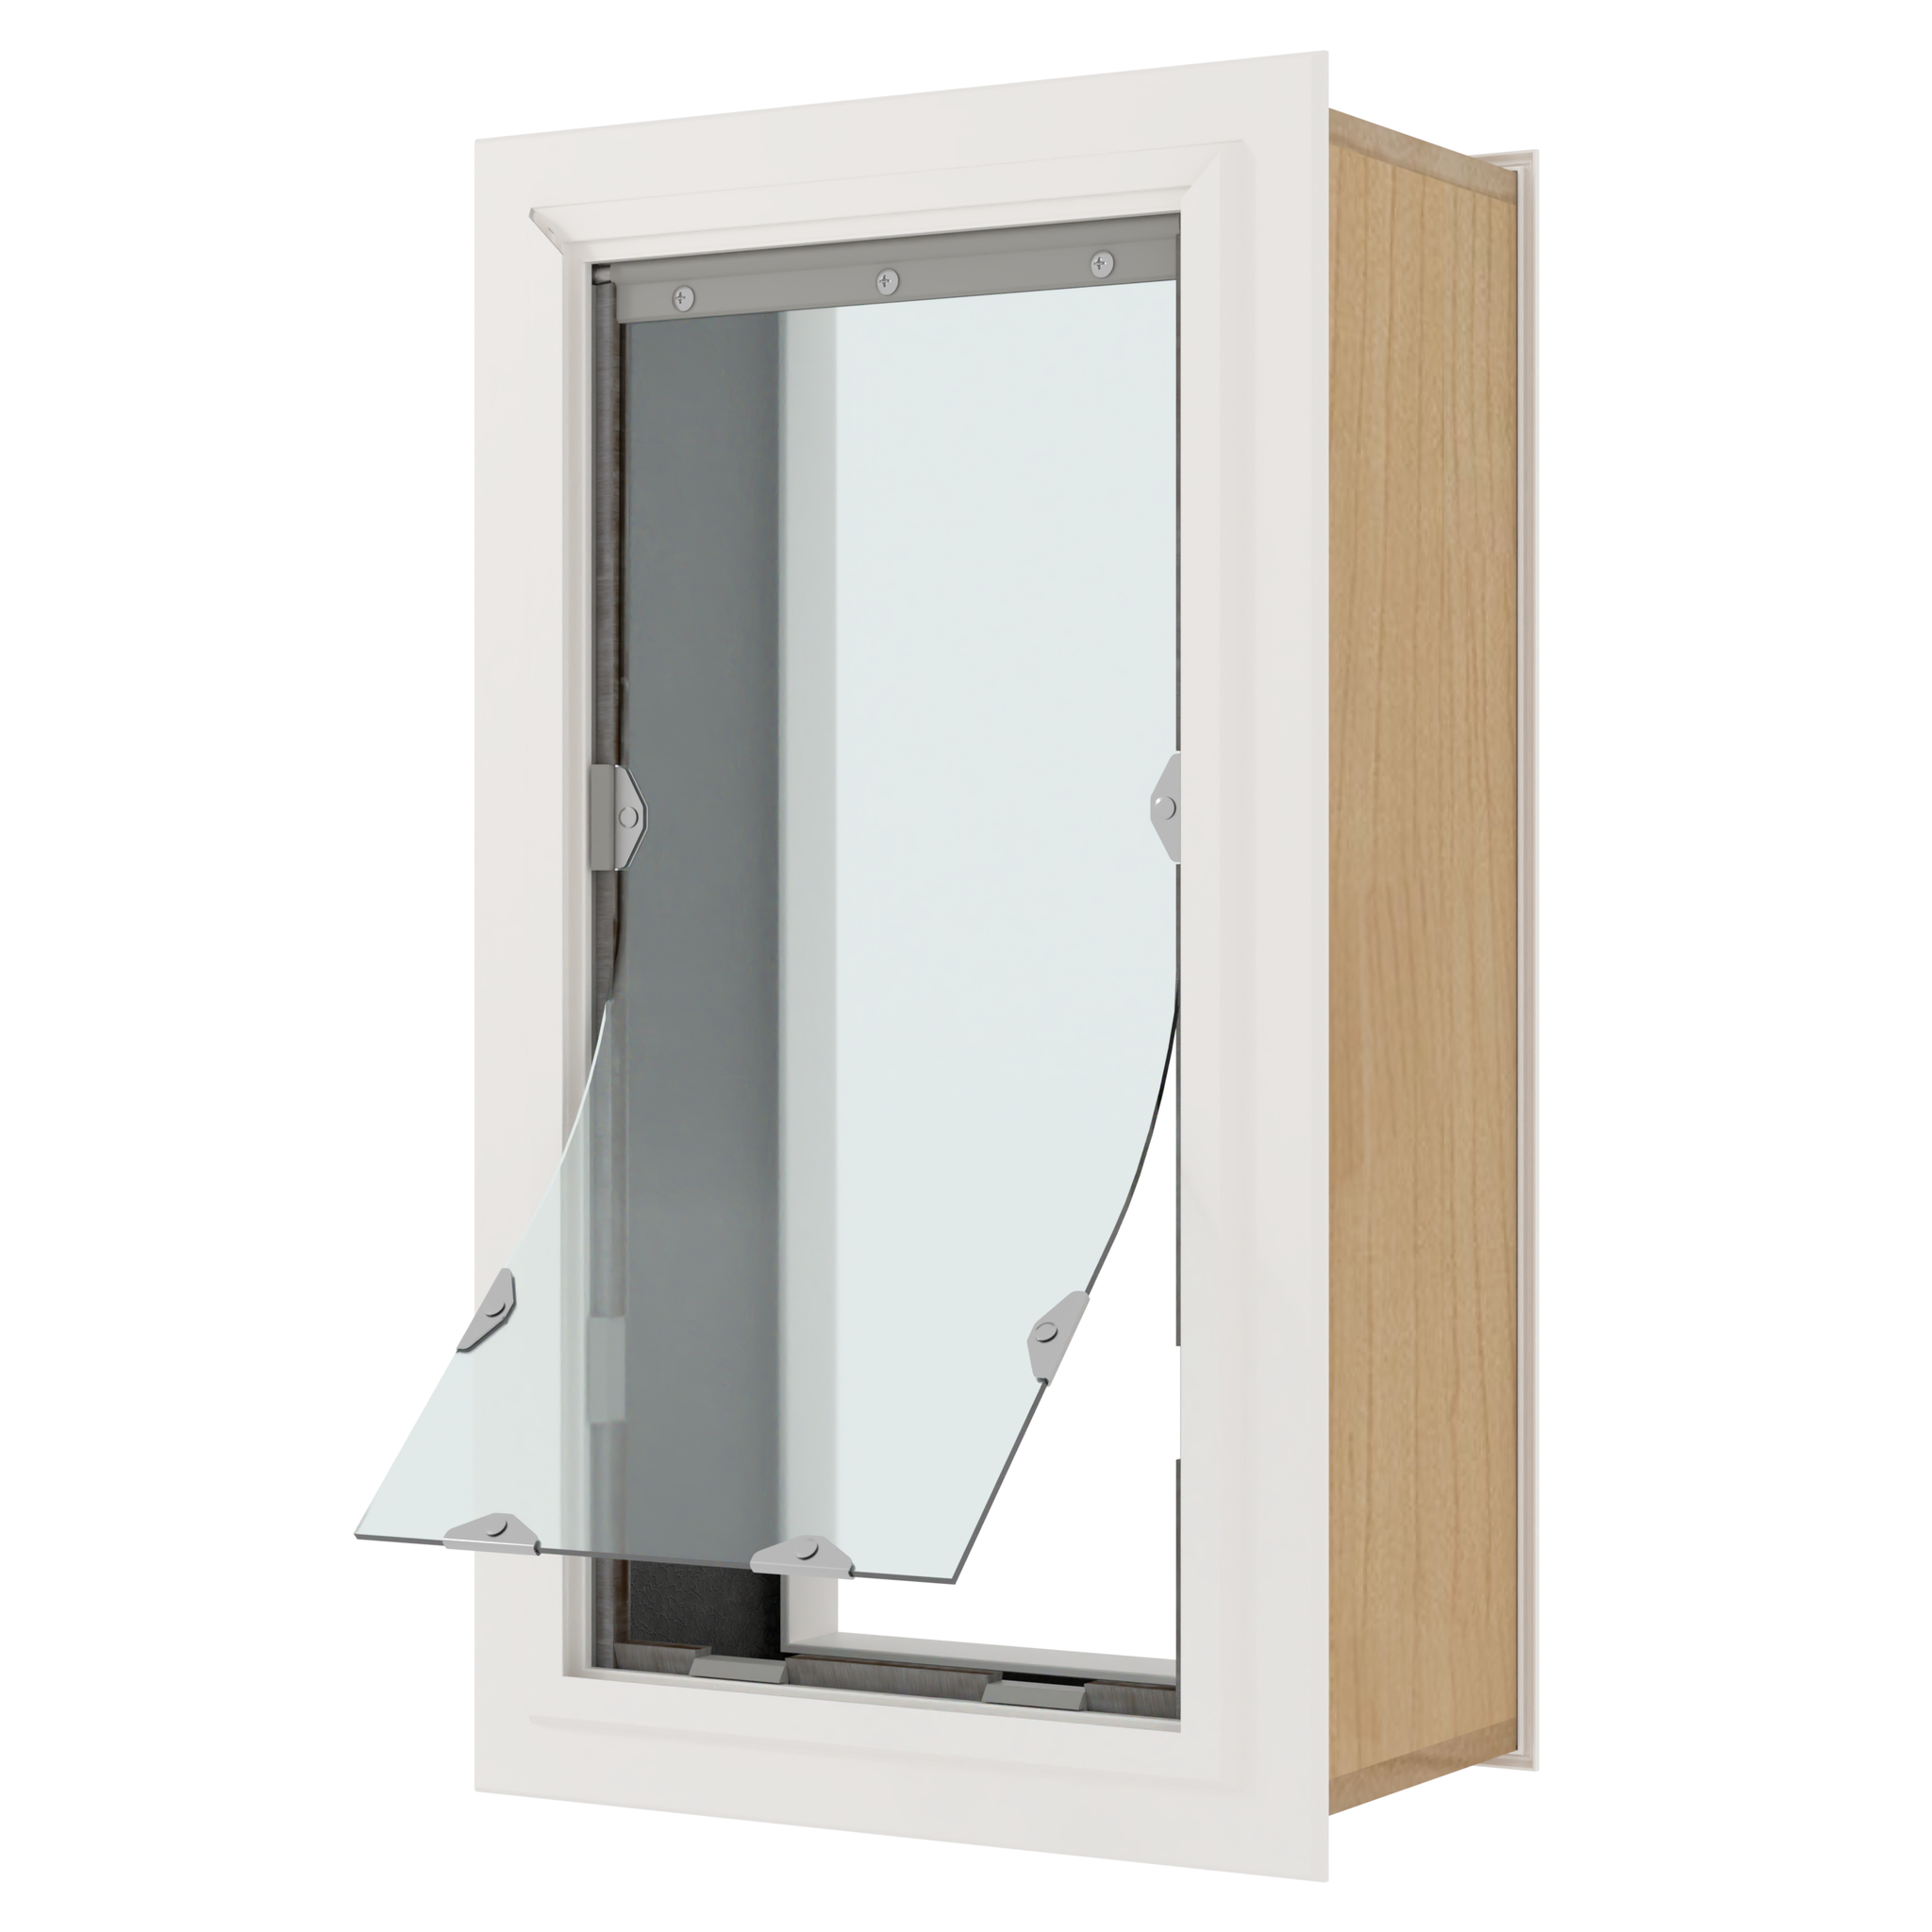
Step 1
Measure Your Pet
- Measure your pet and make a mark at least 3” above your pet’s height on your wall, this will
line up with the top of the template.
- If a height taller than the max is needed (see chart), you will need to cut a new piece of lumber for your
pet door tunnel.
| Flap Size |
Max Cutout Height From Ground |
| Small |
20" |
| Medium |
24" |
| Large |
30" |
| X-Large |
No Max |
- Depending on pet height and the height of your baseboards you may need to cut
into the baseboards to install the frame. If you want to avoid that, make sure to set the height
accordingly.
Step 2
Prepare Wall for Installation
- Find a section of your wall that is against a stud on one side, but does not contain any
plumbing or wiring.
- Once you find the stud, you can open a small area of the wall next to the stud
that is large enough for you to feel around.
- You can double-check for any plumbing, wiring, studs, or additional bracing
that is in the way. Do not cut through plumbing, wiring, or bracing.
- Extra-Large Size Only: This section will span from stud to stud for typical
stud spacing of 16” on center (14.5" between studs).
Step 3
Make the Rough Cutout
| Wall Mount Template Dimensions |
| Flap Size |
Width |
Height |
| Small |
8" |
14-5/8" |
| Medium |
10" |
18-5/8" |
| Large |
12-1/8" |
22-5/8" |
| Extra Large |
14-3/8" |
26-5/8" |
- Double check your template dimensions with the chart above before cutting into your
wall.
-
Line up the provided template with the edge of the stud and tape it to the wall. Trace the side
of the template along the stud. Remove the template, then cut along the stud line with a saw.
-
Line up the template again, adjusting to match the edge of the stud. Trace the remaining outline
of the template. Remove the template and cut the rest of the lines drawn.
- Remove insulation inside the wall as needed. You can save some to put back
into open areas of the wall cavity.
Step 4
Measure the Studs
- Determine the width of tunnel pieces to use by test fitting each width or measuring the width of
studs inside the wall.
- For 2x4 studs, use the narrower (3.5”) plywood sections.
- For 2x6 studs, use the wider (5.5”) plywood sections.
Step 5
Insert the Vertical Tunnel Piece
- Screw the long wood screw halfway into the middle of the vertical piece to act as a handle.
Insert the vertical tunnel section inside the wall cavity and
tap into place with a mallet or hammer. The face of the plywood should be flush with the cutout.
Add back any insulation that can fit under the cutout.
- Extra-Large Size Only: For standard 16" on center studs, the top and
bottom pieces will span from stud to stud so you can skip this step.
- Extra-Large Size Only: For non-standard stud spacing, you will need to
get wood from a local hardware store to create the frame for the pet door. The frame opening
should match the size of the provided template.
Step 6
Install Corner Brackets
- Pre-install the four corner brackets at both ends of the two shorter plywood sections
that match the width of your studs. The brackets must be flush with the edge of the
short plywood pieces and centered.
- Use only two screws per leg of the bracket.
Step 7
Install Bottom and Top Tunnel Pieces
- Insert the bottom tunnel piece and screw it into the existing stud making sure
it is even with the cut edge of the drywall and level or slightly angled down
towards the outside. You may need a hammer/mallet to tap it into place if the
fit is snug.
- Screw the bottom tunnel piece to the vertical tunnel piece, making sure the
vertical tunnel piece is resting on the bottom of the inner wall for support.
- Use the long wood screw partially inserted into the vertical piece to hold onto
it.
- Insert the top tunnel piece and screw it into the existing stud and vertical
tunnel piece making sure it’s level and even with the cut edge of the drywall.
Step 8
Drill Through the Outer Wall
- Remove the long screw from the vertical tunnel piece.
- Using the provided transfer jig, drill ⅜” holes through the outer wall
from the inside of the opening on the top-left and bottom-right corners.
- Make sure you use the appropriate type of drill for
your outer wall.
Step 9
Mark Where to Cut the Outer Wall
- From the outside, line up the hole transfer jig with the drilled
holes. Level the hole transfer jig and mark the jig’s corners on
your wall.
- Use the drill bit as a pin to help line up the
hole transfer jig with the hole.
- Using the template lined up with marked corners, mark all cut
lines.
Step 10
Cut Outer Wall Opening
- Cut along the inside of the lines as accurately as
possible.
- Be careful not to damage the corner
brackets and screws near the corners.
- Trim up any areas that aren’t flush with the plywood
tunnel. Clean the inside of your wall of any dust or
debris.
Step 11a
Prepare Tunnel for Sealing Tunnel Tape
- Make sure the tunnel area is clean and dry.
- The edge of the sealing tape
should line up with your inside wall, with the
rest of the tape overhanging the tunnel on the
outside.
- To apply the sealing tunnel tape, start at the
middle of the upper tunnel and apply the tape
all around the tunnel, ending with a slight
overlap at the top. Make sure to press the tape
tightly into the corners as you go.
- Once in place, firmly apply pressure all along
the tape to activate the adhesive.
Step 11b
Apply Sealing Tunnel Tape
- Cut each corner up to the outer wall.
- Fold back each piece of the sealing tape
against the outer wall, pressing firmly.
- Apply caulking to the openings in all
four corners, sealing the cut area of
the tape to the outer wall.
- The sealing tape will
be trimmed in a future step.
Step 12
Screw in the Frames
- Make sure the four tabs are
upright and snug to the inside
frame. You may have to loosen
the screw to rotate it into
place using a Phillips
screwdriver.
- Insert the inside frame and
level it in the opening with the
hole transfer jig. While holding
the frame flush against the
wall, use four wood screws to
screw the mounting tabs to the
inside of the tunnel.
- If there are larger gaps you can
pre-bend the mounting tab toward
the tunnel.
Step 13
Install the Outside
Frame
- Repeat installation step
#12 for the outside
frame, making sure the
flap(s) swing through
both frames without
interference.
Step 14
Seal the Inside Frame
- From the
outside, apply
silicone in the
tunnel, around
the sides and
bottom edges of
the inside
frame. This will
seal the tunnel
tape to prevent
water intrusion.
Step 15
Seal the Outside
Frame
- Use a sharp
razor blade to
trim off any
excess tunnel
tape that is
sticking out
past the outside
frame on all
four sides.
- Apply silicone
where the
outside frame
meets the
exterior wall on
the top and
sides, but leave
the bottom open
to allow for
drainage.
Use left/right arrows to navigate the slideshow or swipe left/right if using a mobile device
 Difficulty
High
Difficulty
High
 Steps
15
Steps
15
 Time Required
2-3 hours
Time Required
2-3 hours
 Sections
04
Sections
04
 Flags
01
Flags
01


