Dragon Additional or Replacement Flap
- Regular price
- $70.00
- Sale price
- $70.00
- Regular price
-
$0.00 - Unit price
- per
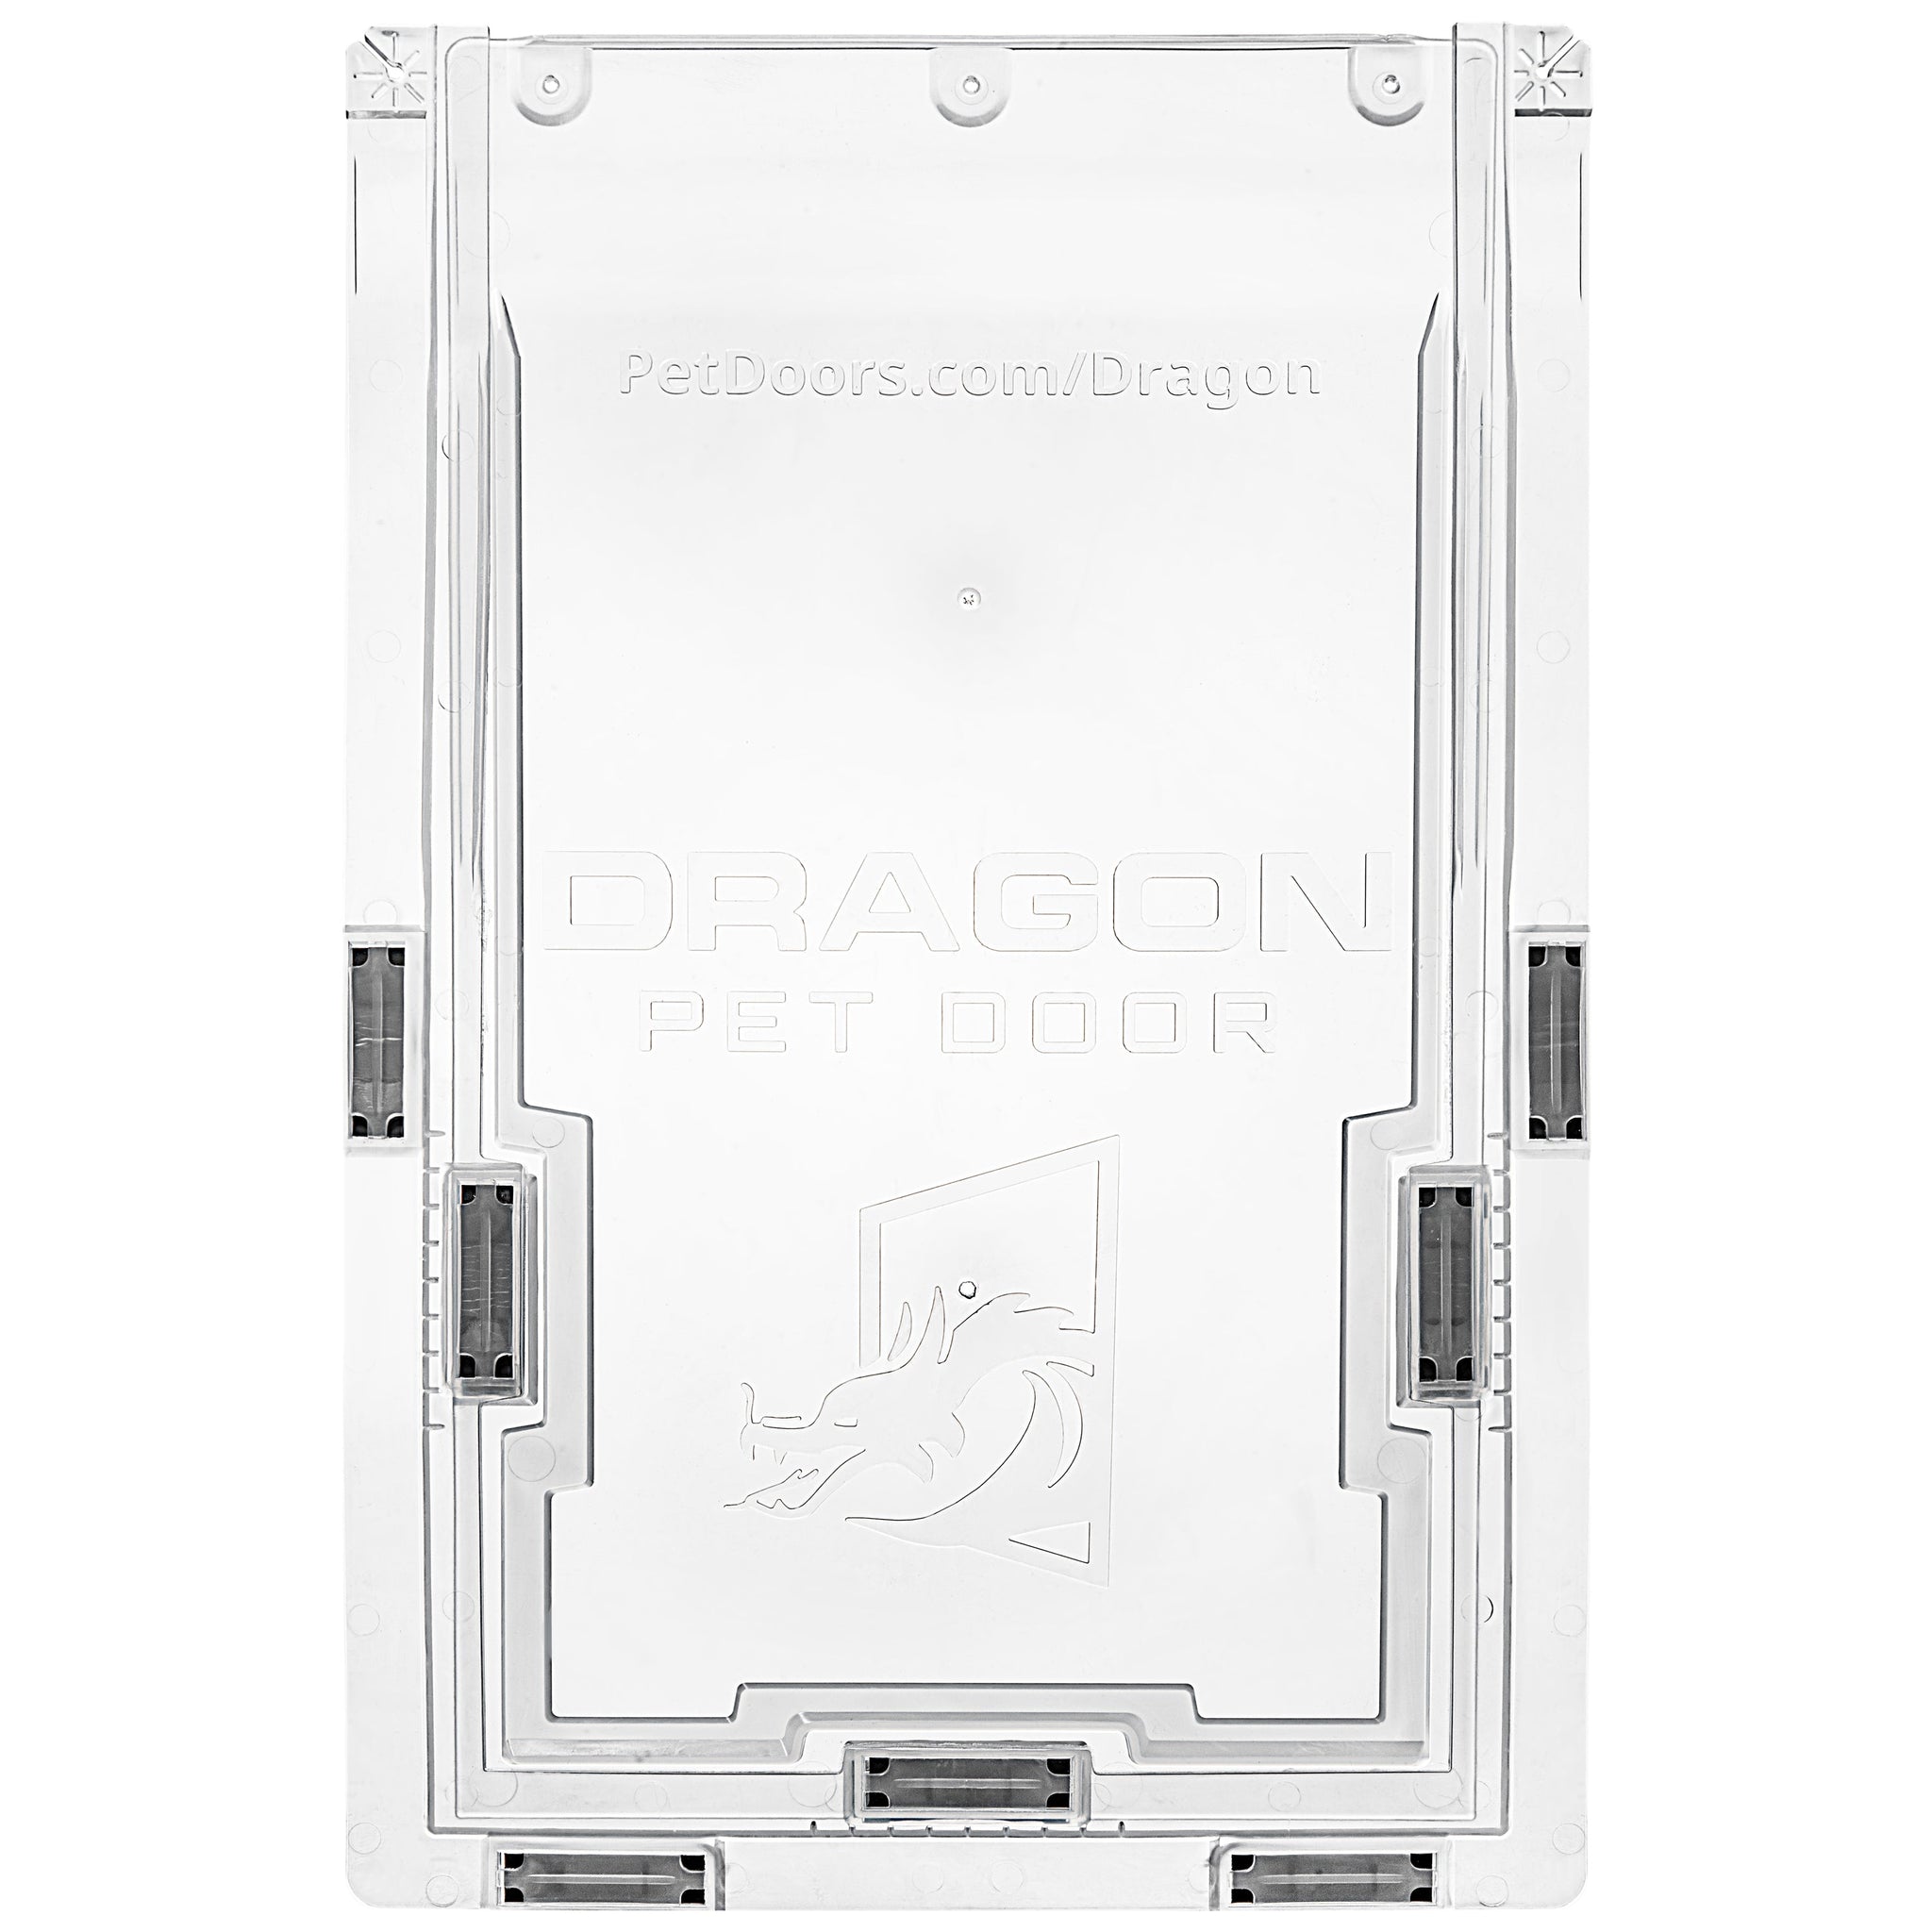
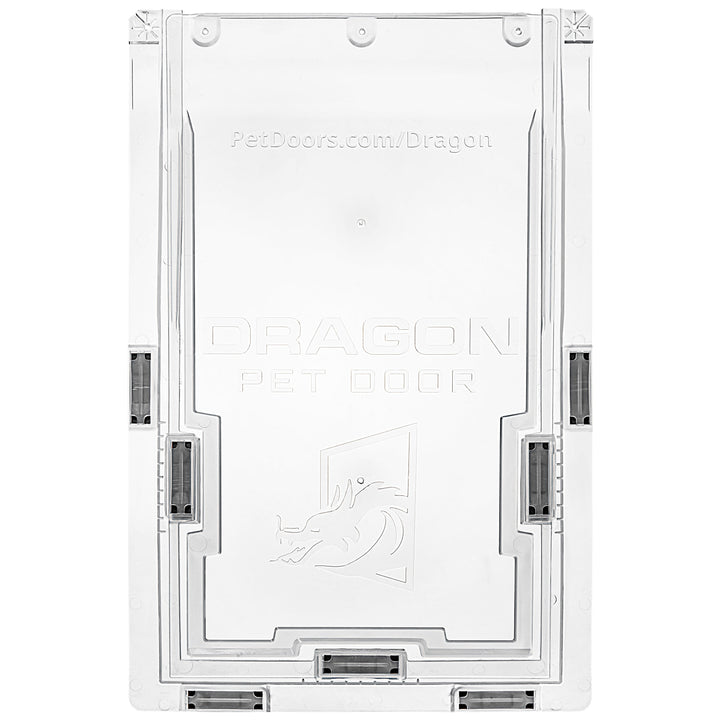
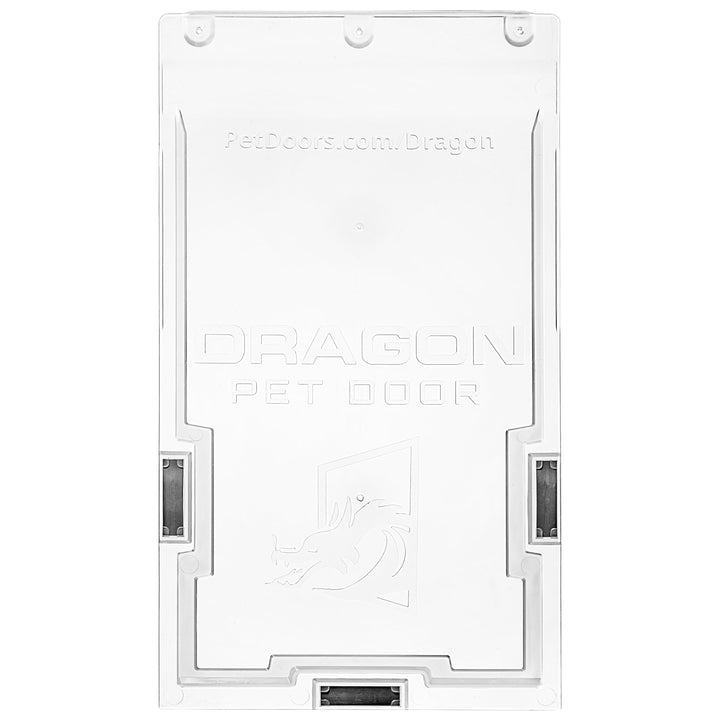
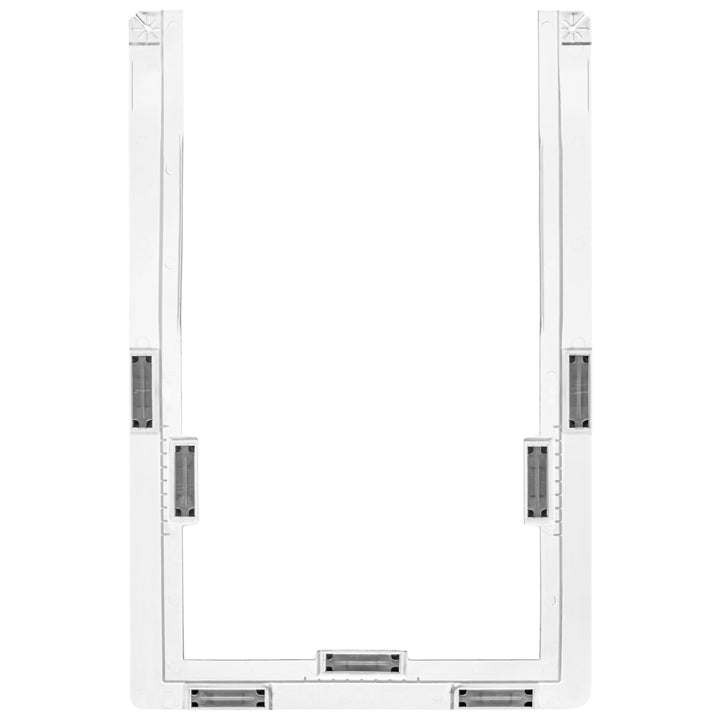
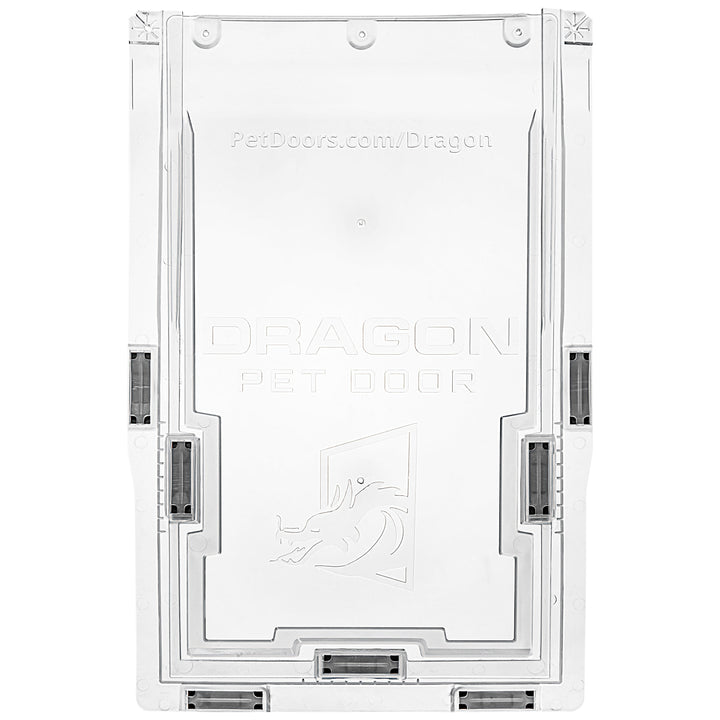
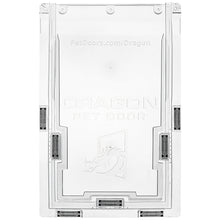
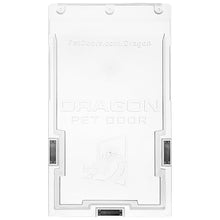
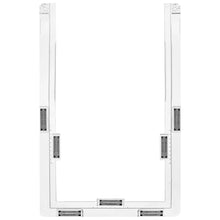
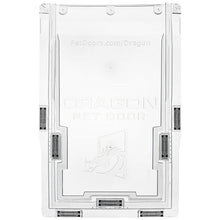
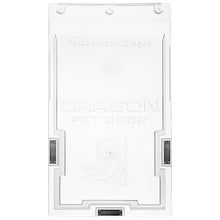
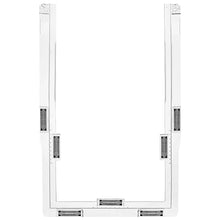
- Sold individually, one (1) flap will contain a center and U-shaped piece
- Replace worn or broken flaps, or upgrade single-flap doors to double-flap for improved insulation
- Translucent, polyolefin elastomer flap for easy pet use
- Quick installation without removing pet door frame
- Available in small, medium, and large sizes

Product Details
The Dragon Replacement Flap is the perfect solution for maintaining your Dragon Pet Door's peak performance without replacing the entire assembly. This versatile replacement flap is designed for all Dragon pet door models and available in Medium and Large sizes, providing a seamless upgrade for single-flap doors to a double-flap configuration for improved insulation.
Crafted from a durable and comfortable translucent polyolefin elastomer material, this flap ensures ease of use for your pets, while the sturdy, two-piece design includes all required hardware for a hassle-free installation process. With the Dragon Replacement Flap, there's no need to remove the pet door frame, making it a quick and convenient upgrade for your home.
The Dragon Replacement Flap is compatible with various installation types, including regular doors, wall mounts, aluminum sliding doors, vinyl sliding doors, sash windows, vinyl windows, and horizontal windows.
Whether you're replacing a worn-out flap or converting your single flap pet door to a double flap, this replacement flap is a practical and valuable addition to your Dragon Pet Door.
Features:
- Sturdy, two-piece flap design with all required hardware included
- Enhances insulation by upgrading to double-flap configuration
- Translucent flap material is both durable and comfortable for pets
- Easy installation process for a hassle-free experience
- Versatile compatibility with various installation types
Size Chart
- Small 8-1/8"w x 11-1/2"h
- Medium 9-1/2"w x 15-1/4"h
- Large 12-1/8"w x 19"h
Flap Width:
8-1/8"w
The length of your pet door flap.

Flap height:
11-1/2"h
How tall your pet door flap height is.Flap Width:
9-1/2"w
The length of your pet door flap.

Flap height:
15-1/4"h
How tall your pet door flap height is.Flap Width:
12-1/8"w
The length of your pet door flap.

Flap height:
19"h
How tall your pet door flap height is.| Flap Size | Flap Dimensions |
|---|---|
| Small | 8-1/8"w x 11-1/2"h |
| Medium | 9-1/2"w x 15-1/4"h |
| Large | 12-1/8"w x 19"h |
To correctly select your replacement flap size, we recommend measuring your maximum frame width or height and match it to a size in this chart.
Installation Instructions
Replacing the Flap
 Difficulty
Easy
 Steps
05
 Time Required
0.5 Hours
 Sections
02
 Flags
01
Parts
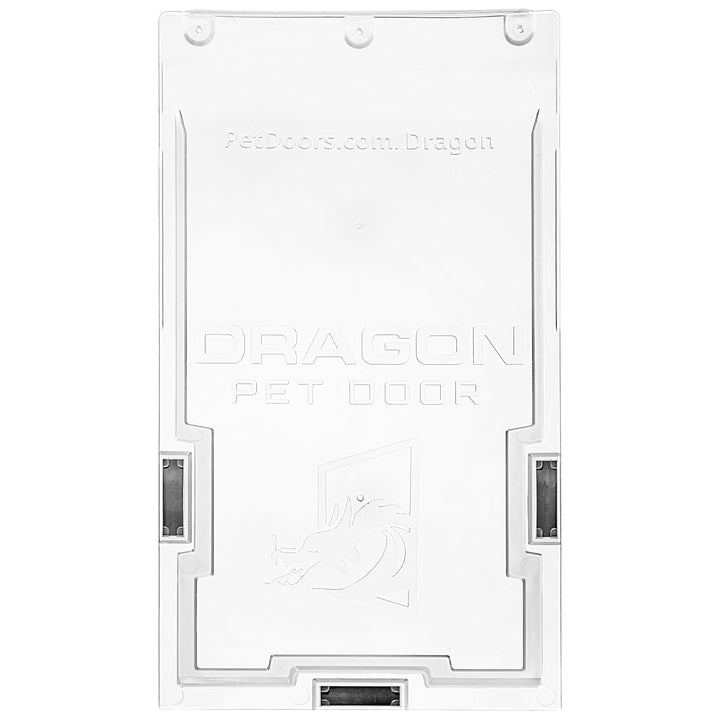
- 1 Main Inner Flap - Interior piece with the Dragon logo
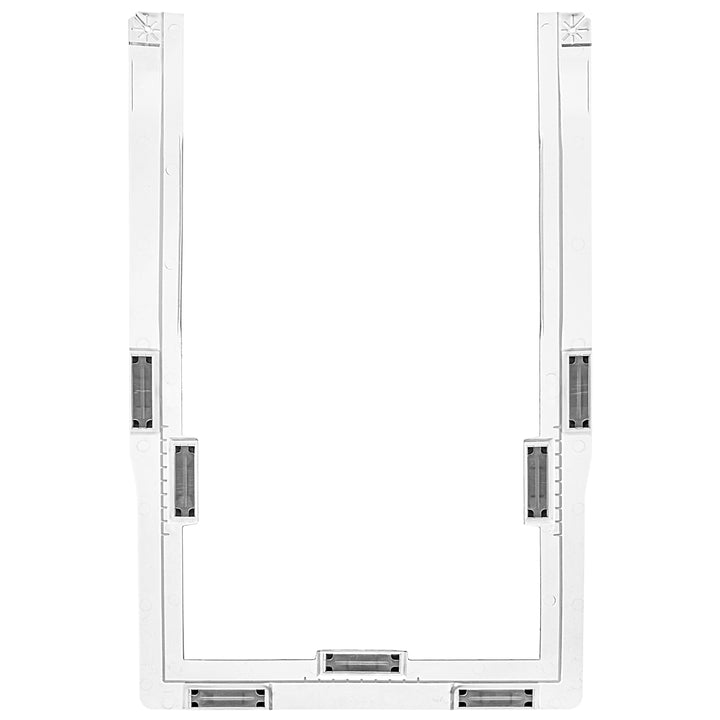
- 1 Outer Flap - Exterior piece shaped like the letter “U”
- 5 Thread-Forming Screws - ½” long screws
- 3-4 Frame Strike Plates - ½” x 1 ¾” steel plates with adhesive backing (small flaps come with 3 plates; medium/large flaps come with 4)
Tools
- Phillips Head Screwdriver
Step 1 Remove the Outer Flap

- Remove the two screws holding in the U-shaped outer flap from the frame with a Phillips-head screwdriver.
- If the screw head gets damaged, you can replace it with a new screw from the kit later.
- Remove the old U-shaped flap. Discard damaged screws as needed.
Step 2 Remove the Inner Flap

- Remove the three screws holding the main inner flap.
- Remove the main inner flap from the frame.
Step 3 Remove the Old Magnets

- Separate the magnets from the old flaps.
- The magnets can be discarded in the trash.
- The flap is recyclable. Contact your local waste management and ask if they can recycle polyolefin elastomers or flexible polyethylene.
Step 4 Install the New Inner Flap

- Install the main inner flap onto the frame with the three center screws. The logo should face you, away from the frame.
Step 5 Install the New Outer Flap

- Install the U-shaped outer flap onto the frame with the two remaining screws.
- The magnets should face towards the main flap and the frame.
- If the flaps don't sit quite right, you can try massaging them into place.
Installing an Additional Flap
 Difficulty
Easy
 Steps
04
 Time Required
0.5 Hours
 Sections
01
 Flags
00
Parts
- 1 Main Inner Flap - Interior piece with the Dragon logo
- 1 Outer Flap - Exterior piece shaped like the letter “U”
- 5 Thread-Forming Screws - ½” long screws
- 3-4 Frame Strike Plates - ½” x 1 ¾” steel plates with adhesive backing (small flaps come with 3 plates; medium/large flaps come with 4)
Tools
- Phillips Head Screwdriver
Watch the same process for the Door and Wall Mount.
Step 1 Install the Main Inner Flap

- Install the main inner flap onto the frame with the three center screws. The logo should face you, away from the frame.
Step 2 Install the Outer U-Shaped Flap

- Install the U-shaped outer flap onto the frame with the two remaining screws.
- The magnets should face towards the main flap and the frame.
- If the flaps don't sit quite right, you can try massaging them into place.
Step 3 Adhere the First Strike Plate

- Remove the paper liner from one of the frame strike plates.
- Locate one of the four rectangular recesses in the empty frame where the strike plate will go.
- You will want to to place the plate in the center of the recess lengthwise, and towards the frame opening short-wise.
Step 4 Adhere the Remaining Strike Plates

- Press only one end of the strike plate down with your other hand, ensuring it stays straight.
- Run your finger across it, applying pressure, to ensure it has a good hold.
- Repeat for the other three strike plates.
FAQ
|
What's the difference between the single flap and the double flap? The double flap option provides increased insulation against the cold. Both options have magnets on the flap to keep the door sealed in wind. |
|
I want to get the large pet door for my dog, but I am concerned about a person fitting through it. All Dragon Pet Doors come with a locking cover. This cover can be used to keep you doggy in. It also can be used to keep intruders from entering your home. It slides into the interior frame. |
|
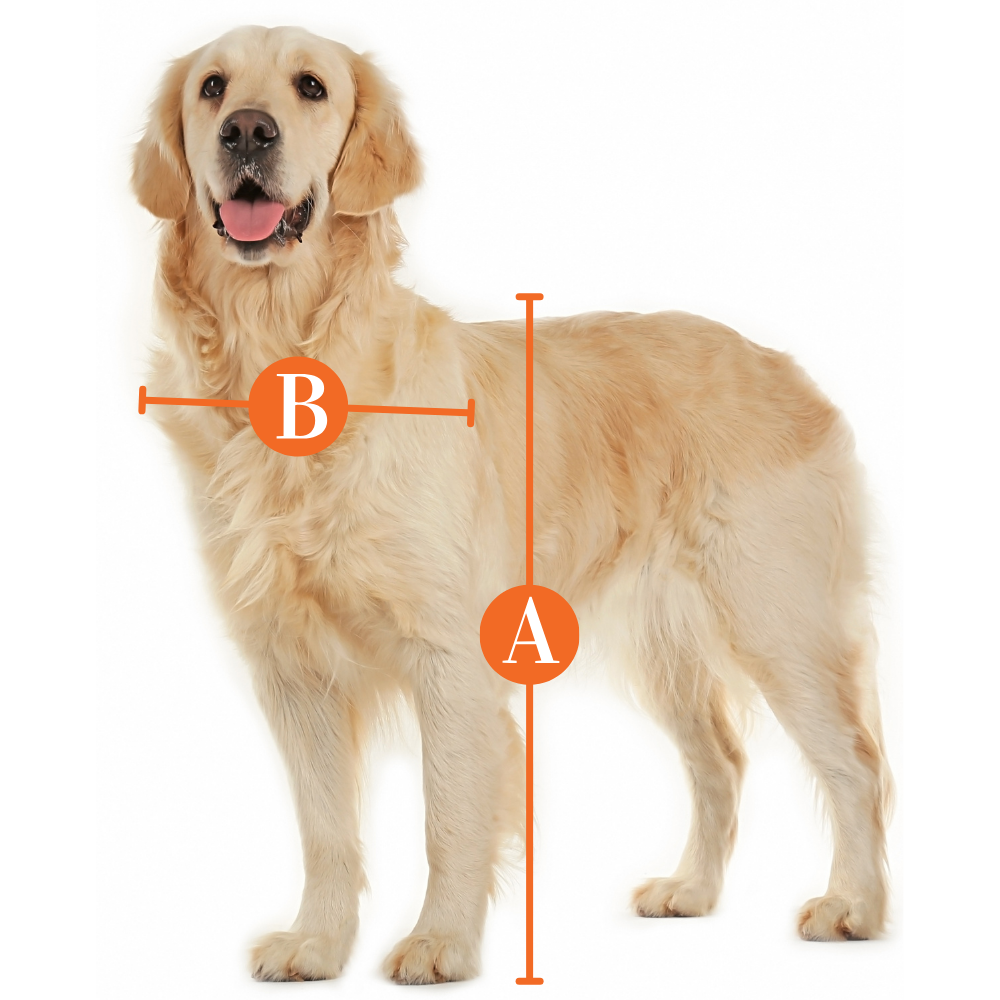
How do I know what size is best for my dog? When installing the pet door you want it to clear the top of your dog's back by 1-2 inches, minimum. To give your pet the most comfortable pet door possible, make sure the step-over is less than 1/3 of your dog's height. Lastly you want the width of the door to be big enough to allow your pet to go through without touching the sides. Here's a guide on how to measure your pet with tips on how to determine the correct size. |
|
Where can I install the Dragon Pet Door? The Dragon Pet Door has multiple Installation options. You can install it in Regular Doors, as a Wall mount, Aluminum Sliding Doors, Vinyl Sliding Doors, Sash Windows, Vinyl Windows, and Horizontal Windows. |
|
Can my small and large dog share this pet door? Yes, but make sure to follow standard Measuring Guidelines. Make sure the size of the door is based off your tallest pet, but installed low enough for your smallest pet. |
|
Is the Dragon flap for door mounting the same as the wall mount? Yes! The flap and frames are identical, the only difference would be the hardware that is included for installation. |
|
Is this chew-proof? This flap is not chew-resistant. However, most pet door flaps are not made to withstand dog chewing. To prevent chewing, we recommend training your dog to teeth elsewhere, providing more enrichment within your home, or spraying the flap with bitter anti-chew spray. |
|
How much does shipping cost? Shipping is calculated at checkout. |
Warranty
Dragon Pet Doors One Year Warranty
Dragon Pet Doors have a one-year warranty for normal wear & tear and manufacturing defects.
Customer Reviews

Size Chart
- Small 8-1/8"w x 11-1/2"h
- Medium 9-1/2"w x 15-1/4"h
- Large 12-1/8"w x 19"h
Flap Width:
8-1/8"w
The length of your pet door flap.

Flap height:
11-1/2"h
How tall your pet door flap height is.Flap Width:
9-1/2"w
The length of your pet door flap.

Flap height:
15-1/4"h
How tall your pet door flap height is.Flap Width:
12-1/8"w
The length of your pet door flap.

Flap height:
19"h
How tall your pet door flap height is.| Flap Size | Flap Dimensions |
|---|---|
| Small | 8-1/8"w x 11-1/2"h |
| Medium | 9-1/2"w x 15-1/4"h |
| Large | 12-1/8"w x 19"h |
To correctly select your replacement flap size, we recommend measuring your maximum frame width or height and match it to a size in this chart.
Installation Instructions
Replacing the Flap

 Difficulty
Easy
 Steps
05
 Time Required
0.5 Hours
 Sections
02
 Flags
01
Parts
- 1 Main Inner Flap - Interior piece with the Dragon logo
- 1 Outer Flap - Exterior piece shaped like the letter “U”
- 5 Thread-Forming Screws - ½” long screws
- 3-4 Frame Strike Plates - ½” x 1 ¾” steel plates with adhesive backing (small flaps come with 3 plates; medium/large flaps come with 4)
Tools
- Phillips Head Screwdriver
Step 1 Remove the Outer Flap

- Remove the two screws holding in the U-shaped outer flap from the frame with a Phillips-head screwdriver.
- If the screw head gets damaged, you can replace it with a new screw from the kit later.
- Remove the old U-shaped flap. Discard damaged screws as needed.
Step 2 Remove the Inner Flap

- Remove the three screws holding the main inner flap.
- Remove the main inner flap from the frame.
Step 3 Remove the Old Magnets

- Separate the magnets from the old flaps.
- The magnets can be discarded in the trash.
- The flap is recyclable. Contact your local waste management and ask if they can recycle polyolefin elastomers or flexible polyethylene.
Step 4 Install the New Inner Flap

- Install the main inner flap onto the frame with the three center screws. The logo should face you, away from the frame.
Step 5 Install the New Outer Flap

- Install the U-shaped outer flap onto the frame with the two remaining screws.
- The magnets should face towards the main flap and the frame.
- If the flaps don't sit quite right, you can try massaging them into place.
Installing an Additional Flap
 Difficulty
Easy
 Steps
04
 Time Required
0.5 Hours
 Sections
01
 Flags
00
Parts
- 1 Main Inner Flap - Interior piece with the Dragon logo
- 1 Outer Flap - Exterior piece shaped like the letter “U”
- 5 Thread-Forming Screws - ½” long screws
- 3-4 Frame Strike Plates - ½” x 1 ¾” steel plates with adhesive backing (small flaps come with 3 plates; medium/large flaps come with 4)
Tools
- Phillips Head Screwdriver
Watch the same process for the Door and Wall Mount.
Step 1 Install the Main Inner Flap

- Install the main inner flap onto the frame with the three center screws. The logo should face you, away from the frame.
Step 2 Install the Outer U-Shaped Flap

- Install the U-shaped outer flap onto the frame with the two remaining screws.
- The magnets should face towards the main flap and the frame.
- If the flaps don't sit quite right, you can try massaging them into place.
Step 3 Adhere the First Strike Plate

- Remove the paper liner from one of the frame strike plates.
- Locate one of the four rectangular recesses in the empty frame where the strike plate will go.
- You will want to to place the plate in the center of the recess lengthwise, and towards the frame opening short-wise.
Step 4 Adhere the Remaining Strike Plates

- Press only one end of the strike plate down with your other hand, ensuring it stays straight.
- Run your finger across it, applying pressure, to ensure it has a good hold.
- Repeat for the other three strike plates.
FAQ
|
What's the difference between the single flap and the double flap? The double flap option provides increased insulation against the cold. Both options have magnets on the flap to keep the door sealed in wind. |
|
I want to get the large pet door for my dog, but I am concerned about a person fitting through it. All Dragon Pet Doors come with a locking cover. This cover can be used to keep you doggy in. It also can be used to keep intruders from entering your home. It slides into the interior frame. |
|
How do I know what size is best for my dog? When installing the pet door you want it to clear the top of your dog's back by 1-2 inches, minimum. To give your pet the most comfortable pet door possible, make sure the step-over is less than 1/3 of your dog's height. Lastly you want the width of the door to be big enough to allow your pet to go through without touching the sides. Here's a guide on how to measure your pet with tips on how to determine the correct size. |
|
Where can I install the Dragon Pet Door? The Dragon Pet Door has multiple Installation options. You can install it in Regular Doors, as a Wall mount, Aluminum Sliding Doors, Vinyl Sliding Doors, Sash Windows, Vinyl Windows, and Horizontal Windows. |
|
Can my small and large dog share this pet door? Yes, but make sure to follow standard Measuring Guidelines. Make sure the size of the door is based off your tallest pet, but installed low enough for your smallest pet. |
|
Is the Dragon flap for door mounting the same as the wall mount? Yes! The flap and frames are identical, the only difference would be the hardware that is included for installation. |
|
Is this chew-proof? This flap is not chew-resistant. However, most pet door flaps are not made to withstand dog chewing. To prevent chewing, we recommend training your dog to teeth elsewhere, providing more enrichment within your home, or spraying the flap with bitter anti-chew spray. |
|
How much does shipping cost? Shipping is calculated at checkout. |
Warranty
Dragon Pet Doors One Year Warranty
Dragon Pet Doors have a one-year warranty for normal wear & tear and manufacturing defects.



 Product Details

