Sliding Glass Door Pet Door Installation Instructions
Below are the products based on your search:
ShowEntries
Search:
| Brand | Product Name |
|---|---|
| Liberty pet door|Vinyl|1 |

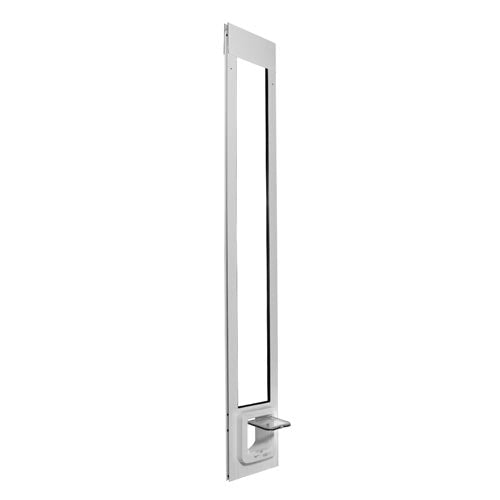
Liberty Vinyl Patio Panel (One Piece)
Liberty Pet Door
Vinyl
|
| Liberty pet door|Vinyl|2 |
Liberty Vinyl Patio Panel (Sectional)
Liberty Pet Door
Vinyl
|
| Liberty pet door|Aluminum|1 |

Liberty Patio Panel (One Piece)
Liberty Pet Door
Aluminum
|
| Liberty pet door|Aluminum|2 |
Liberty Patio Panel (Sectional)
Liberty Pet Door
Aluminum
|
| Whiskers & windows|Aluminum & vinyl|2 |
Whiskers & Windows Cat Door For Sliding Glass Door
Whiskers & Windows
Aluminum & vinyl
|
| Sureflap|Aluminum|1 |

Thermo Panel 2e with Microchip Cat Flap (One Piece)
Sureflap
Aluminum
|
| Sureflap|Aluminum|2 |
Thermo Panel 2e with Microchip Cat Flap (Sectional)
Sureflap
Aluminum
|