Liberty Horizontal Sliding Window Installation Instructions
Installation Instructions
 Difficulty
Easy
Difficulty
Easy
 Steps
04
Steps
04
 Time Required
0.5 hours
Time Required
0.5 hours
 Sections
02
Sections
02
 Flags
02
Flags
02
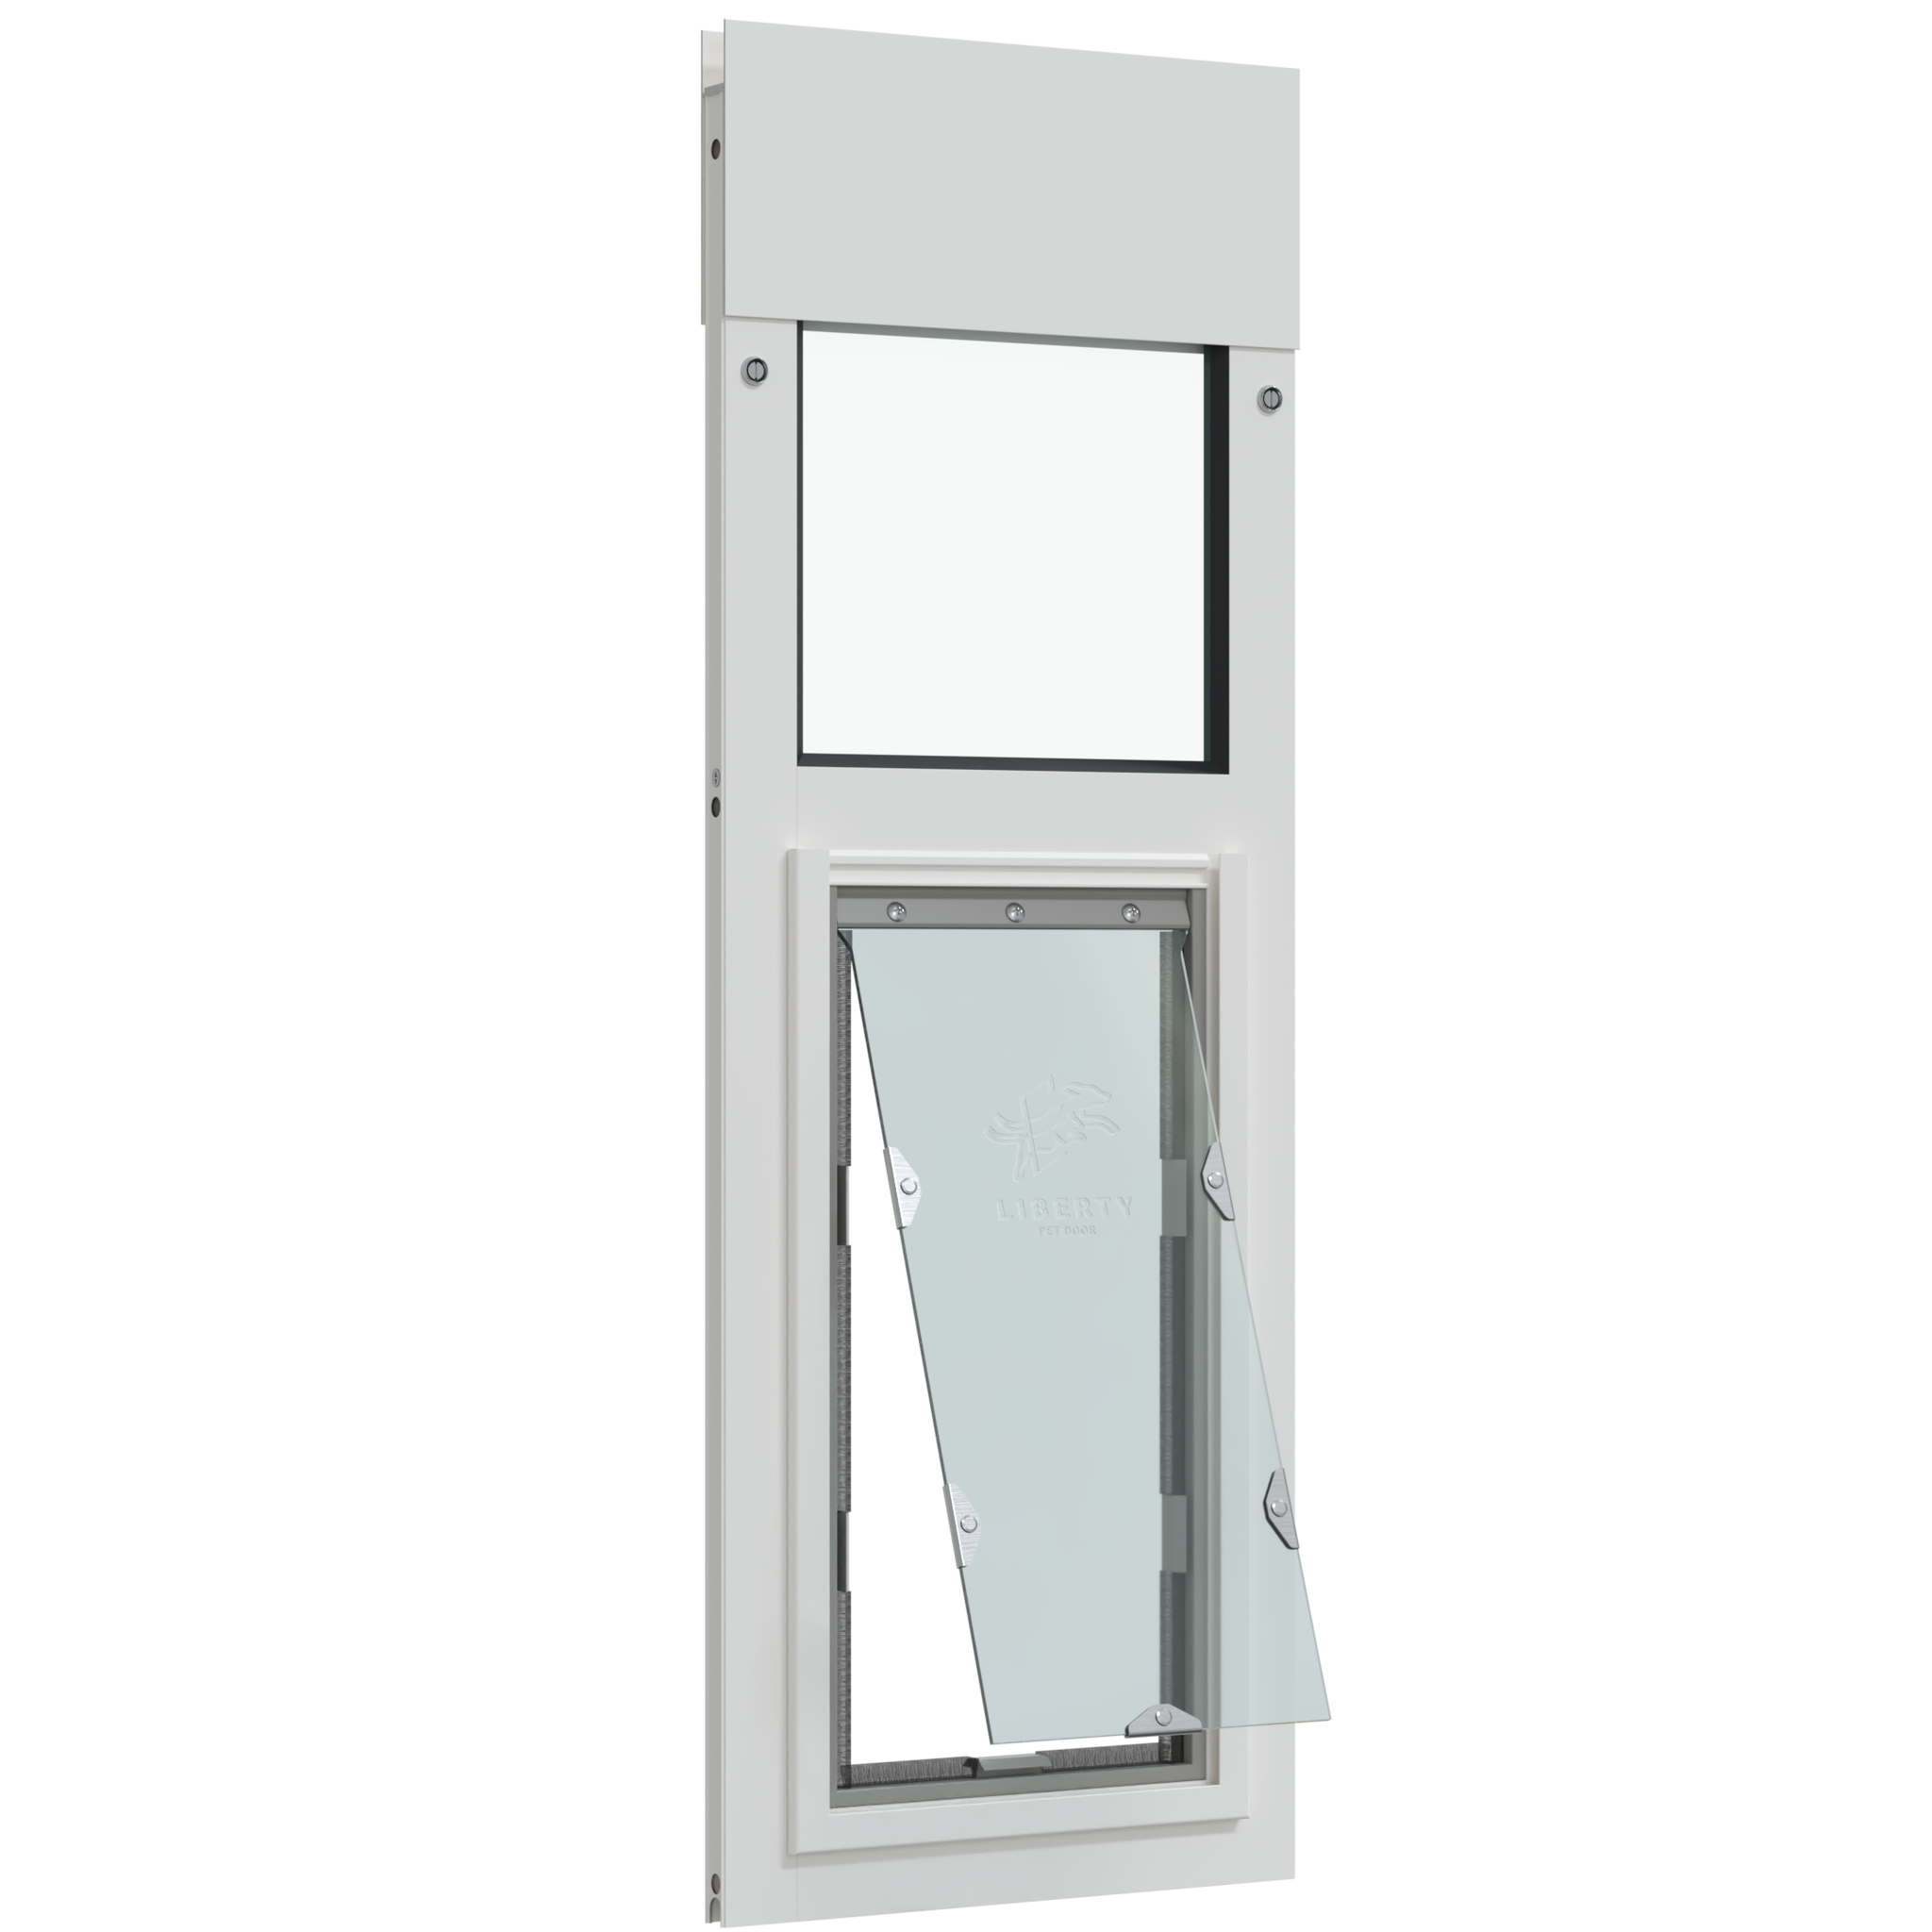
Parts
- 1 Horizontal Window Pet Door
- 1 Foam Weather Strip
- 1 Center Post Weather Seal Draft Stopper
- 1 Clamp Lock
- Screwdriver
Tools
- Scissors
- Flathead Screwdriver
Please read instructions & notes thoroughly before installation.
Step 1 Release Spring Mechanism
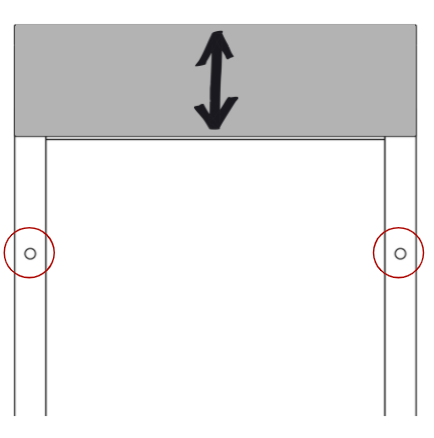
- Loosen the height adjustment locks at the top of the pet panel with the screwdriver. This allows the spring mechanism to move freely up and down.
Step 2 Check Panel Fit

- To insert the panel into the top track, push up against the spring mechanism and swing the bottom of the panel up and over the threshold. Seat the panel on top of the small guide rail in the track.
Step 3 Apply Weather-stripping

- Once you're sure the panel fits, remove it from the frame and lay it on its side on the ground.
- For foam weatherstripping: Peel the backing off the foam weatherstripping. Press it along both edges of the panel, trimming as needed with scissors to ensure a snug fit.
- For rubber weatherstripping: Clean the edge of your sliding door or window with rubbing alcohol to help the weatherstripping stick properly. Starting at the top or bottom, peel and press the strip into place with the folded edge facing indoors—align angled cuts if you have two pieces. For best results, apply the seal to the sliding door or window, but it can go on the pet door panel if needed.
Step 4 Install Center Post Weather Seal


- The center post weather seal strip (draft stopper) should be installed on the inside of the home. It can be installed on either the back edge of the sliding window panel (Figure A) or the leading edge of the stationary panel (Figure B).
- Place the panel back into the window, then tighten the height adjustment locks to lock it in place. Installation complete!
LOCK DETAILS
Since you likely can no longer use your window’s original lock, we have provided you with an alternative locking method to keep your home secure.
Installing the window clamp: This clamp has a screw that tightens by hand to prevent the sliding door from moving beyond the clamp’s placement. For doors manufactured with the glass slider on the inside track, the lock can usually be installed on the door’s raised track.

If you aren’t able to use the lock that comes with the panel: A great alternative to locking your sliding glass door is a Charley bar or dowel in the track. Both work off the same concept - they block the slider from opening. When engaged you cannot pull the sliding door away from the pet door panel.