Screen Pet Door Conversion Kit Installation Instructions
Installation Instructions
 Difficulty
Easy
 Steps
11
 Time Required
0.5 hours
 Sections
01
 Flags
04
Parts
- 2 Screen Magnets
- 2 Frame Magnets
- 1 Roll of Protective Tape
Tools
- Scissors
- Painter’s Tape
- A Pencil
- A Screwdriver (optional)
Please read instructions & notes thoroughly before installation.
Step 1 Prep Your Door

- Remove your screen door from its hinges or track and place it on a flat, clean spot.
Step 2 Measure Your Pet

- Measure your pet’s height from the floor to the tallest portion of their shoulders (their haunches).
- Apply painter’s tape to the outside face of your screen door’s frame so that you have an easy surface to write on.
- Make a mark 5" above your pet's height.
Step 3 Attach the Screen Magnets

- Turn the screen so that the outside face is up.
- Remove the double sided tape liner on the screen magnets. Attach the screen magnets, one for each of the two bottom corners of the screen.
Step 4 Apply Bottom Layer of Tape

- Measure out a piece of protective tape to fit on the bottom edge of the screen, overlapping the lips of the screen magnets. Cut it with sharp scissors and remove the liner. Carefully apply with only light pressure until you’re confident in it’s placement.
Step 5 Apply Tape to Sides of Screen

- Apply another strip of tape along the right side of the door, starting on the upper lip of the screen magnet to your mark. Use the same application technique here that you used in Step 4.
- Repeat on the left side of the screen.
Step 6 Tape Opposite Side of Screen

- Flip your screen door over so that you are looking at the underside of the tape.
- Apply tape over the backside of the bottom edge and sides, being careful not to overlap or touch the frame. Make sure that this layer is aligned as close as possible to the first layer.
Step 7 Reinforce Screen Flap

- Apply a patch of tape horizontally over the top split of the screen, connecting the tape to the screen frame. The patch should overlap the side tape and extend halfway onto your frame. Do this for both sides of the screen.
- Flip the door over and repeat.
Step 8 Remove Screen Spline


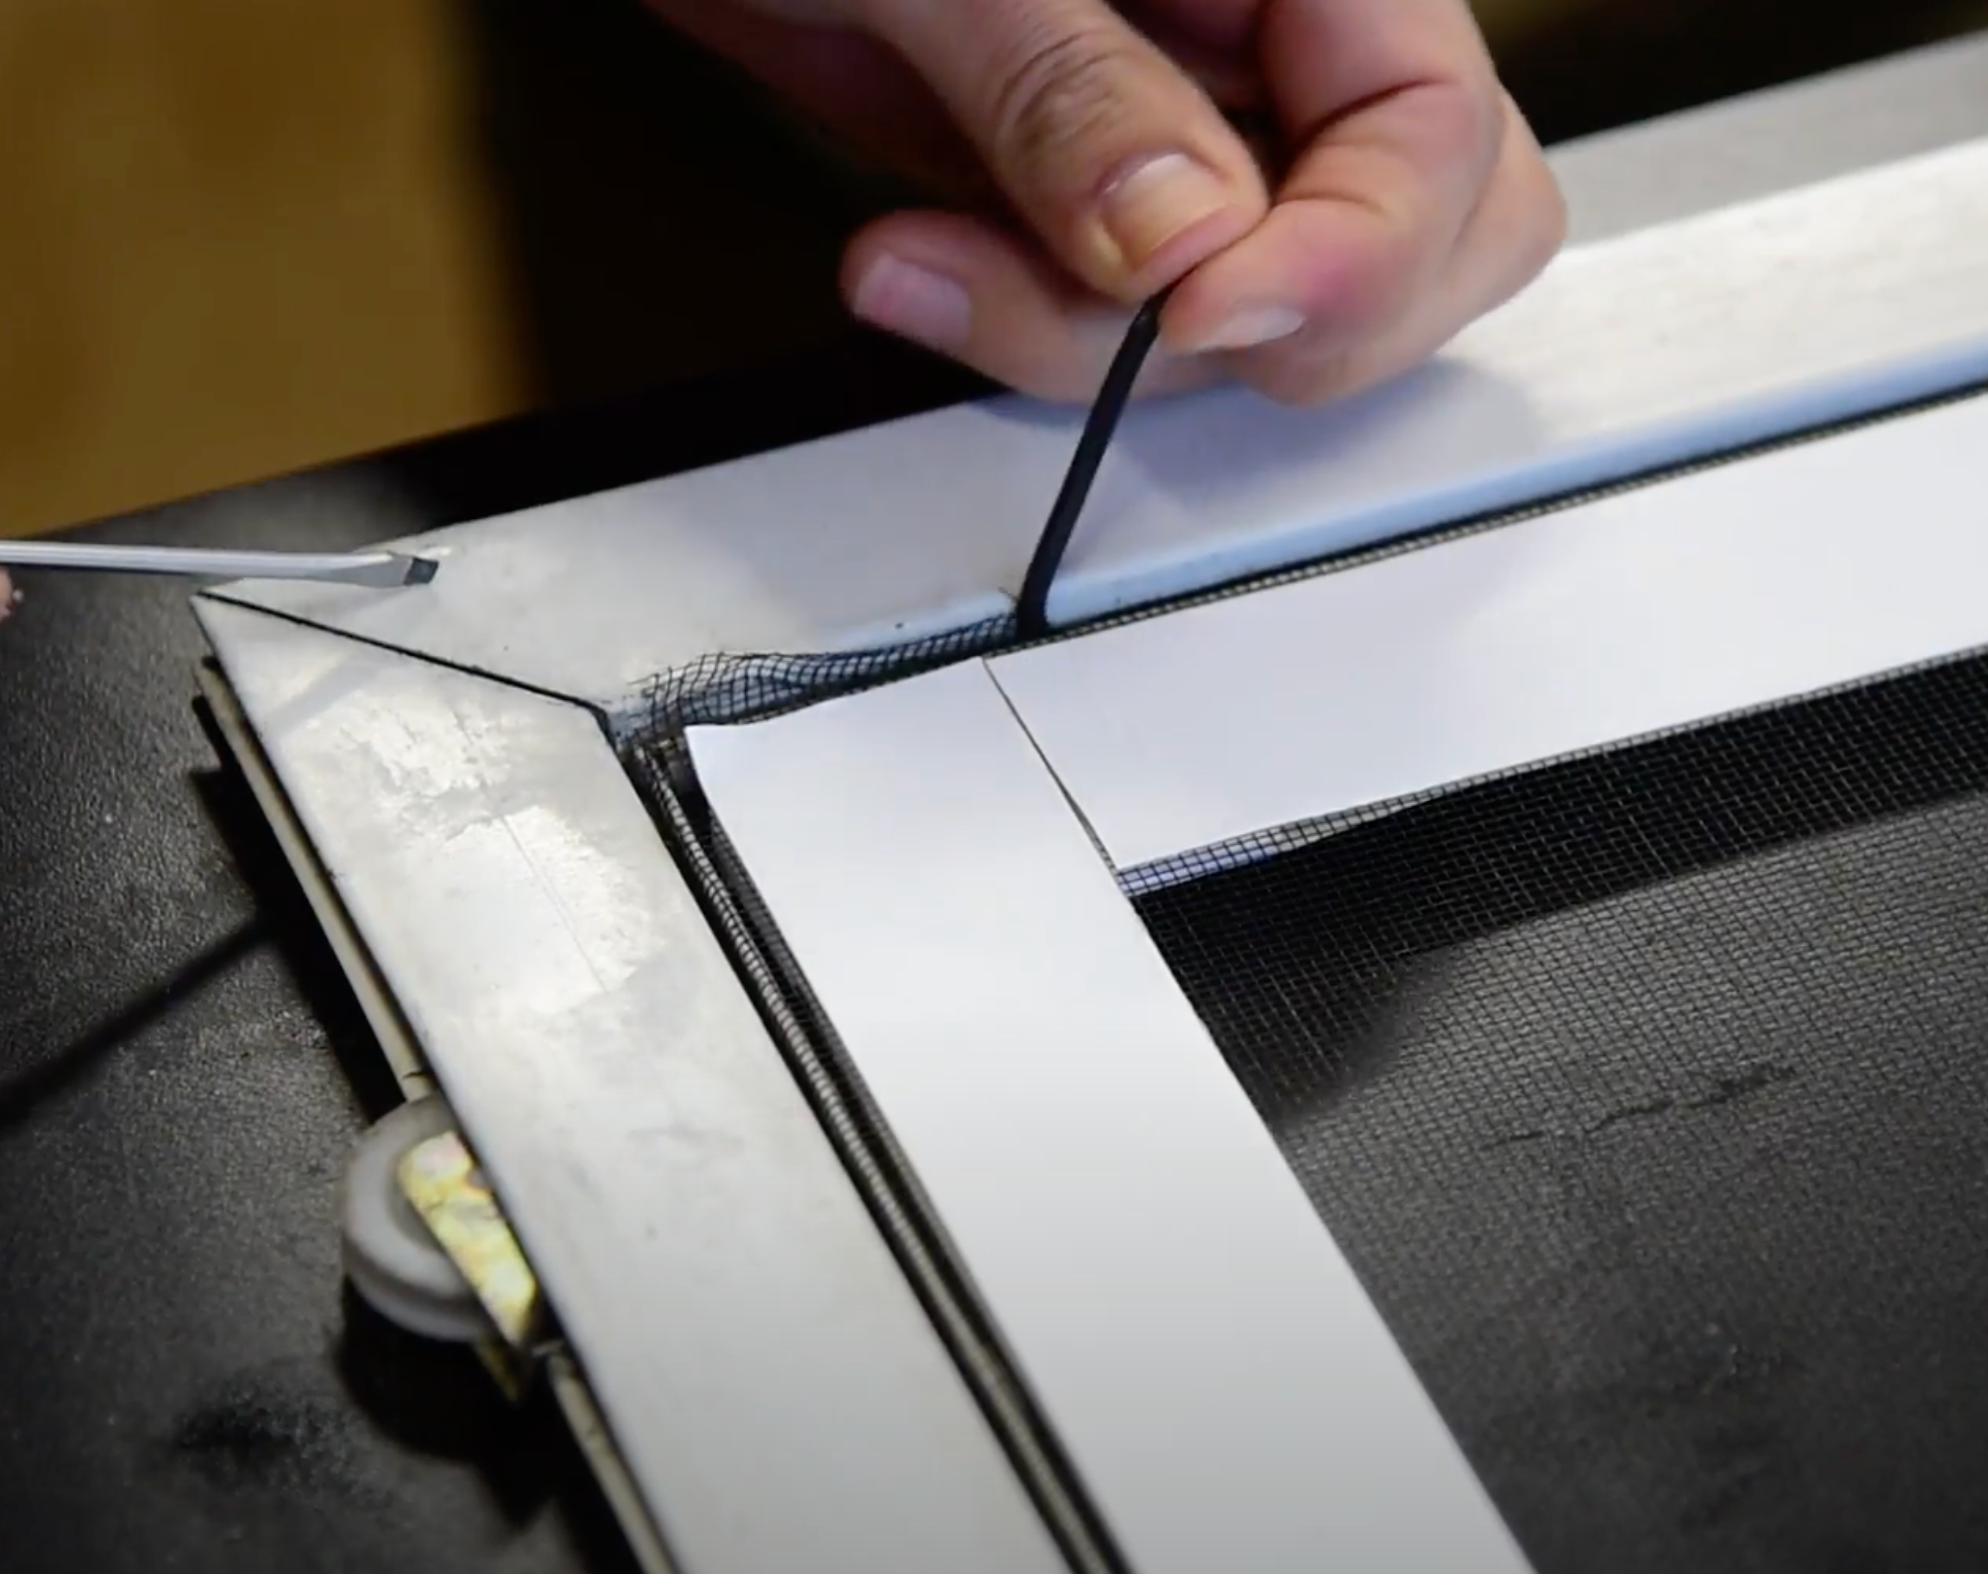
- Locate the end of the spline (usually in one of the lower corners of the screen frame). Use a screwdriver or another pointy tool to pry the end of the spline out of the screen frame.
- Pull out the rest of the spline below the patches by hand (down one side, across the bottom, and up the other side).
- Use scissors to cut the spline directly beneath the patches on each side of the screen. Press any spline that is left back into the groove in the frame.
- Pull the screen material out where you removed the spline allowing it to swing freely. There will be extra screen material that will be trimmed in a later step.
Step 9 Reinstall Screen Door

- Install the screen door back into the doorway.
Step 10 Attach the Frame Magnets

- Remove the liner on the tape for the frame magnets. Allow the frame magnets to attach to the screen magnets face to face.
- With the flap hanging, apply a small amount of tension and attach the sticky side of the frame magnets there so that the two magnet faces connect when the flap closes.
Step 11 Trim Excess Screen Material

- Trim excess screen material along the edges as needed.