Cat Flaps and Doors
- Gain freedom and flexibility with a perfectly sized cat door for your feline friend.
- Create seamless access to litter boxes and food without interference from other pets.
- Choose from various installation locations and styles, including electronic cat doors for added security.
Filters
Filter your search
Pet Type
Window Type
Door Type
Weather Type
Pet Size
What Matters Most?
Wall Thickness
Frame Material
Flap Material
Brand
Additional Features
Color
Installation Difficulty Level
What Do You Need to Do?
Warranty
Window Type
Weather Type
Pet Size
What Matters Most?
Wall Thickness
Frame Material
Flap Material
Brand
Additional Features
Color
Warranty
-
Liberty Cat Door Patio Panel
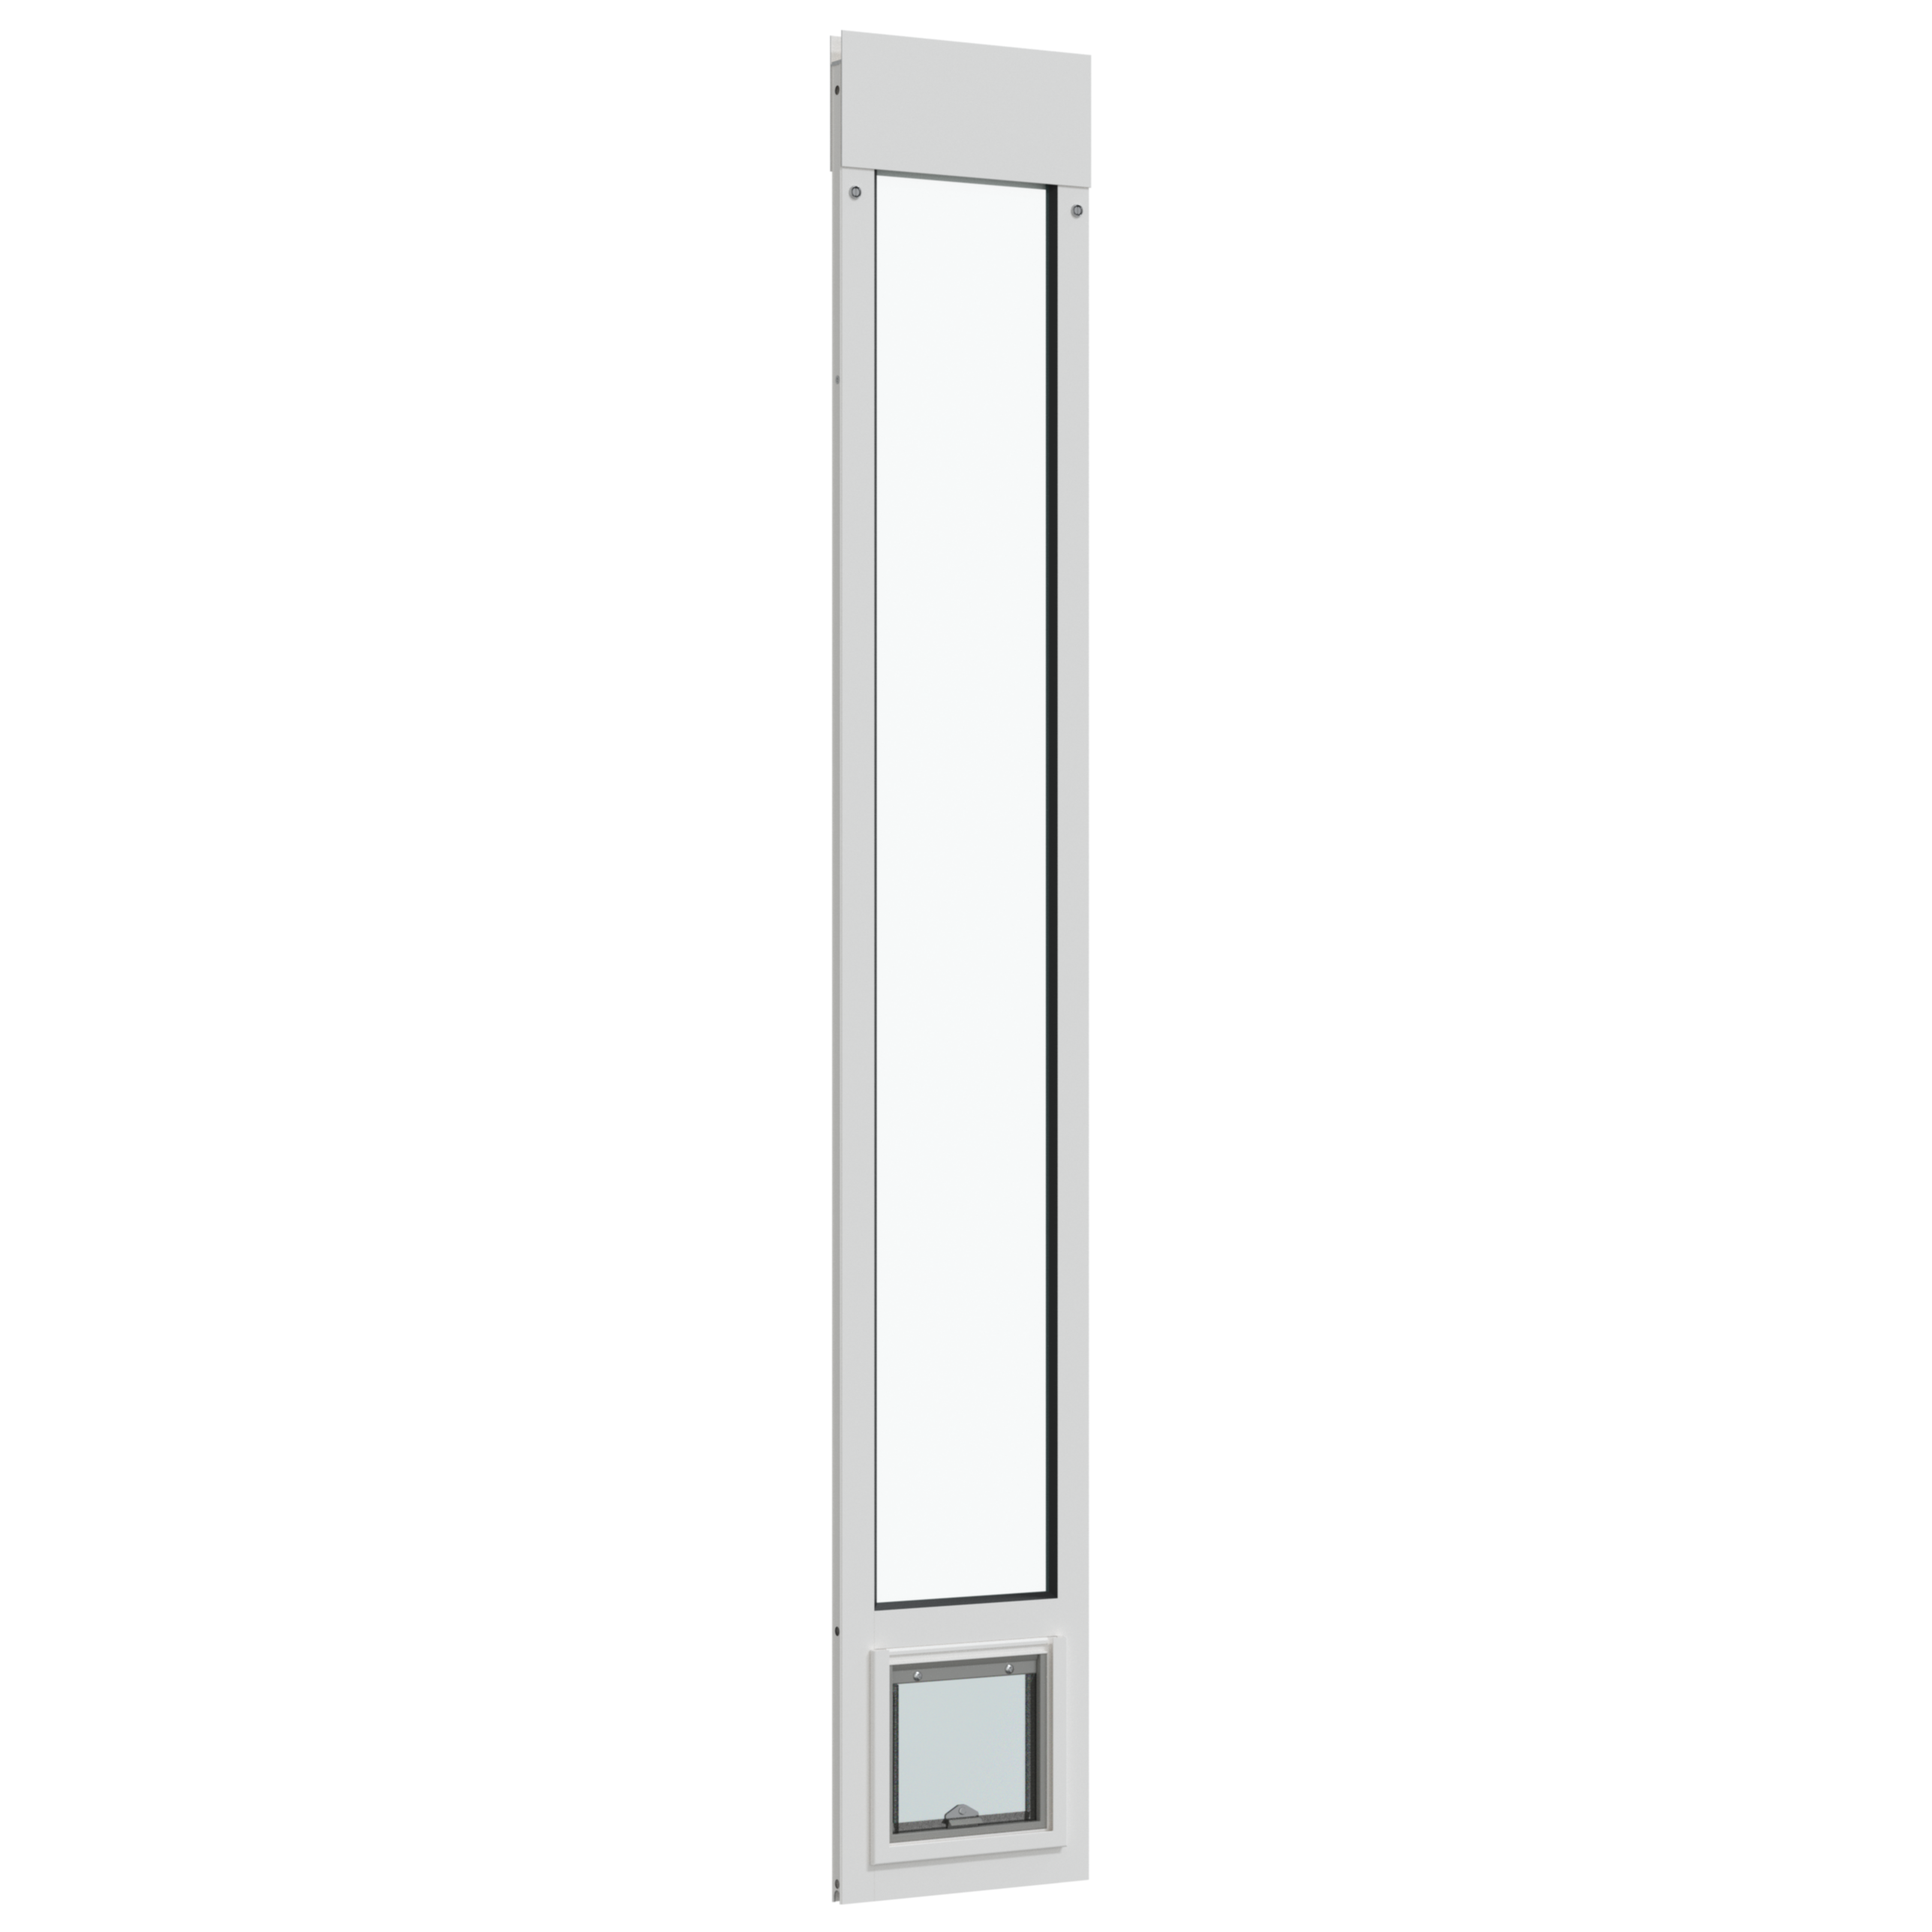 Liberty Cat Door Patio Panel
- Regular price
- from $529.99
- Sale price
- from $529.99
- Regular price
-
- Unit price
- /per
Sale Sold out -
PetSafe SmartDoor Connected Pet Door for Cats and Dogs
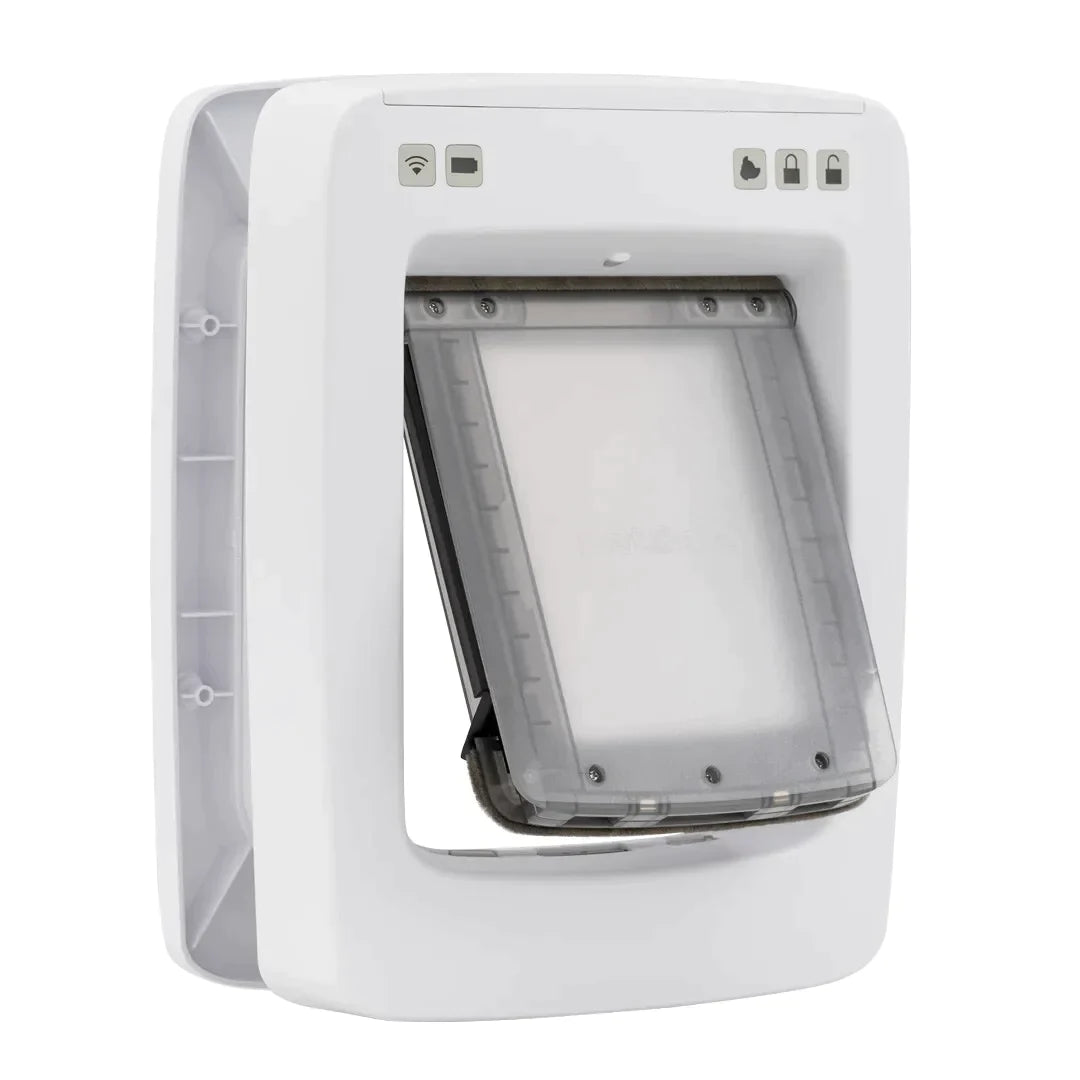 PetSafe SmartDoor Connected Pet Door for Cats and Dogs
- Regular price
- from $549.99
- Sale price
- from $549.99
- Regular price
-
$0.00 - Unit price
- /per
Sale Sold out -
Liberty Cat Door for Sash Windows
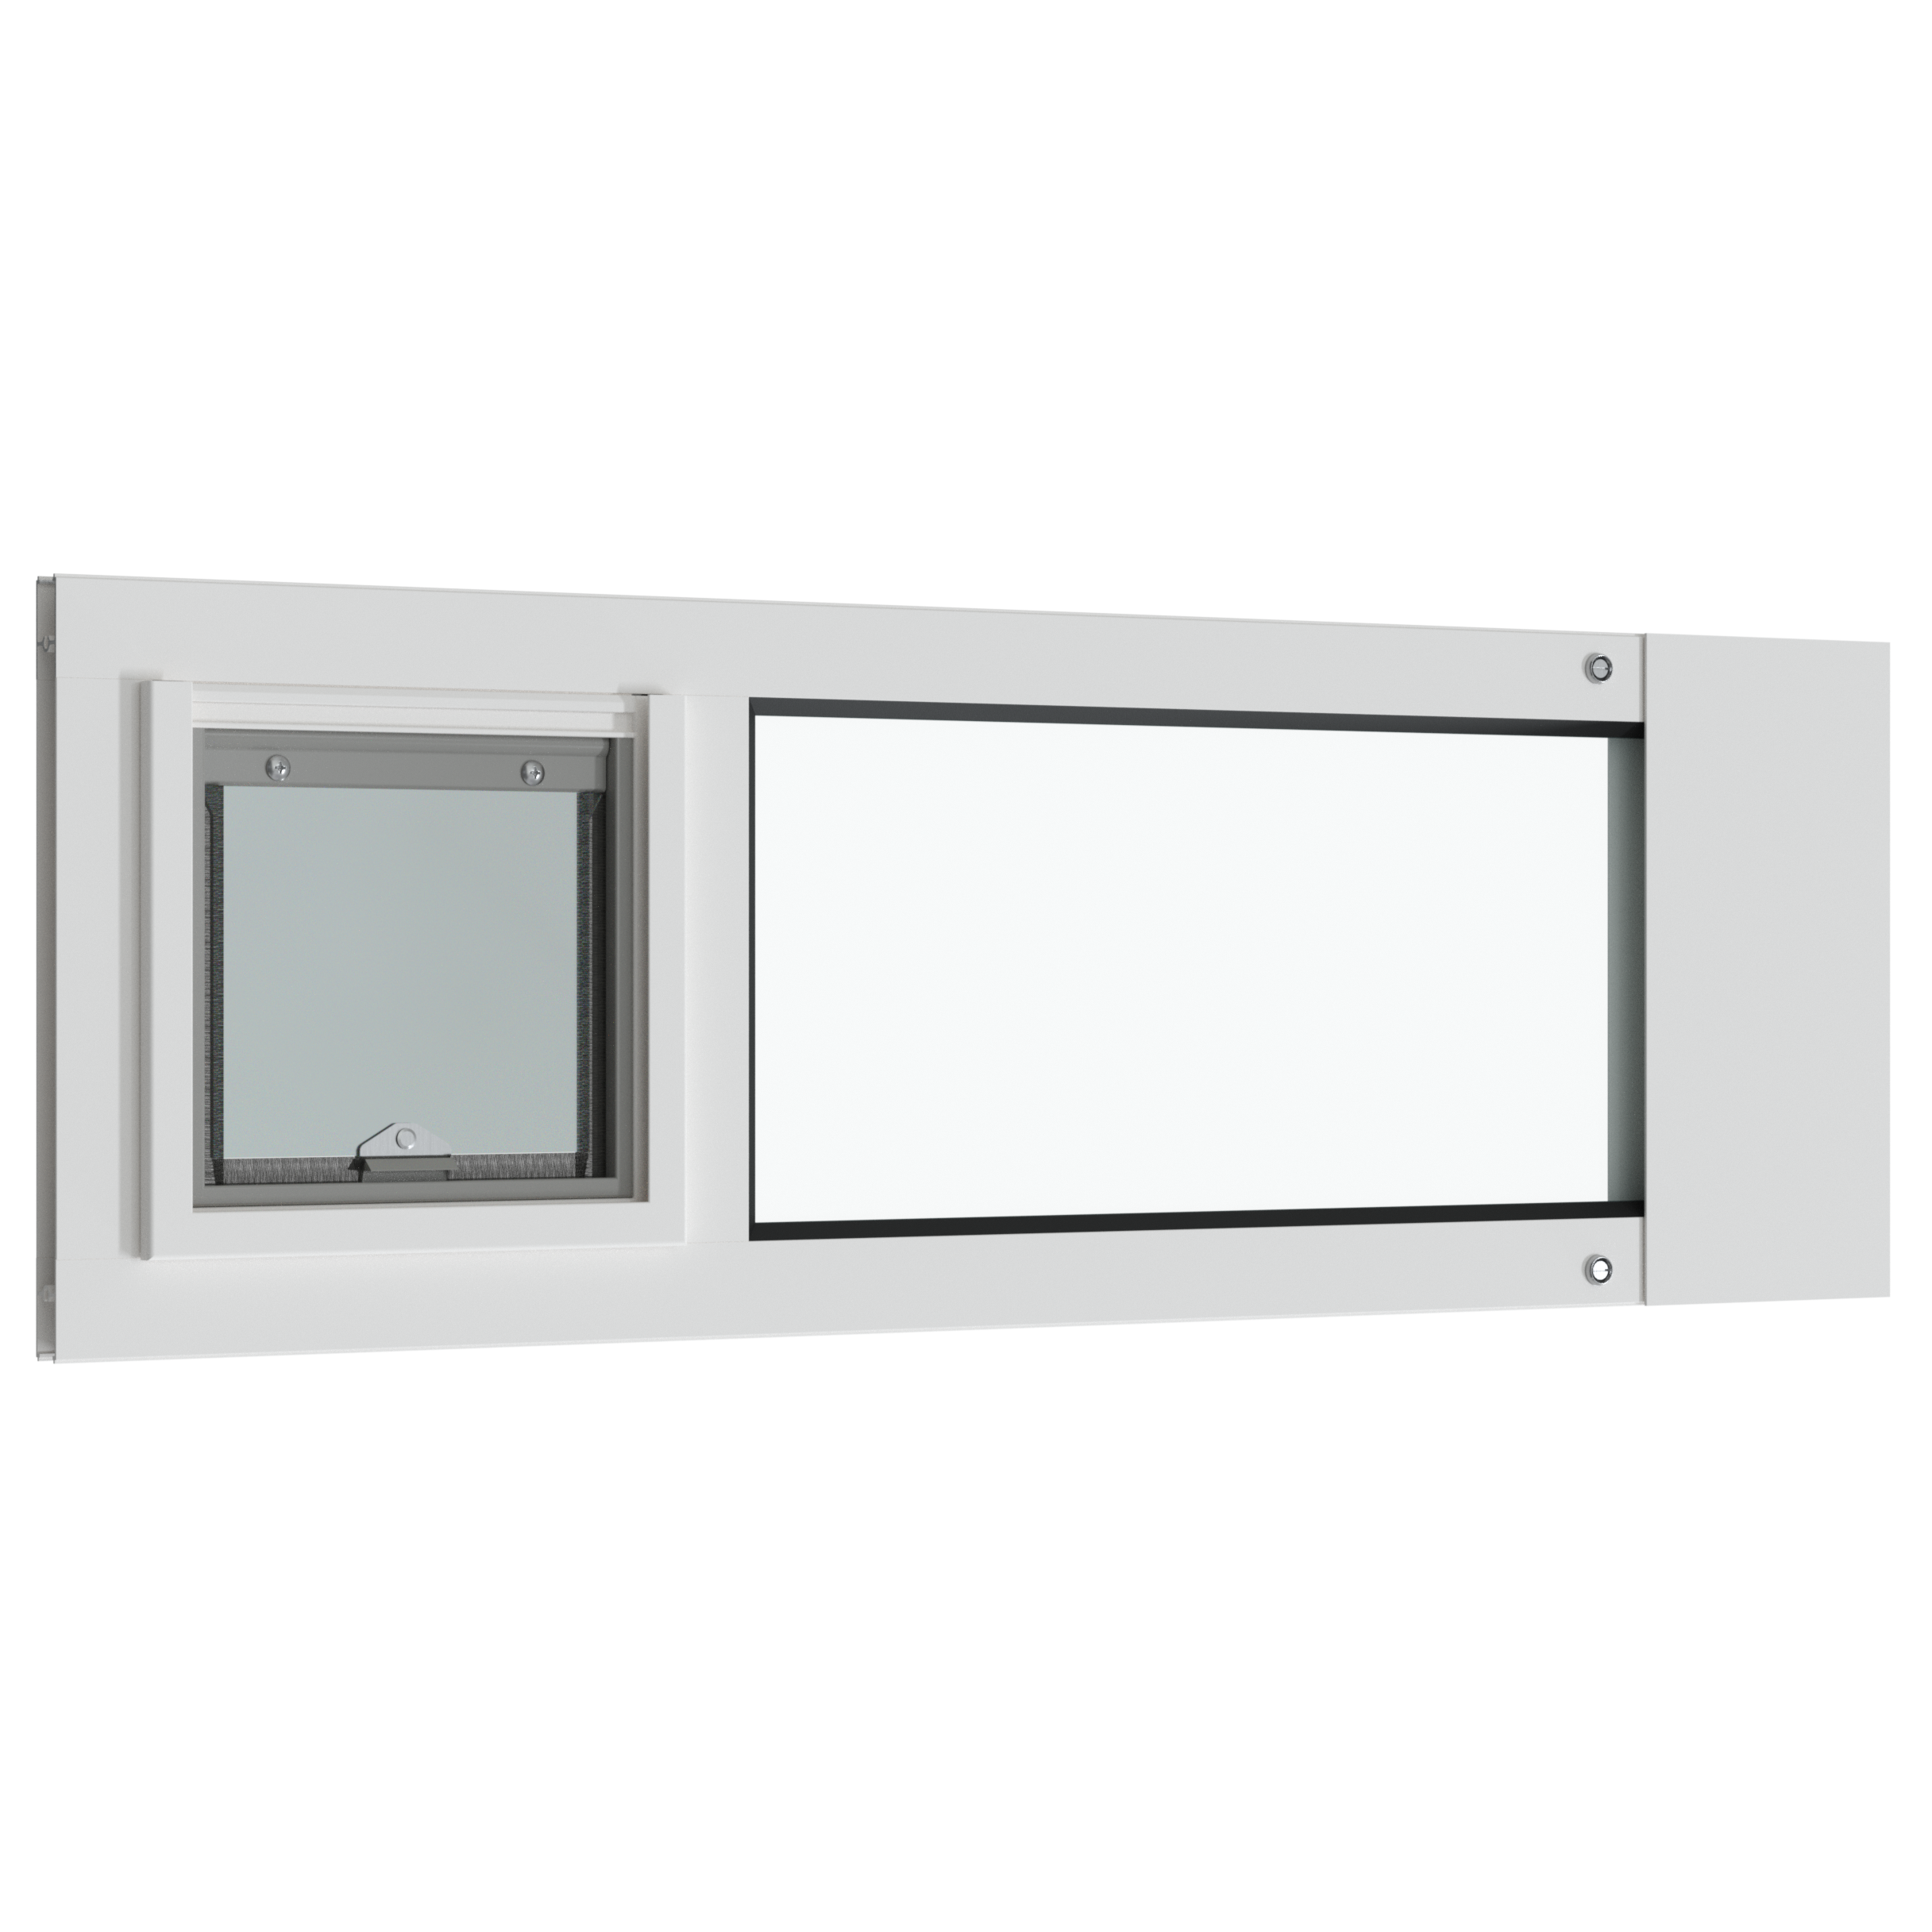 Liberty Cat Door for Sash Windows
- Regular price
- from $419.99
- Sale price
- from $419.99
- Regular price
-
- Unit price
- /per
Sale Sold out -
Endura Flap Cat Door for Doors
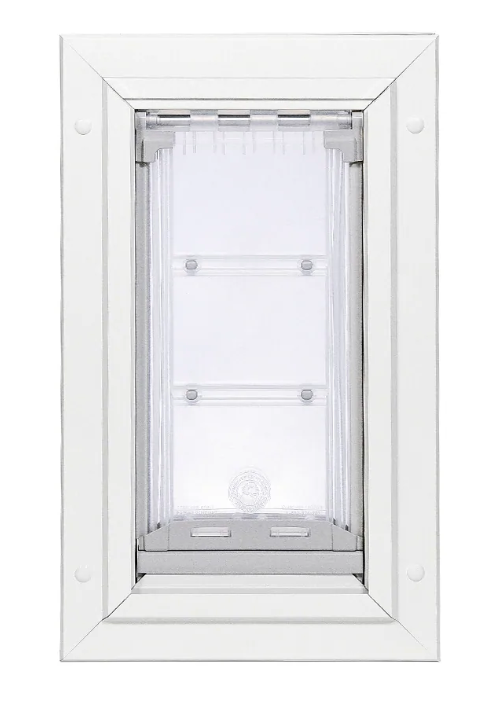 Endura Flap Cat Door for Doors
- Regular price
- $279.99
- Sale price
- $279.99
- Regular price
-
- Unit price
- /per
Sale Sold out -
Endura Flap Cat Door for Horizontal Sliding Windows
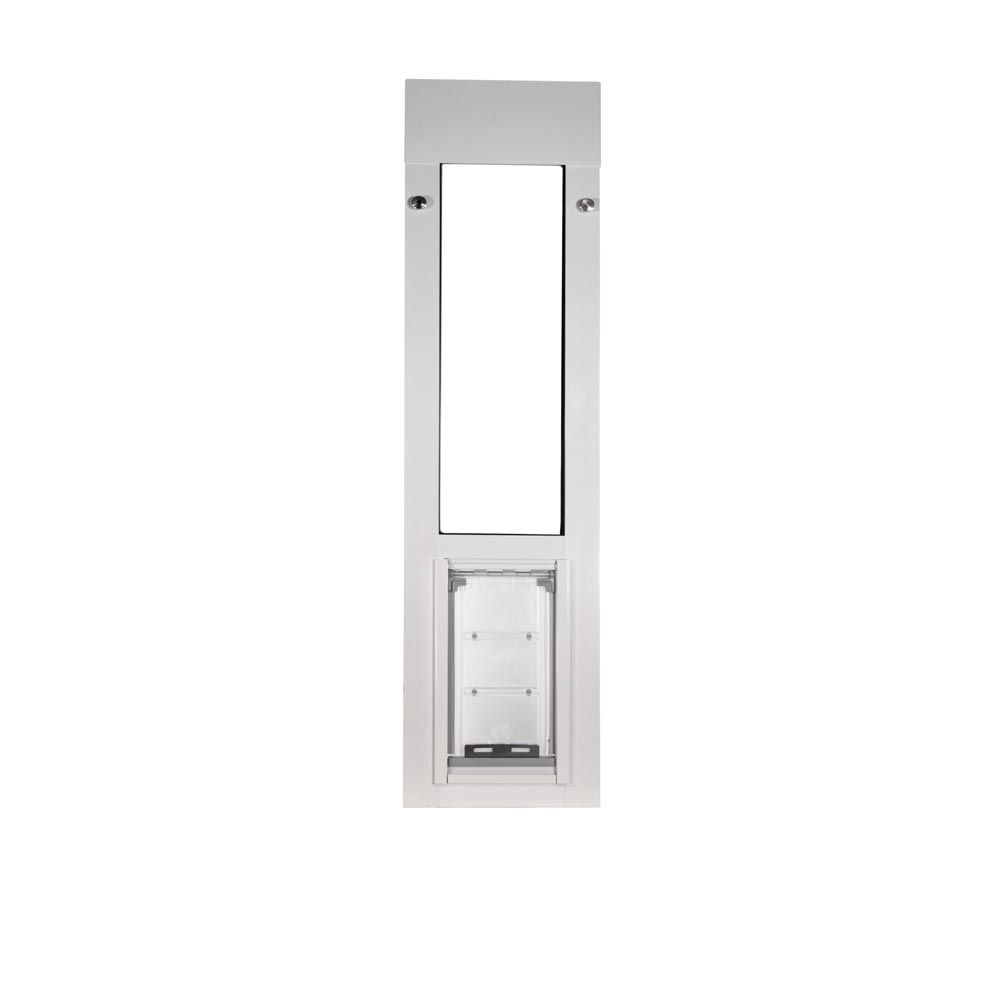 Endura Flap Cat Door for Horizontal Sliding Windows
- Regular price
- from $369.99
- Sale price
- from $369.99
- Regular price
-
- Unit price
- /per
Sale Sold out -
Endura Flap Cat Door for Sliding Glass Doors
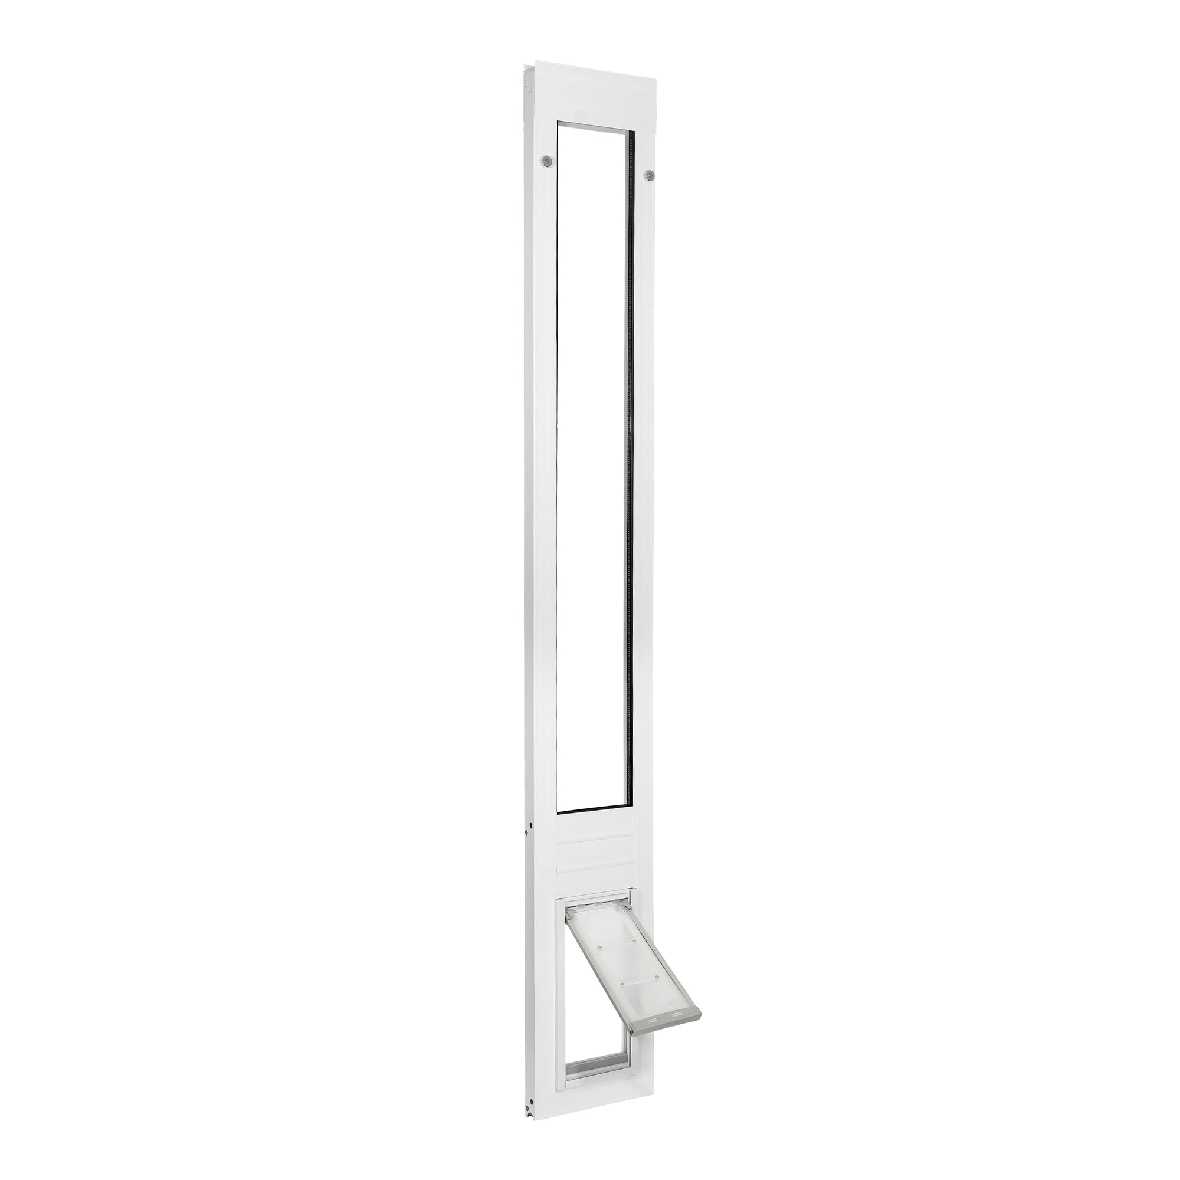 Endura Flap Cat Door for Sliding Glass Doors
- Regular price
- from $579.99
- Sale price
- from $579.99
- Regular price
-
- Unit price
- /per
Sale Sold out -
Liberty Cat Door for Horizontal Sliding Windows
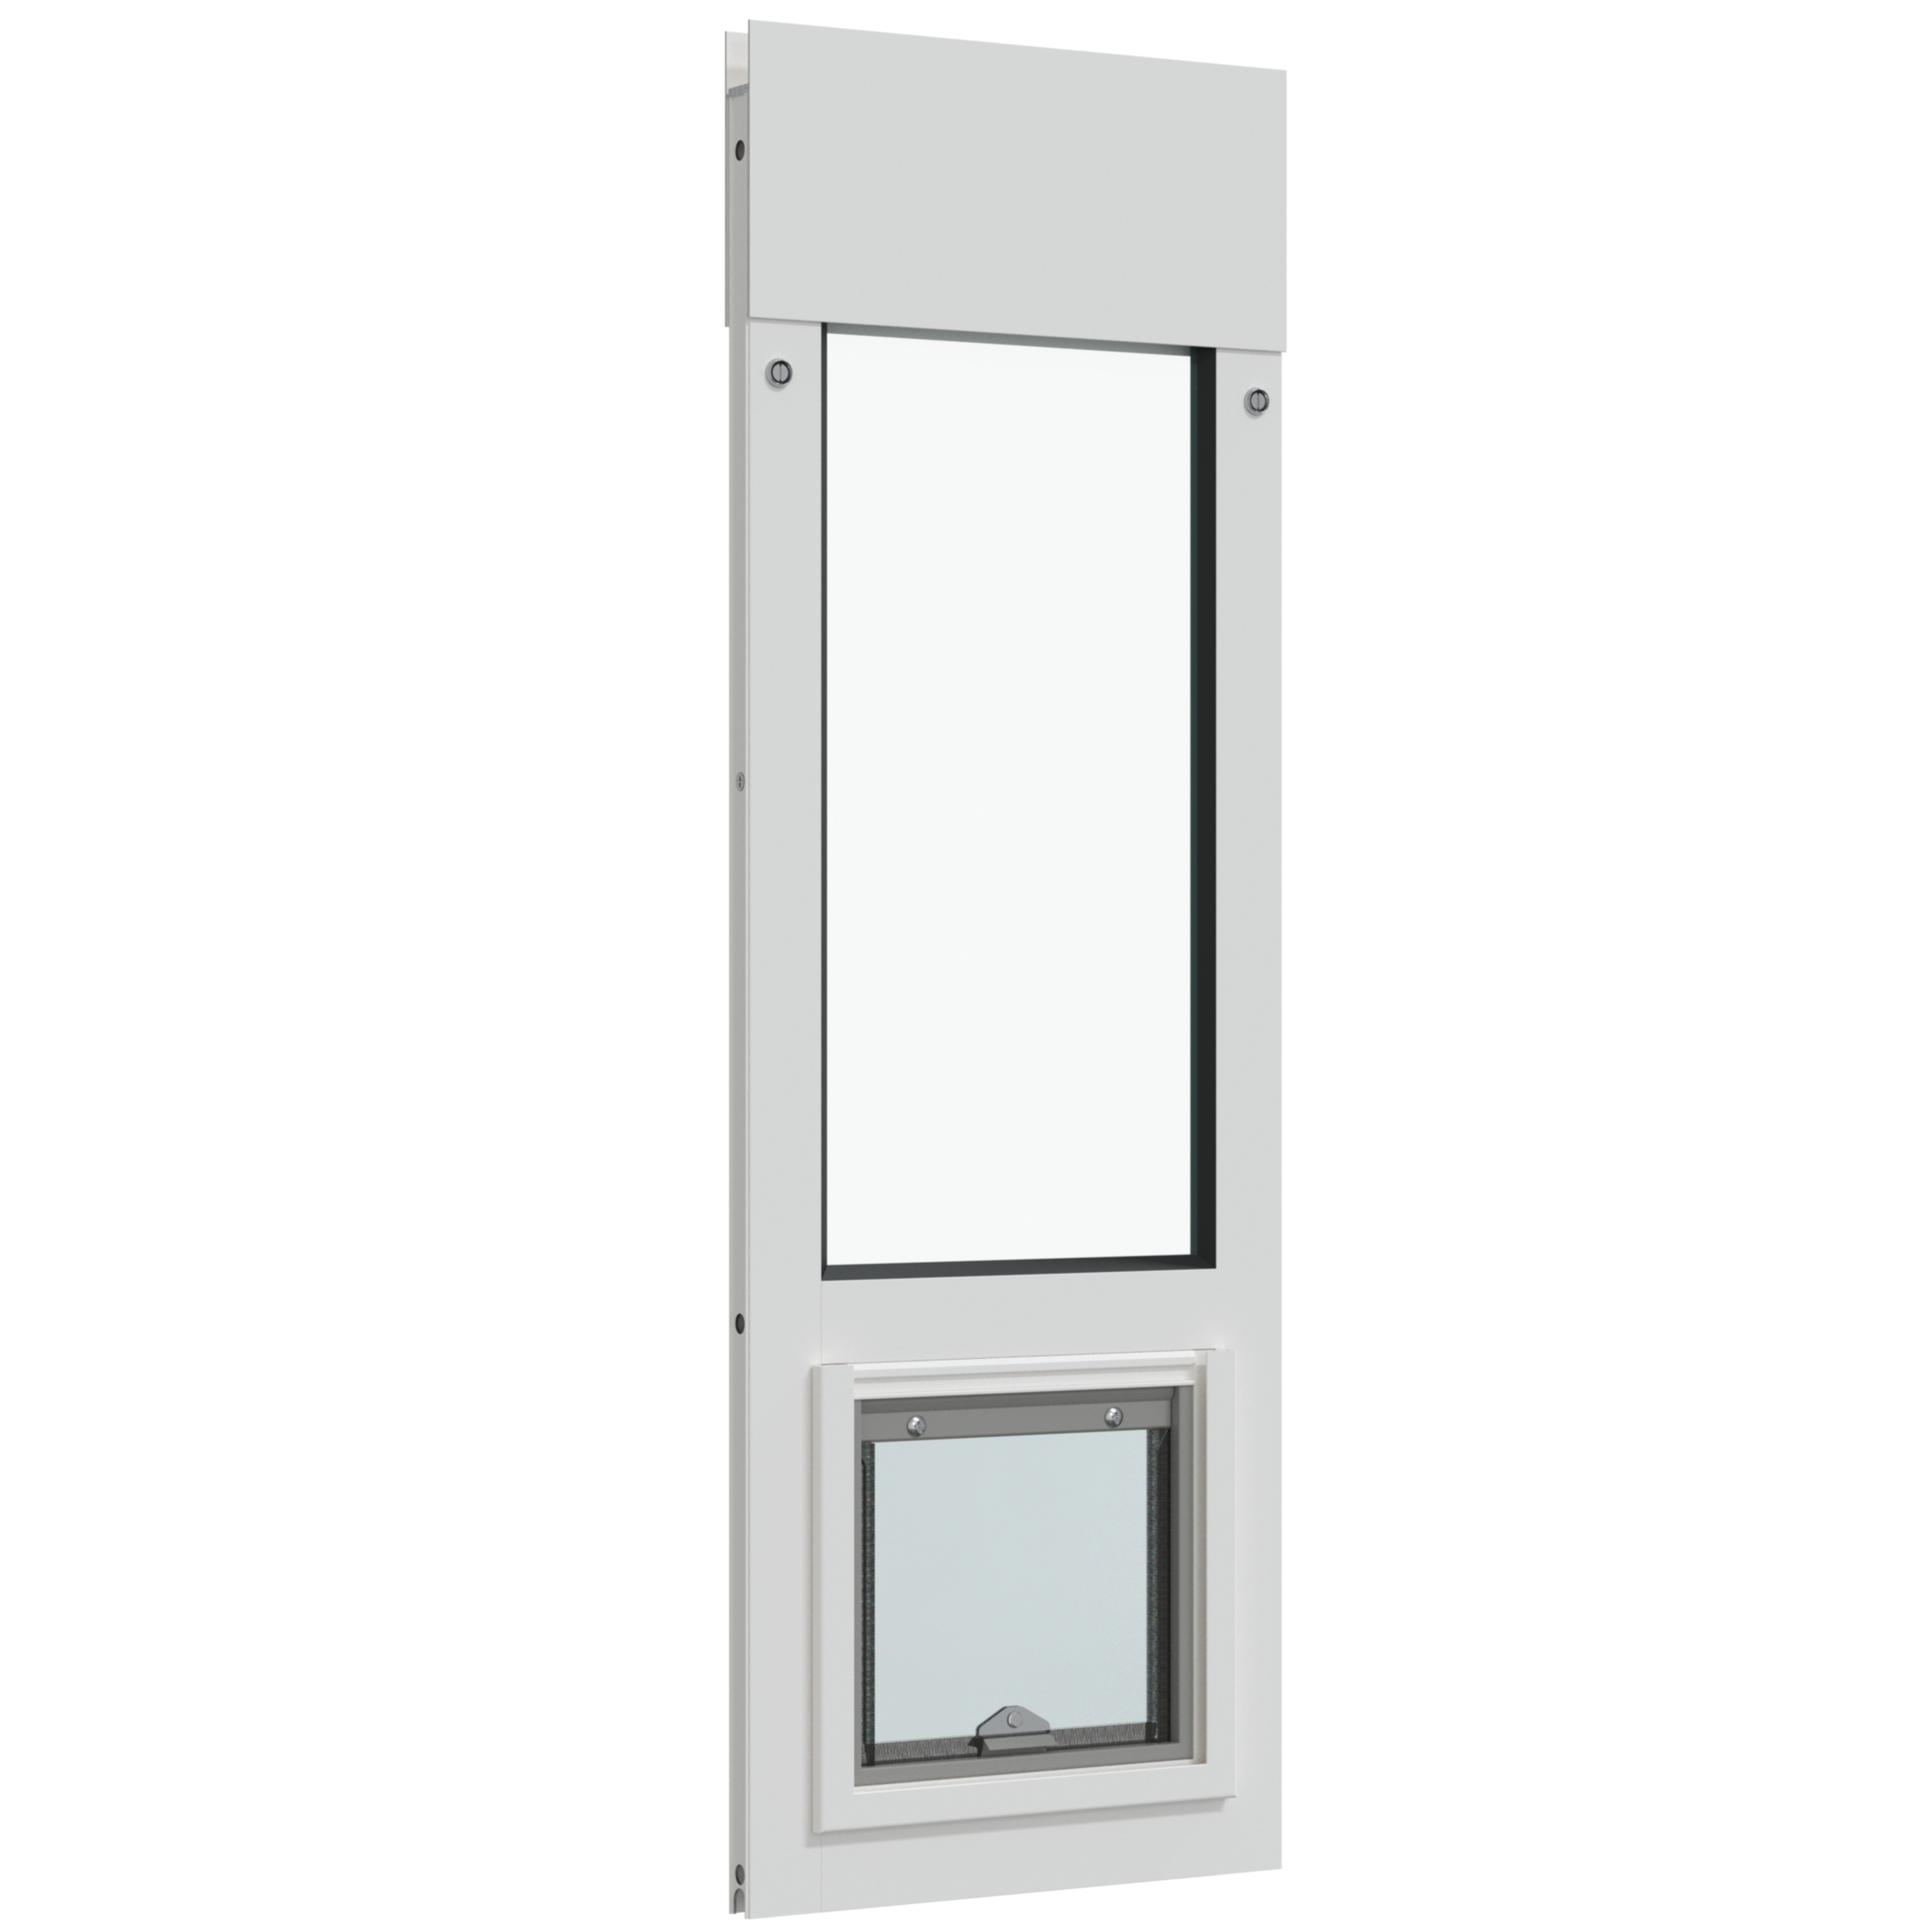 Liberty Cat Door for Horizontal Sliding Windows
- Regular price
- from $409.99
- Sale price
- from $409.99
- Regular price
-
- Unit price
- /per
Sale Sold out -
PetSafe Microchip Cat Door
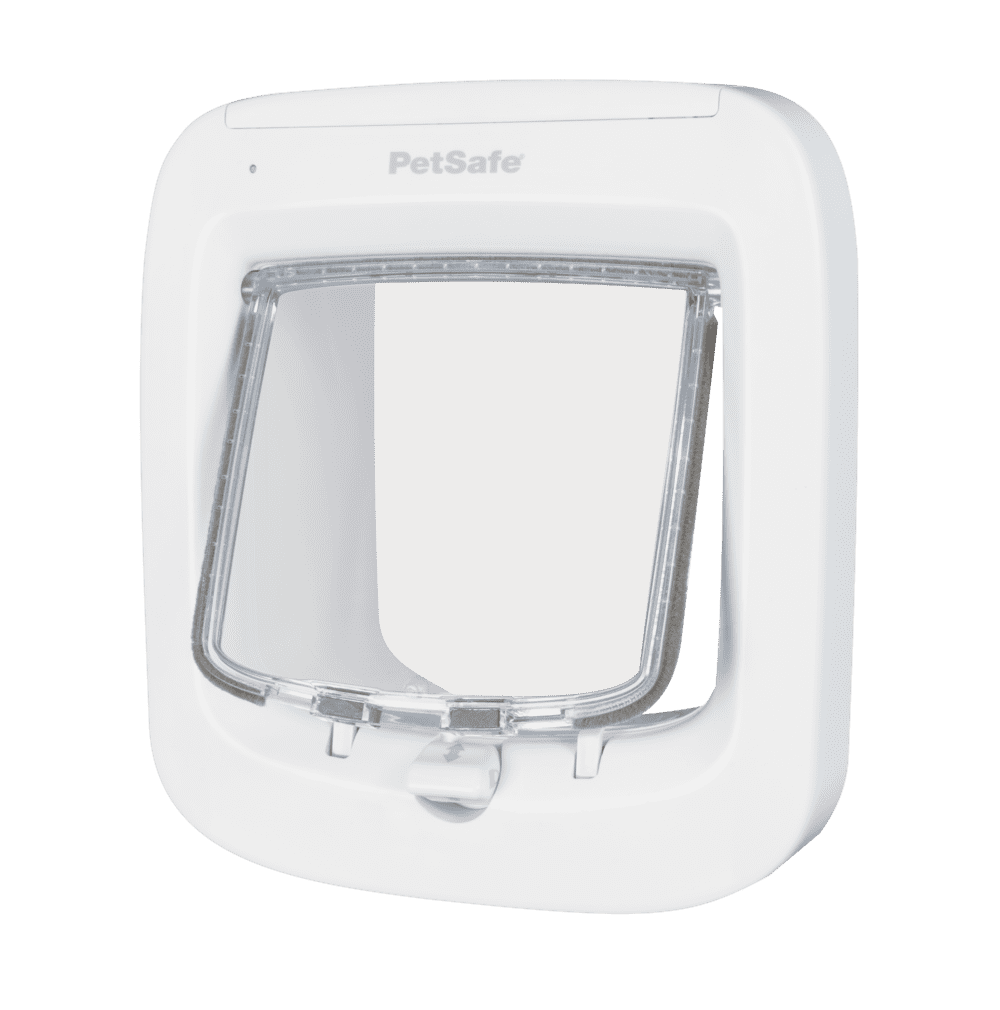 PetSafe Microchip Cat Door
- Regular price
- $139.99
- Sale price
- $139.99
- Regular price
-
- Unit price
- /per
Sale Sold out -
Endura Flap Cat Doors for Walls
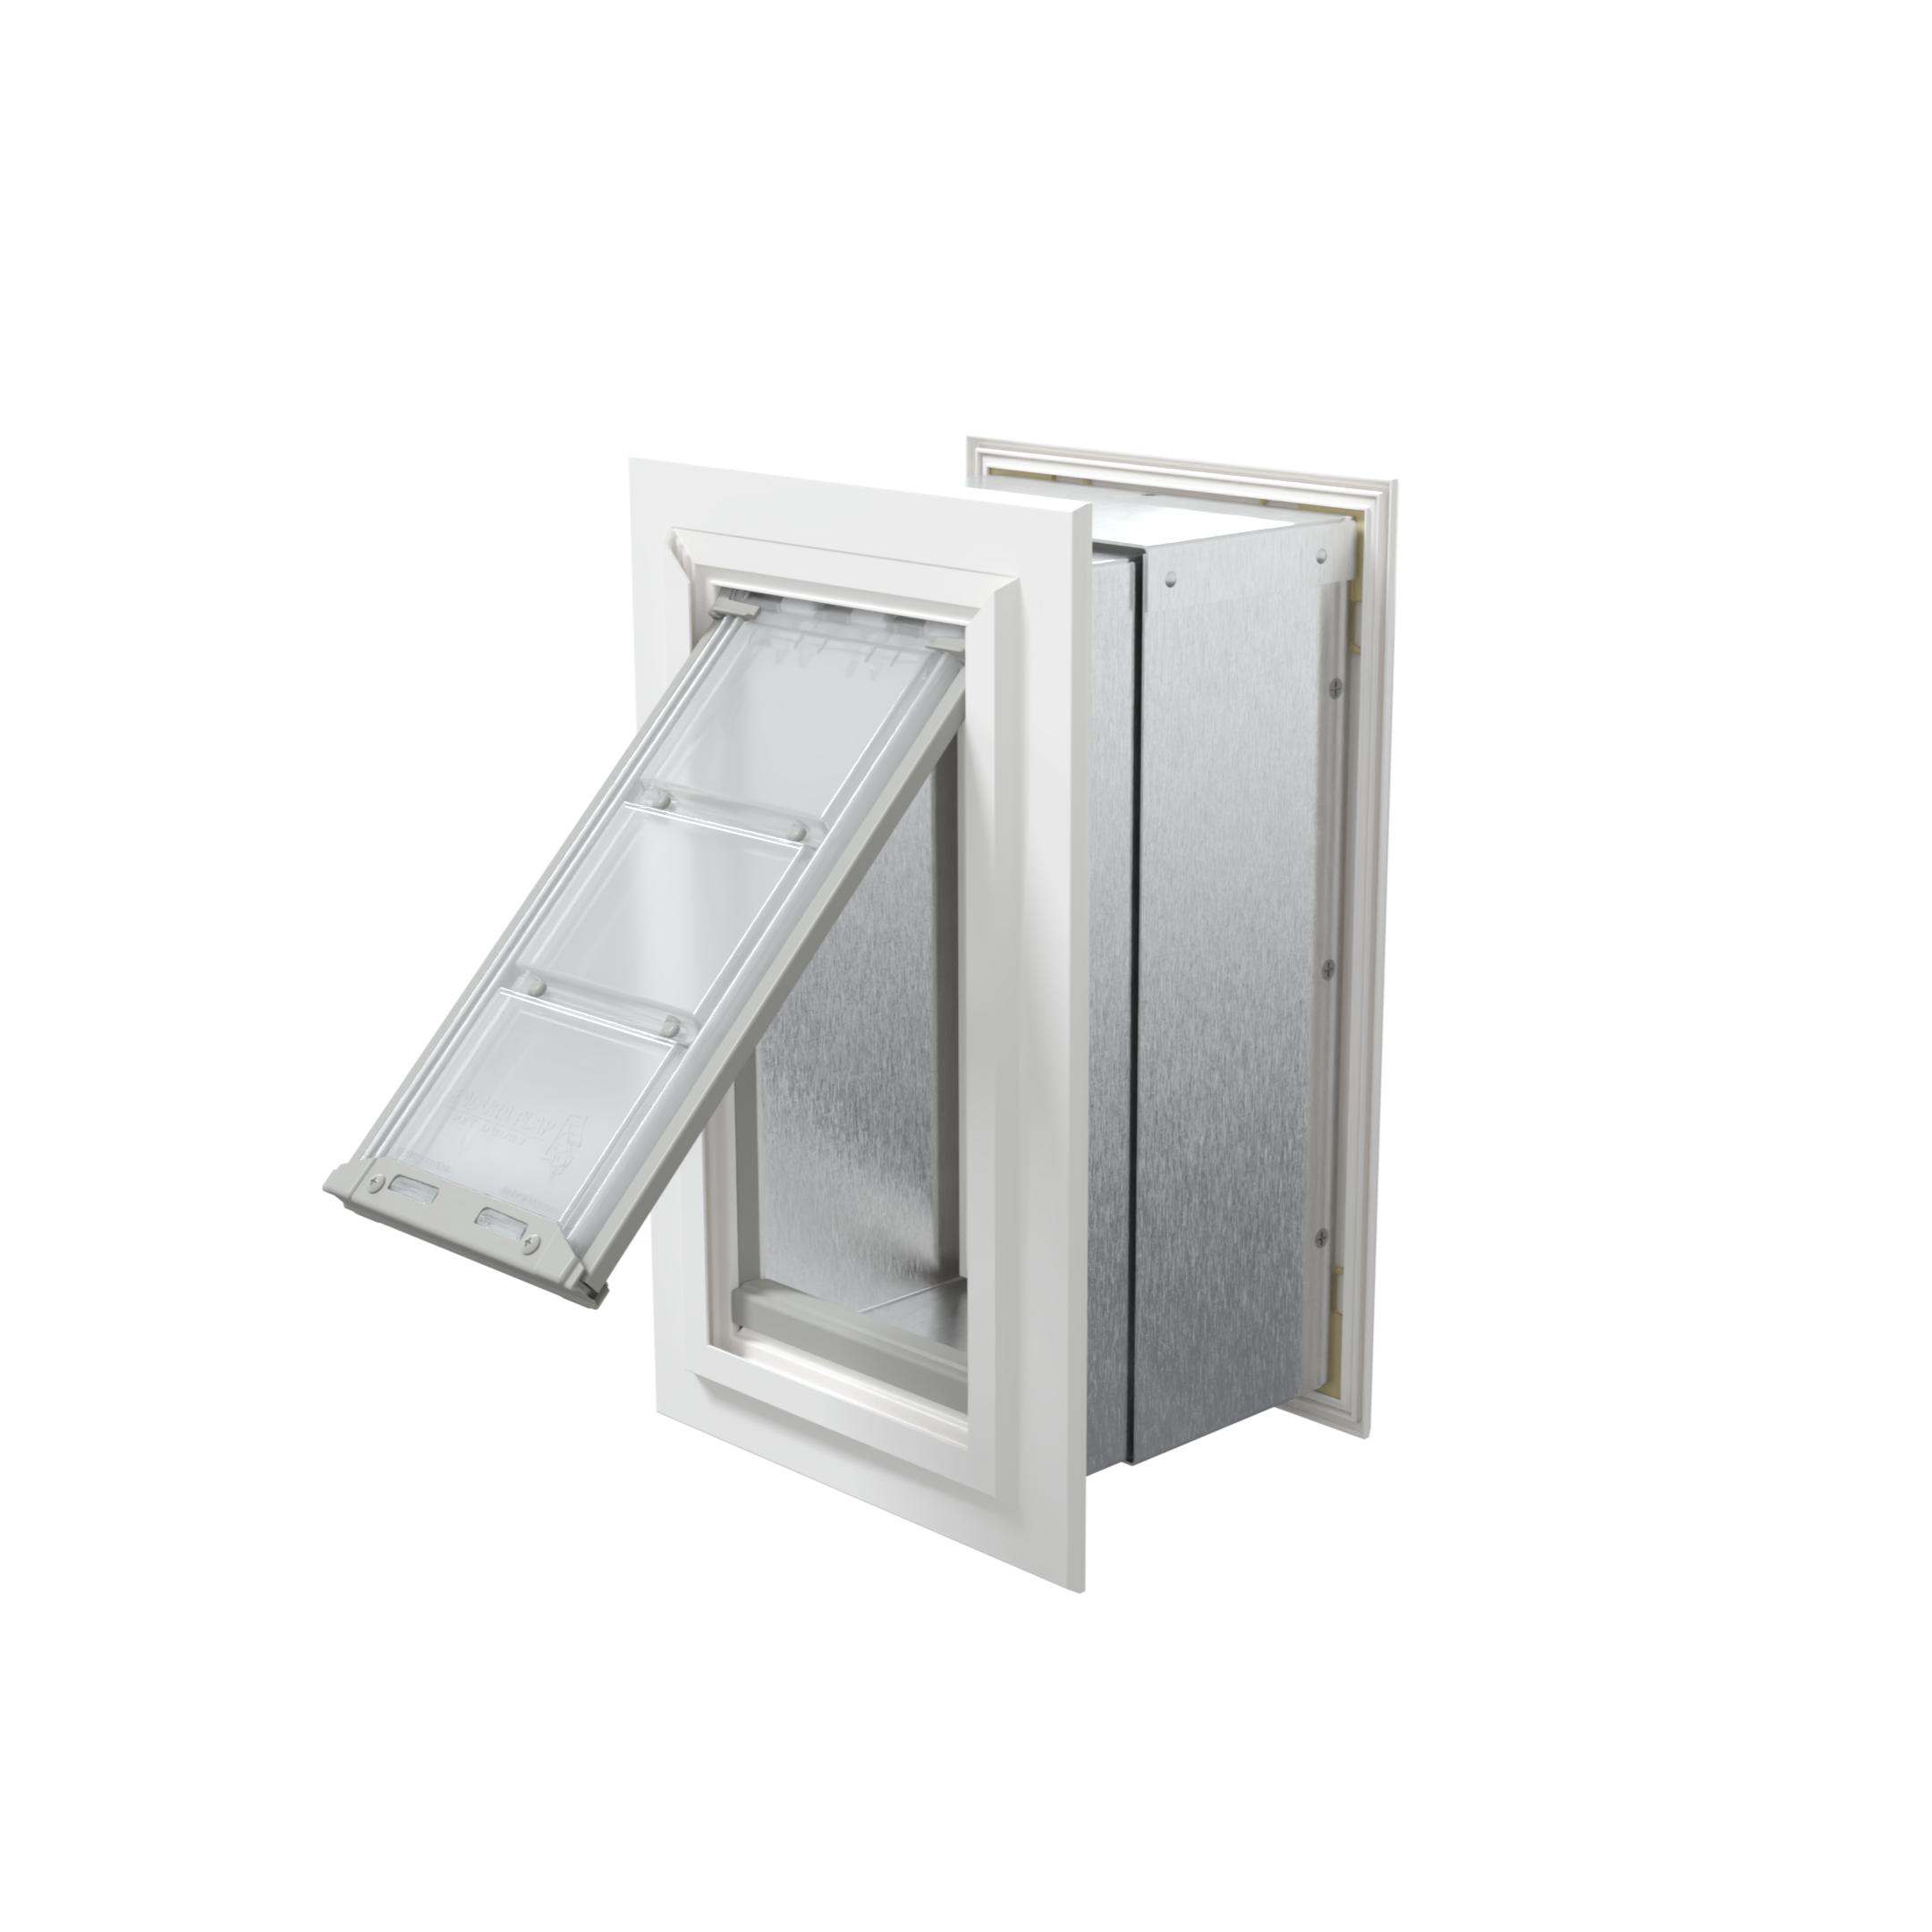 Endura Flap Cat Doors for Walls
- Regular price
- $339.99
- Sale price
- $339.99
- Regular price
-
- Unit price
- /per
Sale Sold out -
Ideal 4-Way Locking Cat Door
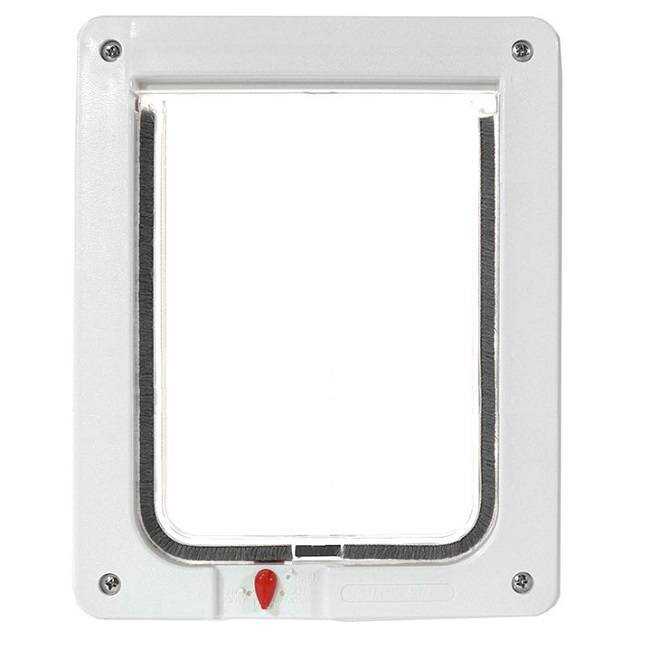 Ideal 4-Way Locking Cat Door
- Regular price
- from $39.99
- Sale price
- from $39.99
- Regular price
-
$0.00 - Unit price
- /per
Sale Sold out
Discover the perfect cat door to suit your needs and give your feline companion the freedom they deserve. These pet doors for cats are designed to make your life easier and your pet's life more enjoyable. With options such as classic door mounts, window inserts, and even electronic cat doors for maximum security, you can find the ideal solution for your home. Cat doors come in various sizes, functions, and styles, ensuring you can select the best option for your specific wall, window, slider, and door with cat door requirements.
Whether you need a small cat door, an insulated exterior door, or a cat door for interior doors to access litter boxes, our extensive selection has you covered. We offer the best cat doors on the market, incorporating advanced technology such as microchips, 4-way locks, and collar keys to provide controlled access for your pet. These cat doors are designed with your cat's comfort in mind, featuring rigid acrylic flaps instead of soft vinyl to make it easier for them to pass through.
Installation is a breeze, and these cat doors can be fitted to various surfaces, including doors, walls, and windows. This versatility allows you to choose the perfect location for your cat's new access point. Additionally, many of these cat doors offer added security features such as electronic mechanisms, which sync to your pet's microchip or collar key, ensuring only your cat can enter your home.
Durability is also a priority, as most cat doors come with long-lasting, rigid flaps that can withstand wear and tear. The goal is to provide you with a cat door solution that not only meets your needs but also keeps your home secure and your pet safe.
Explore this vast selection of cat doors and find the perfect fit for your feline friend. With these easy-to-install solutions, you can enhance your pet's independence while maintaining the security and comfort of your home.
Frequently Asked Questions
Should I allow my cat in the yard?
One of the biggest questions we get from customers about cat flaps is how to keep your pet in the yard, since leaving your pet to roam the neighborhood can be dangerous. Cat doors will not help you with this issue, because they can only allow or deny access to the yard from the house, and cannot keep them inside the yard.
You could, however, leave your cat in a garage or a separate room just for them where you can install a wall cat door. If you want to install a cat flap in a wall, it's going to be easier if you choose one that accepts tunnel sections that will "frame out" the wall for you. You'll find these tunnel sections at Cat Door Tunnel Sections. Installing a cat flap in a wall will be much easier if you choose one that has tunnel sections that “frame out” the wall for you.
How do I install a cat door?

Kitty doors range in size, function, and style, and finding the perfect indoor cat flap to give your cat outdoor access takes time. Luckily we have the biggest selection of cat doors for windows, cat doors for walls, and more! Whether you are looking for an insulated cat door, locking cat door, large cat door or something in between, you can rest assured that we have what you need.
Step One: Firstly, measure the height of your cat and mark it on the door. Using this measurement, draw a square on the door.
Step Two: Now drill holes at each corner of the marked area.
Step Three: Leverage a jigsaw to cut along the lines and smooth out its edges.
Step Four: Now position the cat flap in the hole and use a pencil to mark the required screw holes.
Step Five: With the help of a drill bit, you can easily drill the holes for putting screws into place.
Step Six: Lastly, you can use blanking plugs to cover up the screw holes.
Will my cat use the pet door?
Only your cat knows this answer. Whether or not they use a door is totally up to them. Physically, yes they can use a pet door. But cats make their own choices! Positive reinforcement will go a long way in getting your cat comfortable with using their cat door, and you can reduce magnet strength on magnetic closure pet doors or turn a training mode on for the more challenging cats. We find that big cats often have these problems with small dog doors or cat flaps, as they think they can't fit when they really actually can!
How will the cat door prevent other animals from entering my home?
When installing a cat flap, front door security is always a question that is raised. Whether you install your cat flap on your front door or your backyard door you always run the risk of unwanted critters entering your home. One way of combating this is by installing the smallest cat door possible for your cat to still comfortably go through.
As opposed to a manual cat flap that your pet pushes through, an electronic cat door uses electronic mechanisms to open and close the door. Many electronic doors have a selective entry system that syncs to your pet's microchip or collar keys and restricts access only to that pet. Some electronic pet doors, such as the CatMate 359, even have built-in timers for the best cat flap front door security.
Will I need to replace parts in the cat door frequently?
Most cat doors have rigid flaps, which are incredibly durable and long-lasting. Flexible vinyl flaps are more subject to wear and tear and may need replacing after a rough season.
What is the difference between a cat door and a dog door?
Pet owners are taken by surprise at the diversity of cat doors available. Traditionally, pet doors were sold only as dog doors in sizes small, medium, large, and extra-large. Influence from the UK saw people beginning to opt for “cat doors” which tended to be much more square, have rigid flaps, and were generally plastic framed. They sometimes even have brushes to keep cat litter out of their fur. While this still holds true today, many owners do choose to use cat and dog doors interchangeably; if a particular pet door has the features you want, get it! Whatever makes your pet happy.
What is a 4-way lock?
Unlocked: This setting allows entry in both directions.
Locked: This setting allows no entry in either direction.
Out-Only: When the pet goes out, he cannot come back in again. A possible use for this setting would be a case where you want the pet out during the day. You'd set the flap on "out only" in the morning.
In-Only:When the pet comes in, he cannot go back out again. One possible use would be a case where you want the pet in at night. You set the pet door for "in only" in the evening.
One of the best manual 4-way locking cat doors is the PetSafe 4-Way Locking Big Cat Door for Doors.
Sometimes, the 4-way locking mechanism is incorporated in an electronic pet door. In these cases, the 4-way lock will override the electronics. For example, your cat wears a collar key so only he may come in your pet door. But, if your pet door is also set for 'out only' no animal, including your cat, may come in. Cat flaps with 4-way locks always have rigid flaps which are necessary for the mechanism to work.

Our CatMate door has little red sliders to lock and unlock the cat door. Do you have some replacements?
Unfortunately for small parts like these, only the manufacturer could provide replacements. This would include sliding lock tabs, or dials found on cat doors.
What is the best pet door for cats?
That's a very good question. There are many questions to ask about what your needs are as well as the temperament of your cat. For microchip pet doors, we like SureFlap. For energy-efficiency, we like the Endura Flap. In the Soft Vinyl flap category, we recommend the Hale Pet Door. Lastly, for manual hard acrylic flaps, we recommend Cat Mate. You can call our expert Customer Service team and discuss your individual situation and needs.
Do you have a manual Cat Mate Medium cat door?
There are a couple of Cat Mate Manual pet doors to choose from. They are the Cat Mate 234 and 235, Cat Mate 358.
Is the Door 221 available?
Yes, we do carry the Cat Mate Medium Cat Door 221. This pet door has a 4-way lock and is great for cats and small dogs. It's a very popular choice due to its versatility, durability, and ease of use. Please remember to measure your pet correctly to ensure this size is appropriate for them. If you're unsure about the sizing, our Customer Service team will be happy to assist you. You can order this product directly from our website or by contacting our sales team.
How do I train my cat to use the pet door?

Training a cat to use a pet door can be a bit challenging at first, but with patience and persistence, most cats will learn to use the door. Here are some tips:
- Prop the door open at first and use treats or toys to coax your cat through the door. Once they're comfortable going through the door when it's open, you can gradually lower it until they're used to the sensation of pushing it open themselves.
- Never force your cat through the door. This can make them afraid of it. Instead, make it a positive experience with plenty of praise and rewards.
- It may take some time for your cat to get used to the idea of using the door, so don't get discouraged if they don't take to it immediately. Keep trying and be patient.
If your cat has trouble with flaps, they might find it easier to use a hole-like entry like the PetSafe Cat Corridor Interior Pet Door.
What if I have multiple cats, but I don't want all of them to be able to use the pet door?
If you have multiple cats and only want certain ones to use the cat door, an electronic pet door would be your best choice. These doors work by reading a unique microchip or RFID tag that is on your cat's collar. This allows you to program which cats can use the door and which can't, providing an easy solution to this problem. If some of your cats don't have microchips or RFID tags, you can usually purchase separate collar tags that work with the door.
Can I install a cat door on a screen door?
Yes, you can install a cat door on a screen door, but you would need a specific type of cat door that is designed for screens. Screen pet doors are made to be installed in the corner of the screen door and are often held in place by the frame of the screen. These types of doors are typically more lightweight and flexible than traditional cat doors, making them a great option for screen doors. Please note, they may not be as durable or offer as many features as regular cat doors, so it's important to consider your specific needs and preferences.
What is the best cat door for cold weather?
If you live in a cold climate, the best cat door options are those that have insulation features and weatherproof seals to prevent drafts and heat loss. The Endura Flap Pet Door is a good option as it has a dual flap system, a magnetic seal, and an environmentally friendly design. It is built to withstand harsh weather conditions and keep your home's interior temperature stable. Another excellent choice is the Cat Mate 221, which is insulated and features brush weather stripping to prevent drafts. Always look for doors that mention insulation, weatherproofing, or energy efficiency in their product descriptions.


