


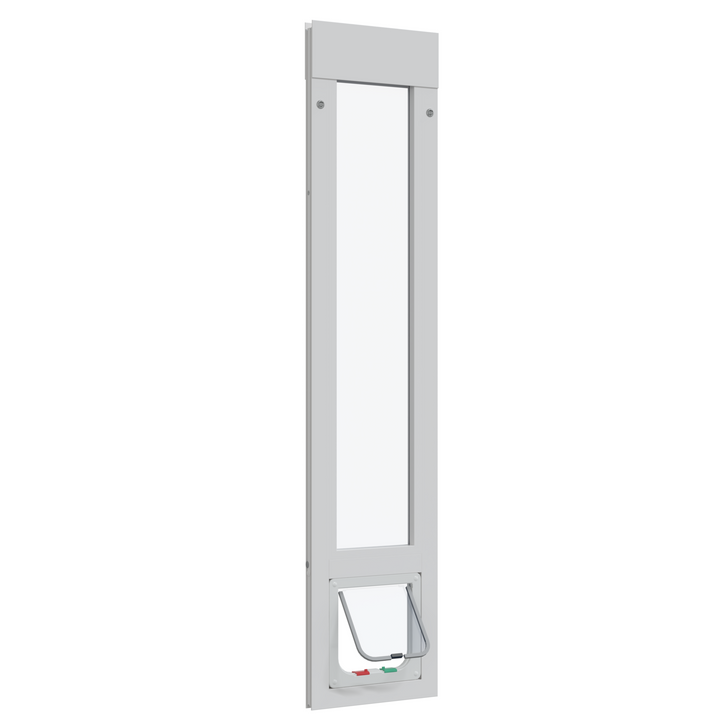
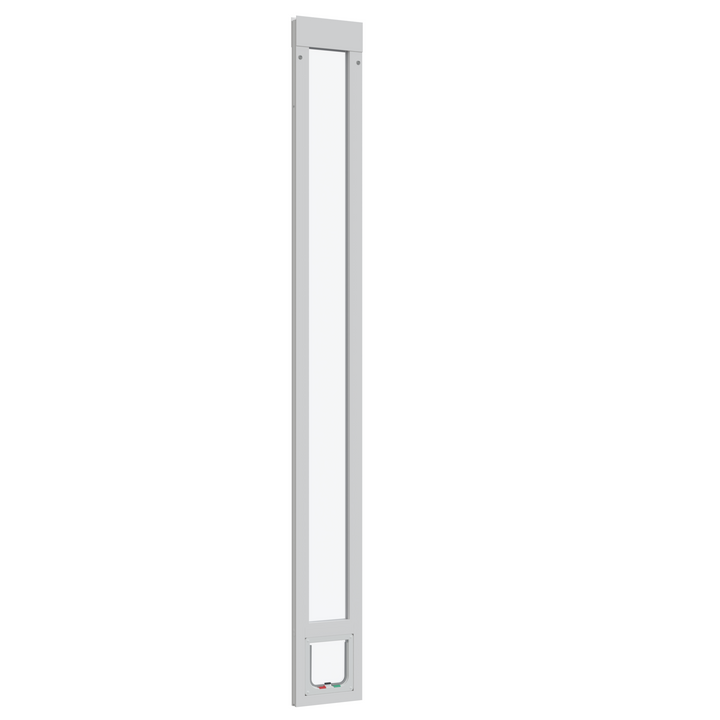
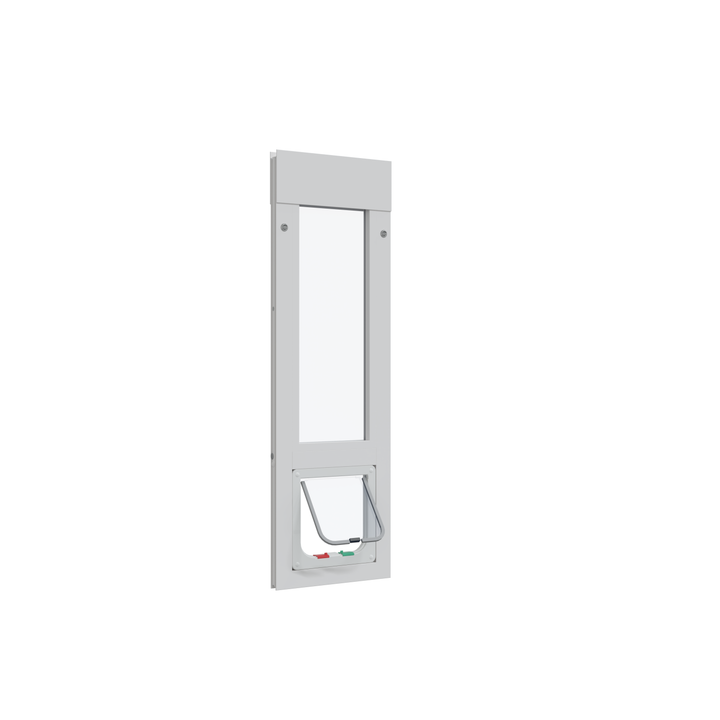
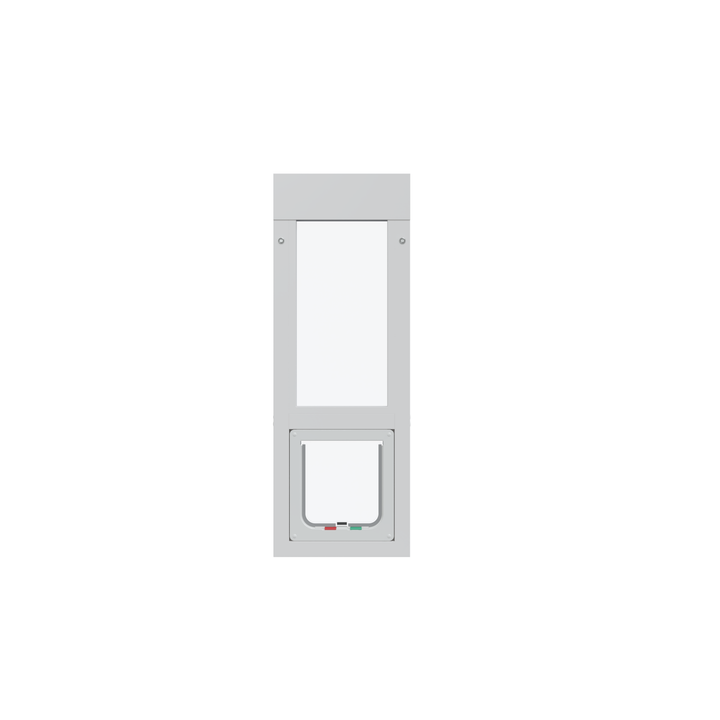
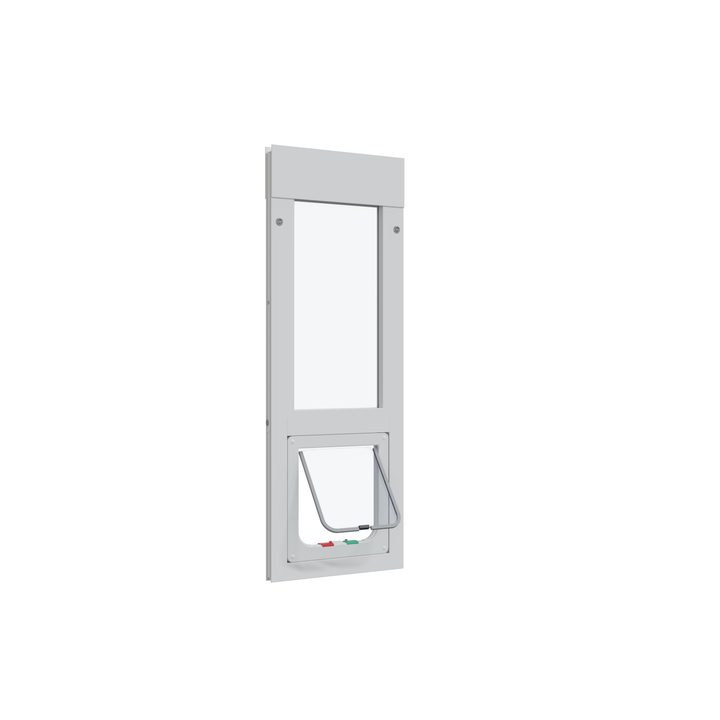
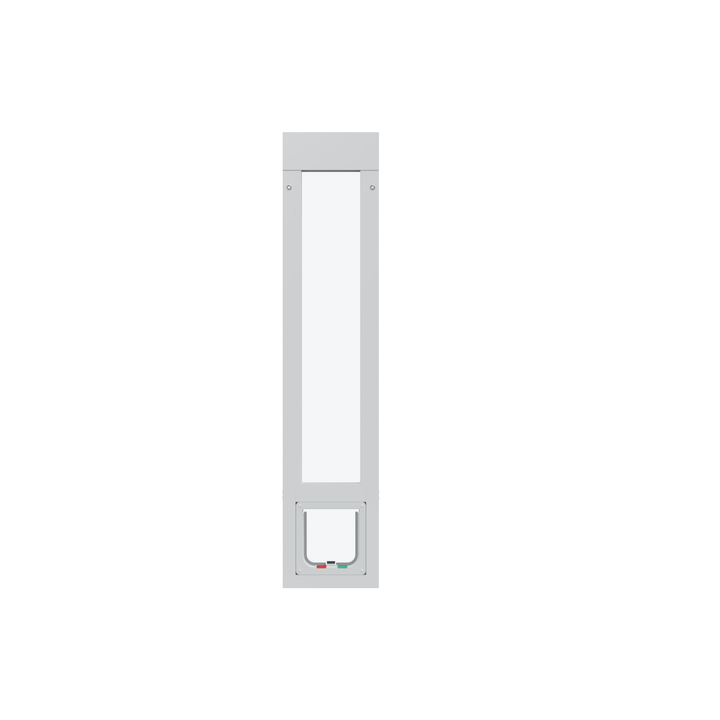
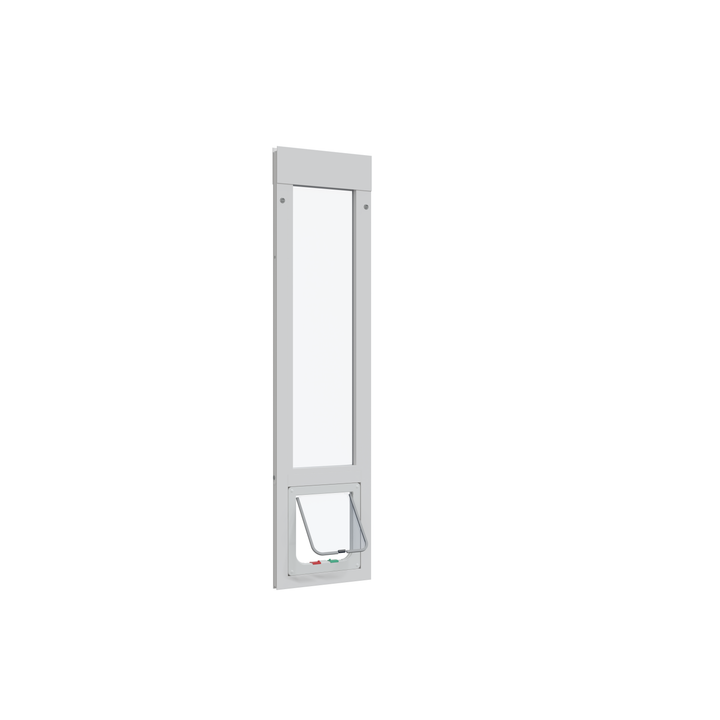
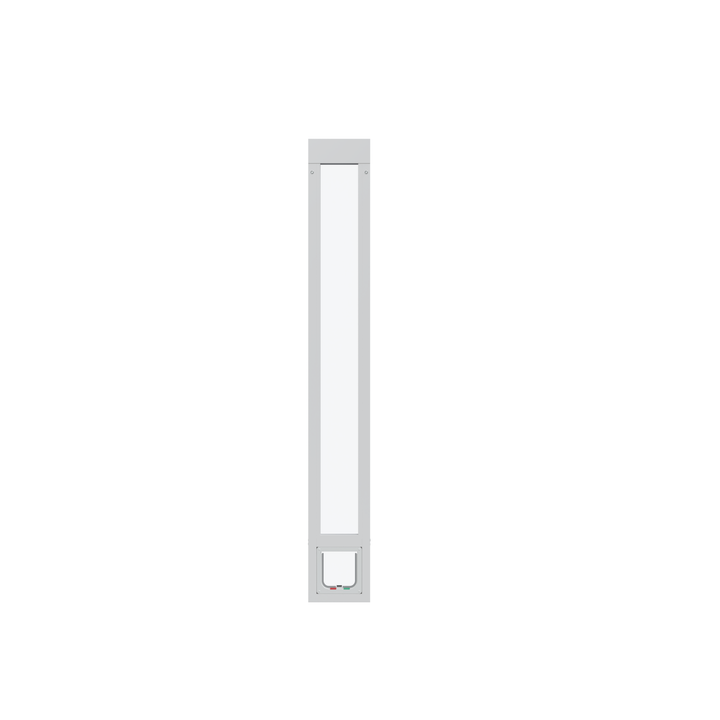
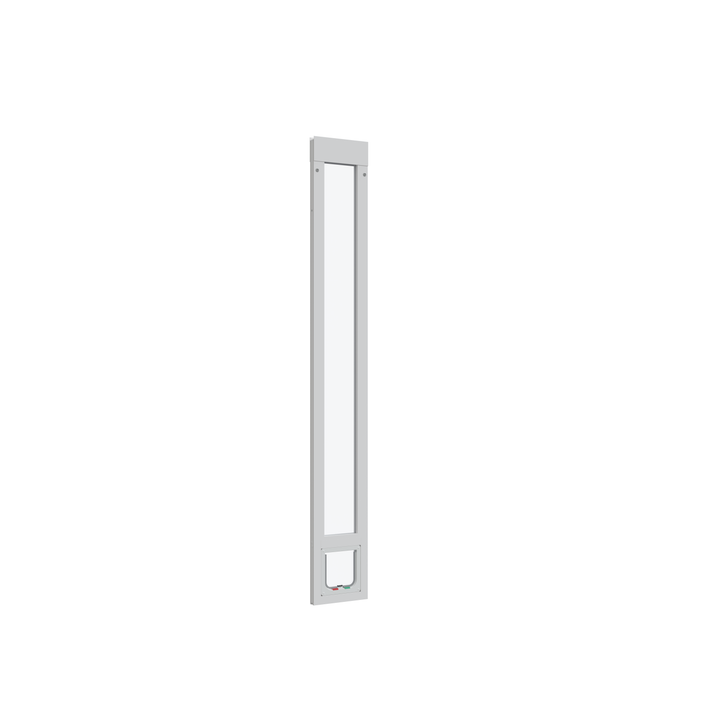
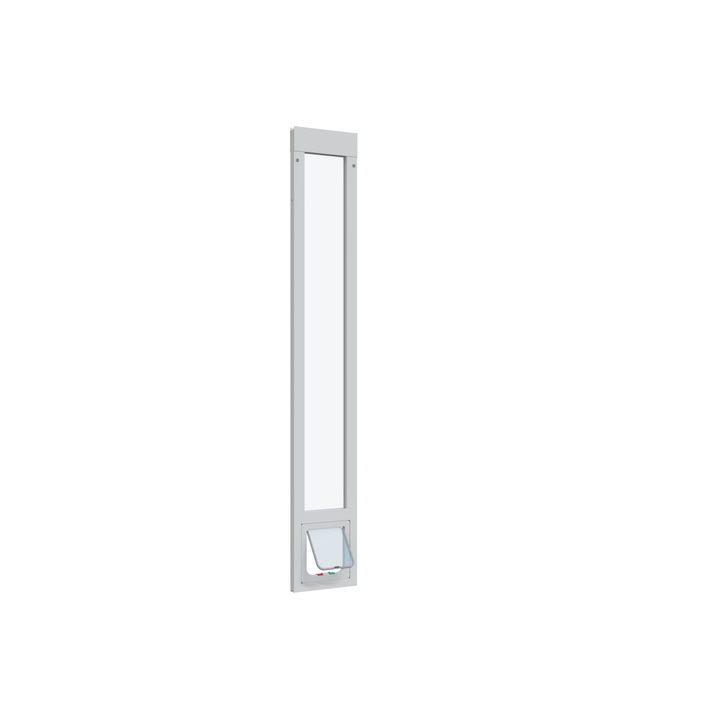
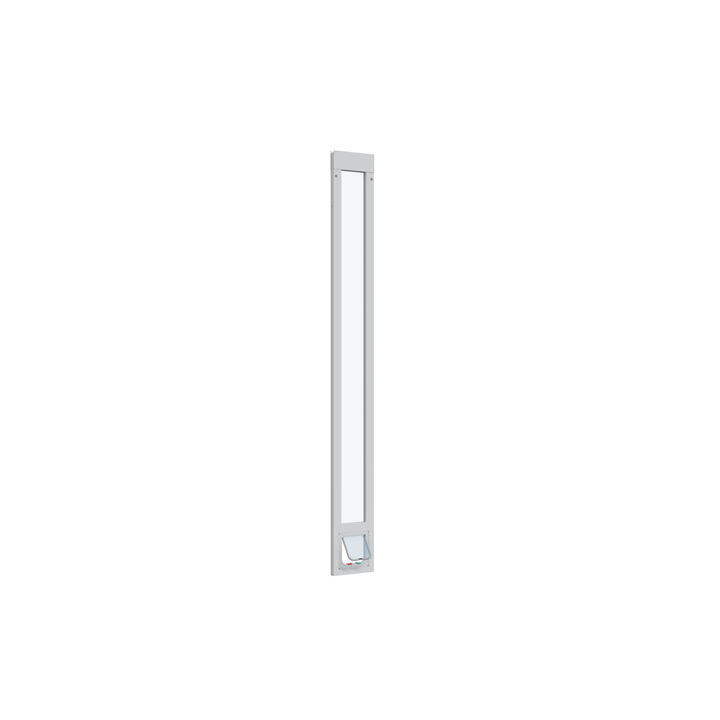
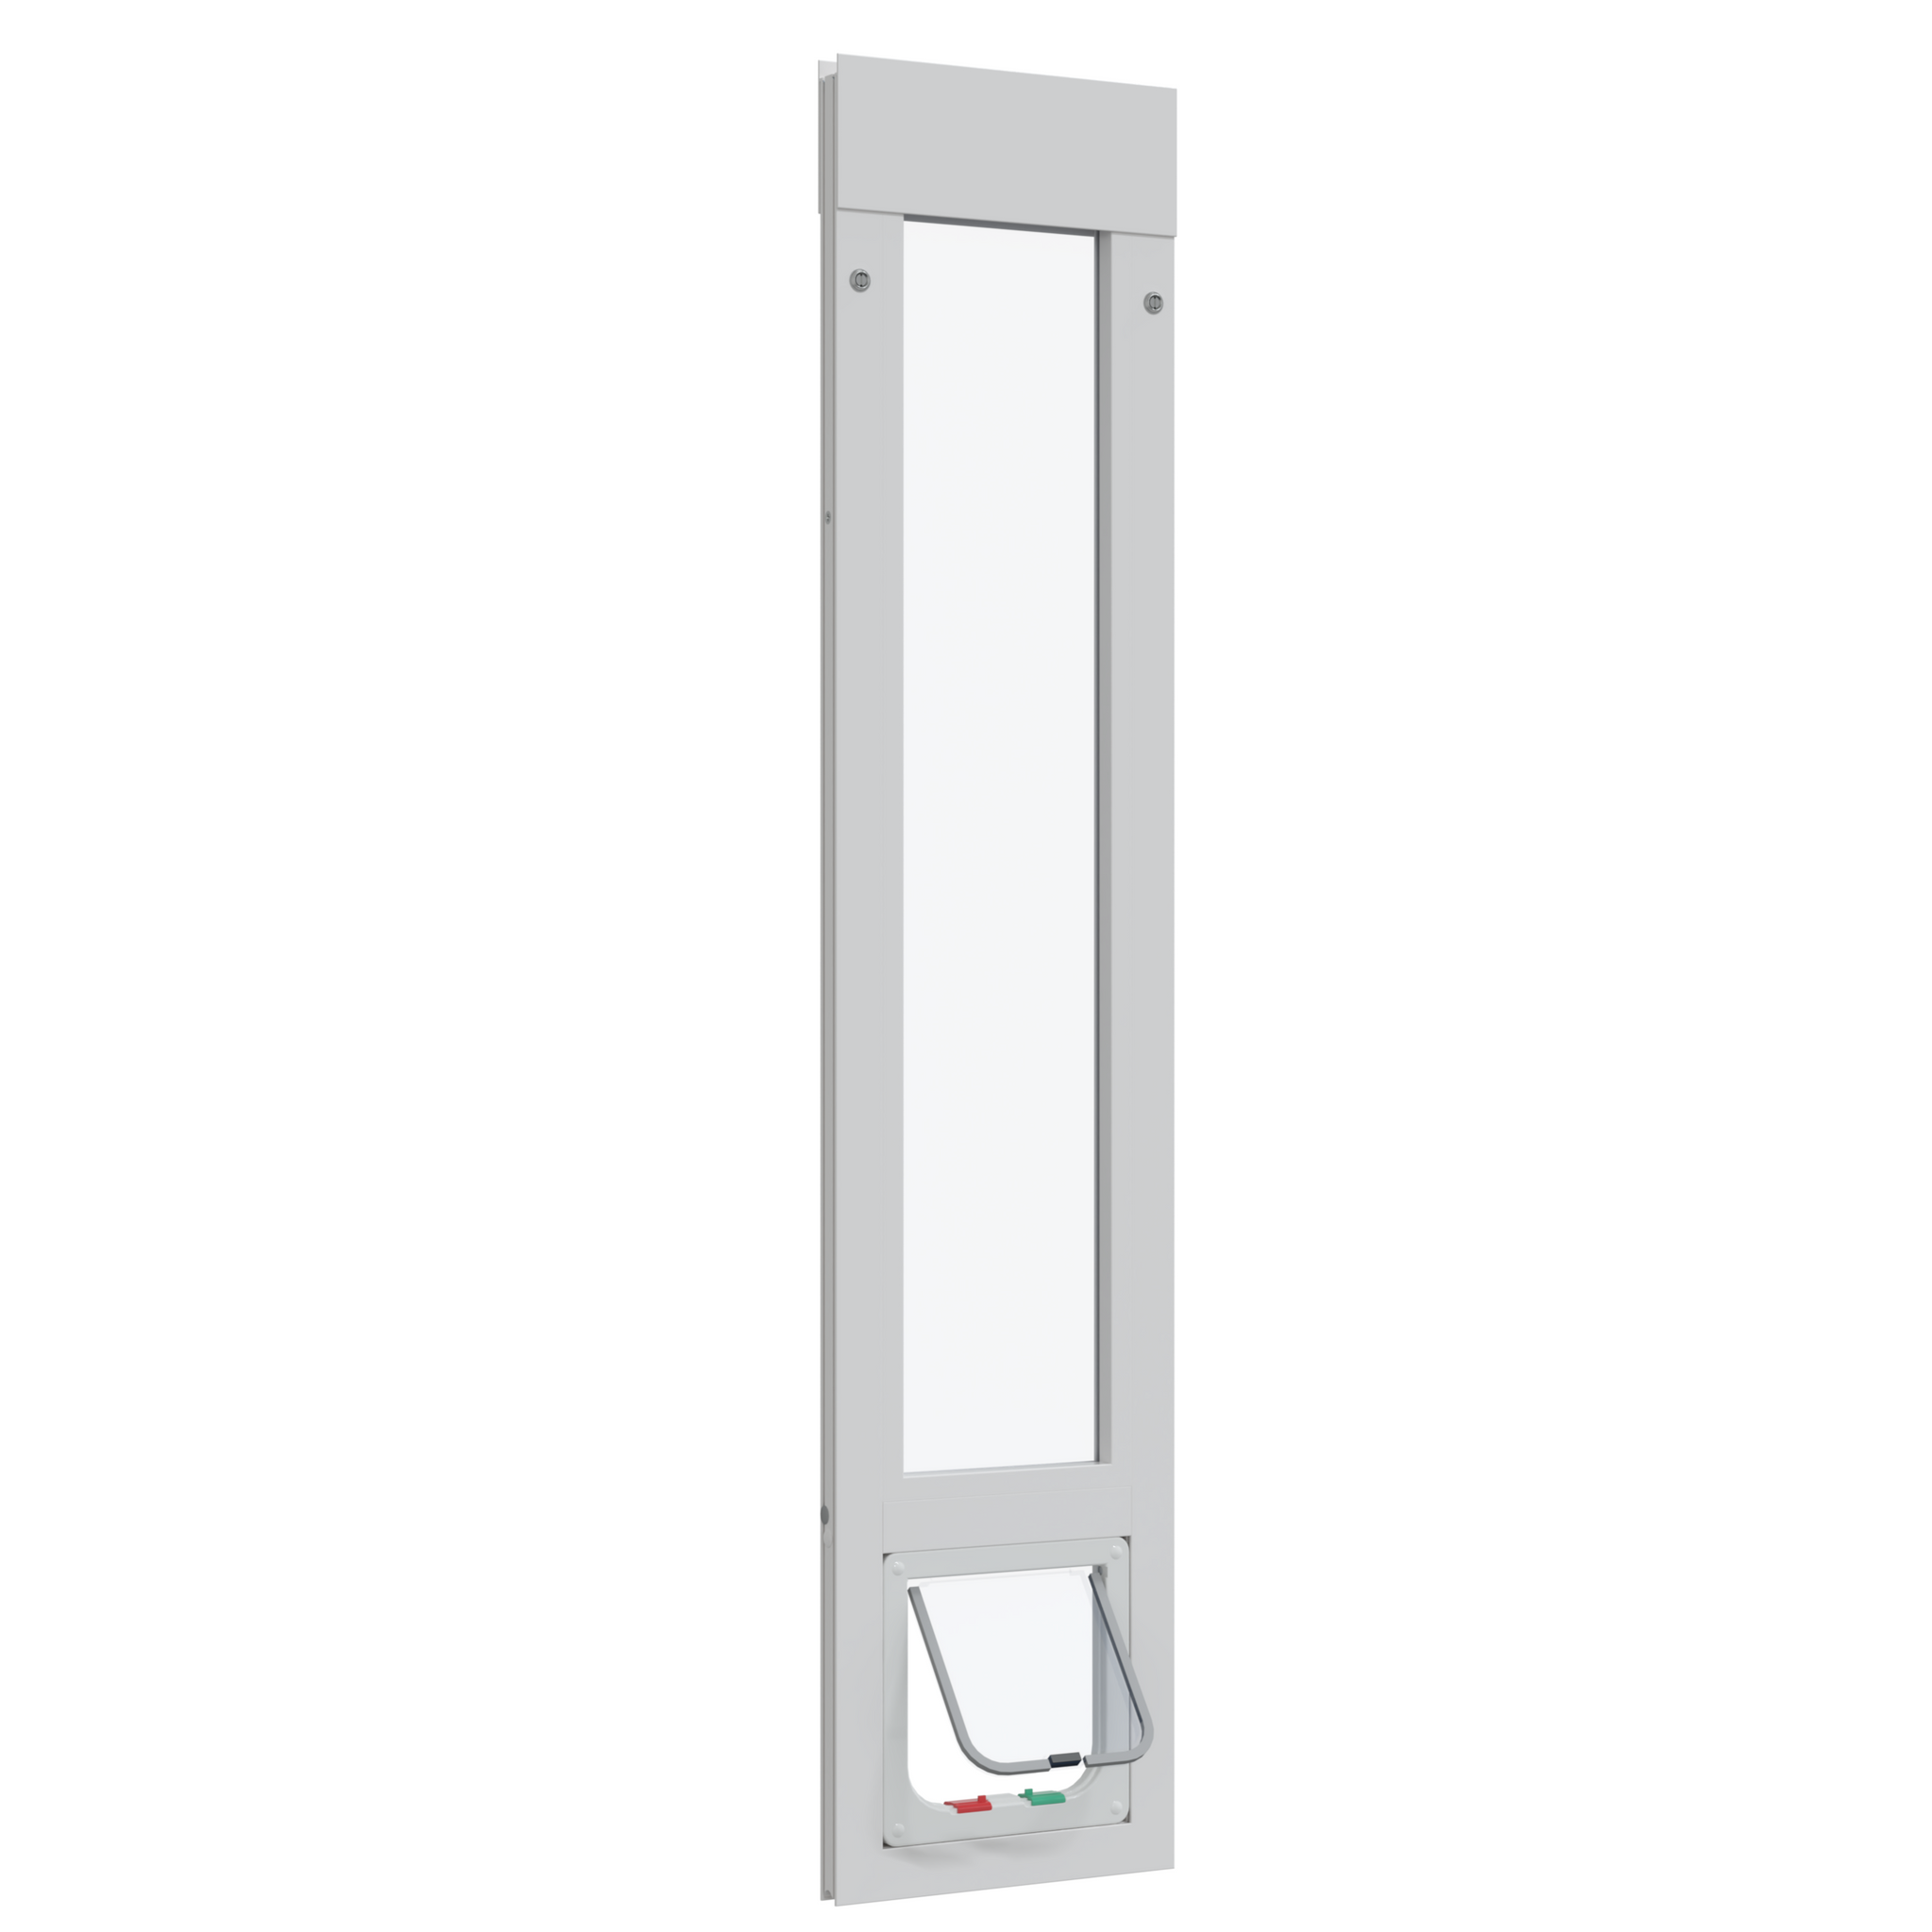
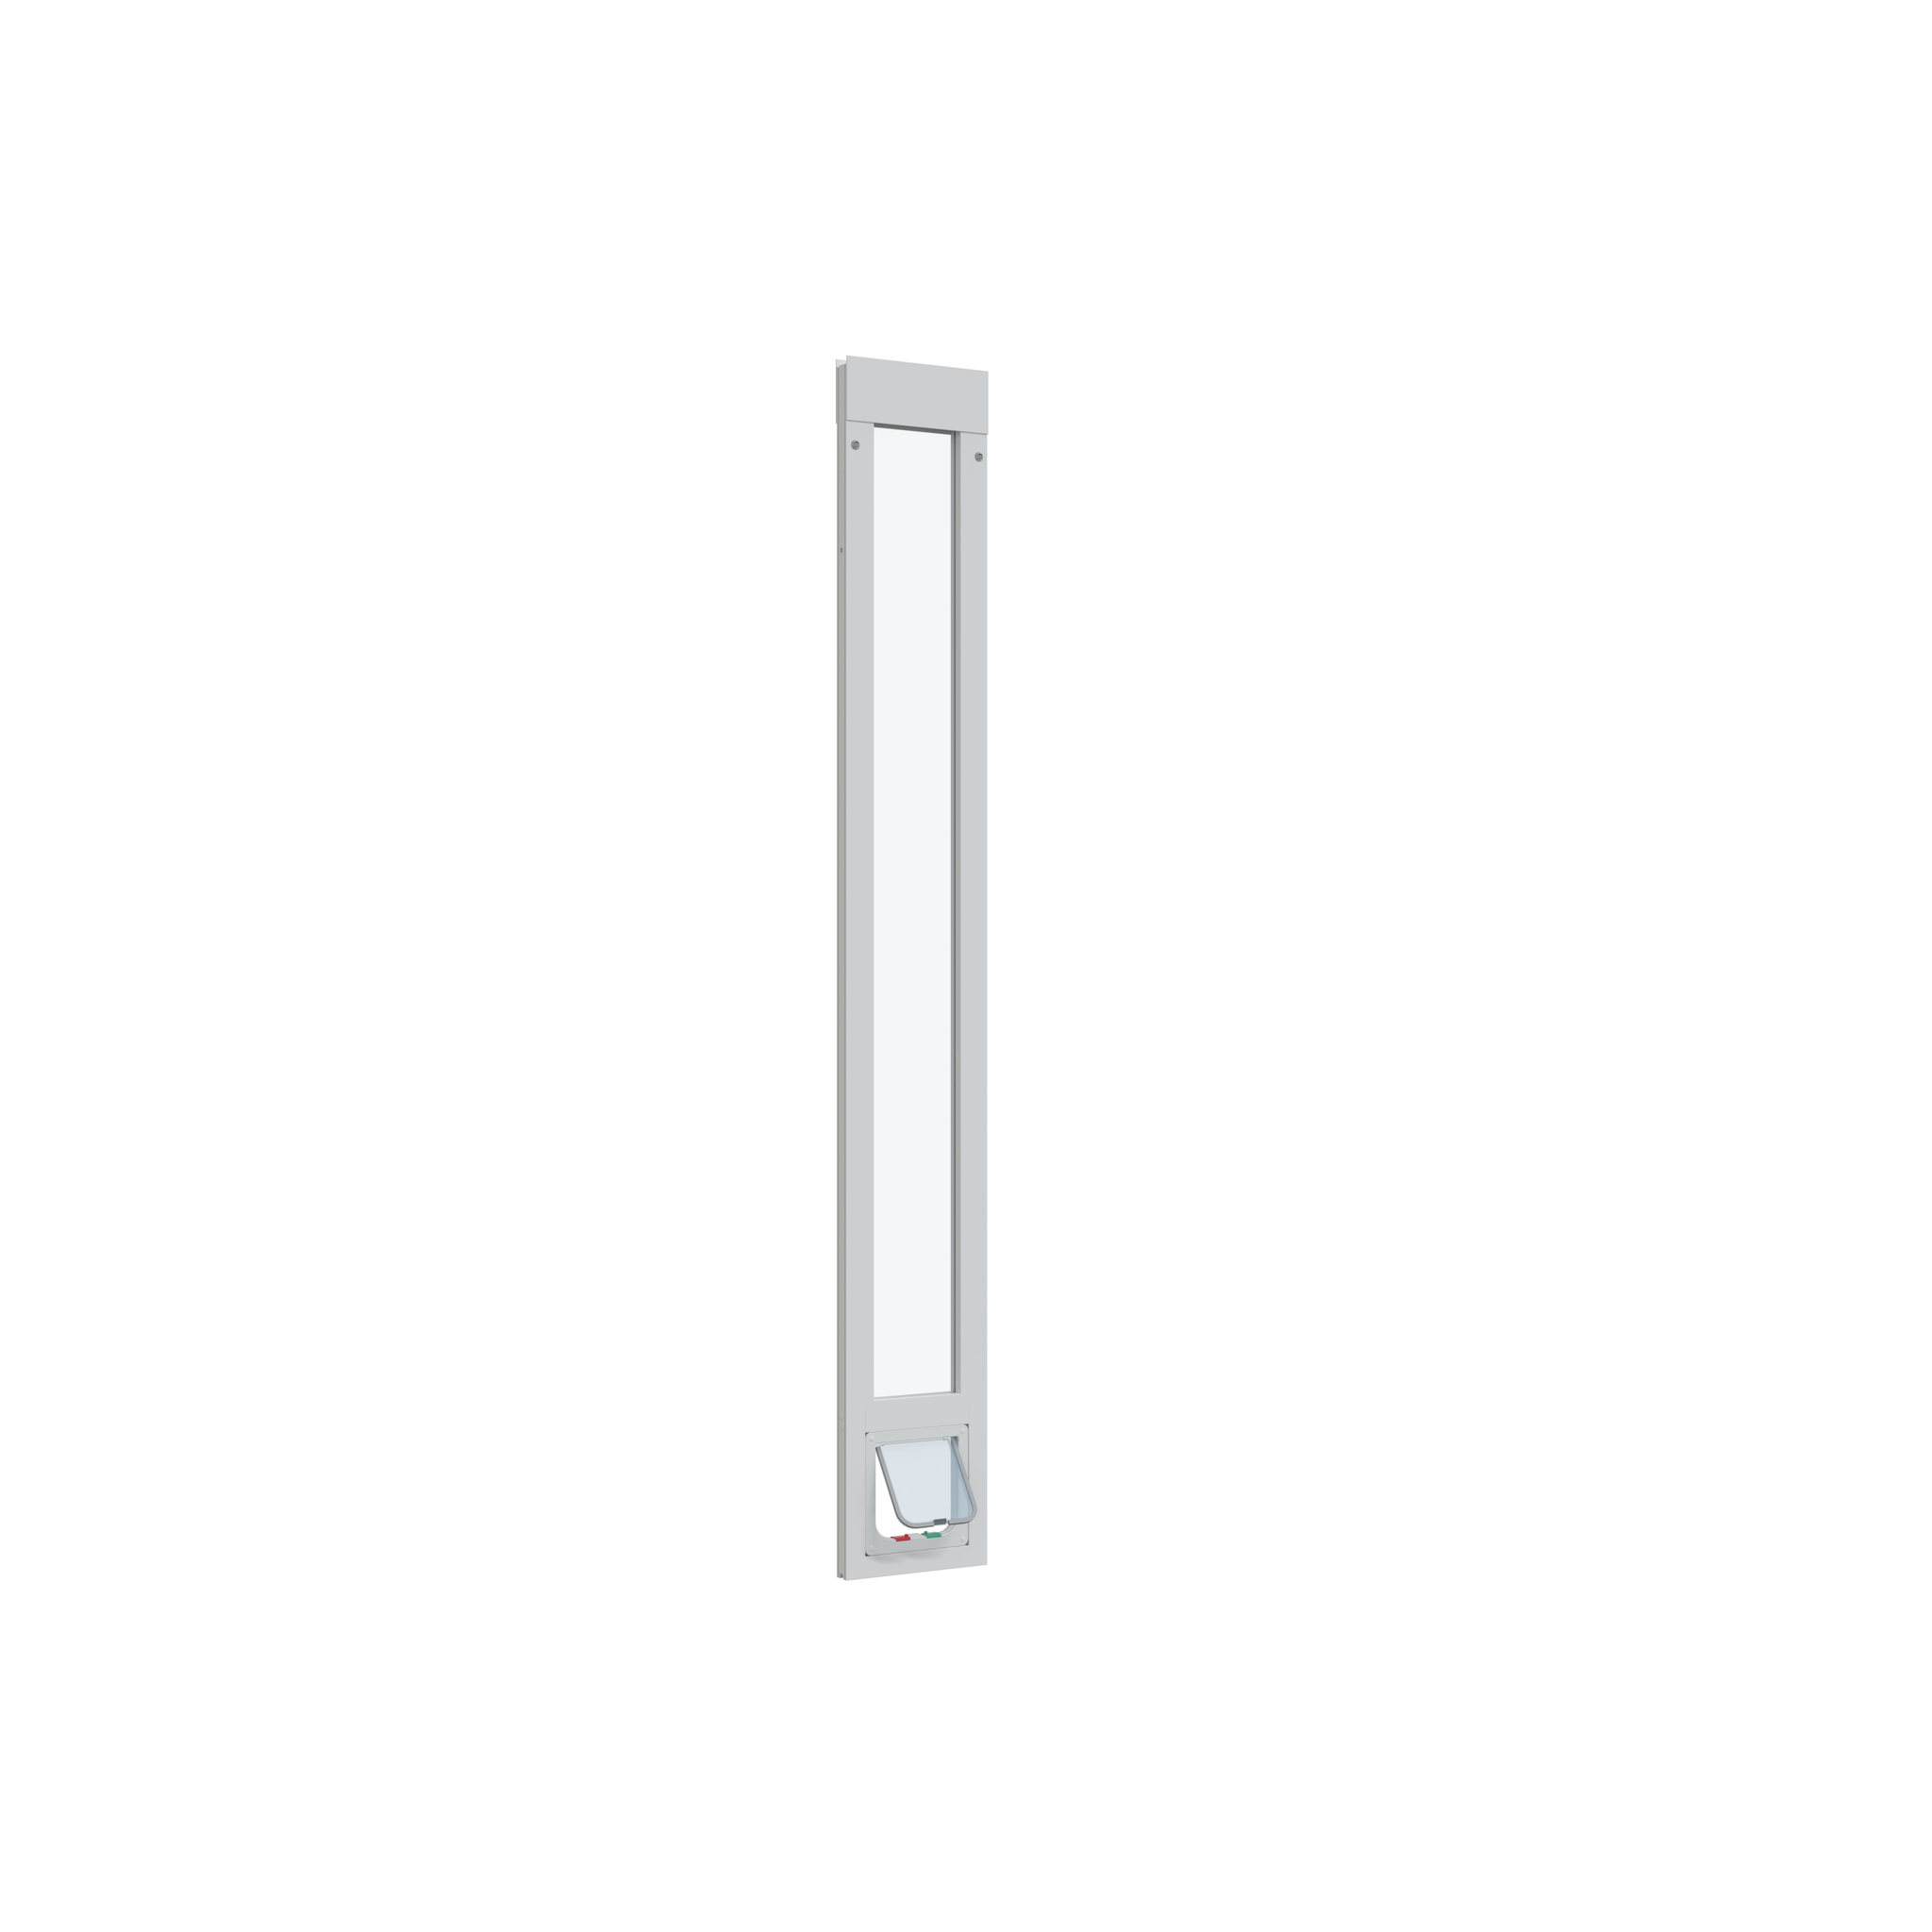
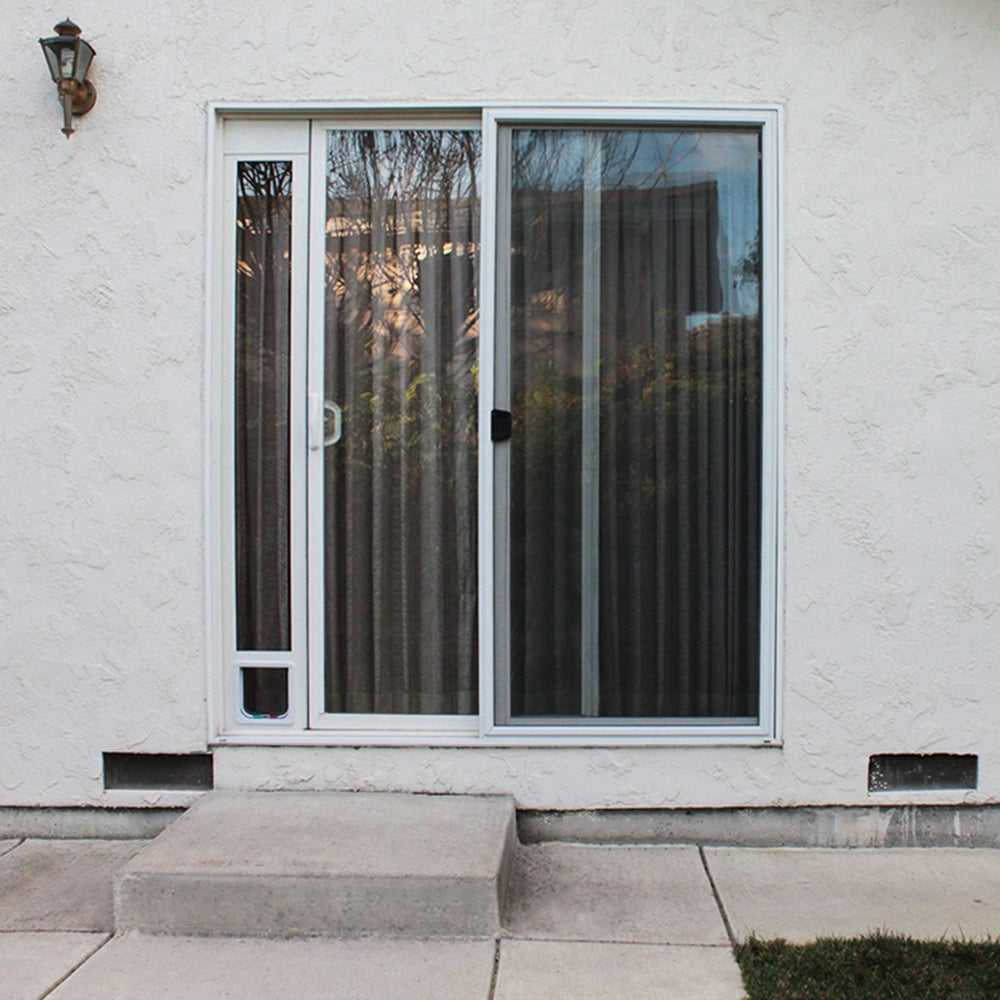
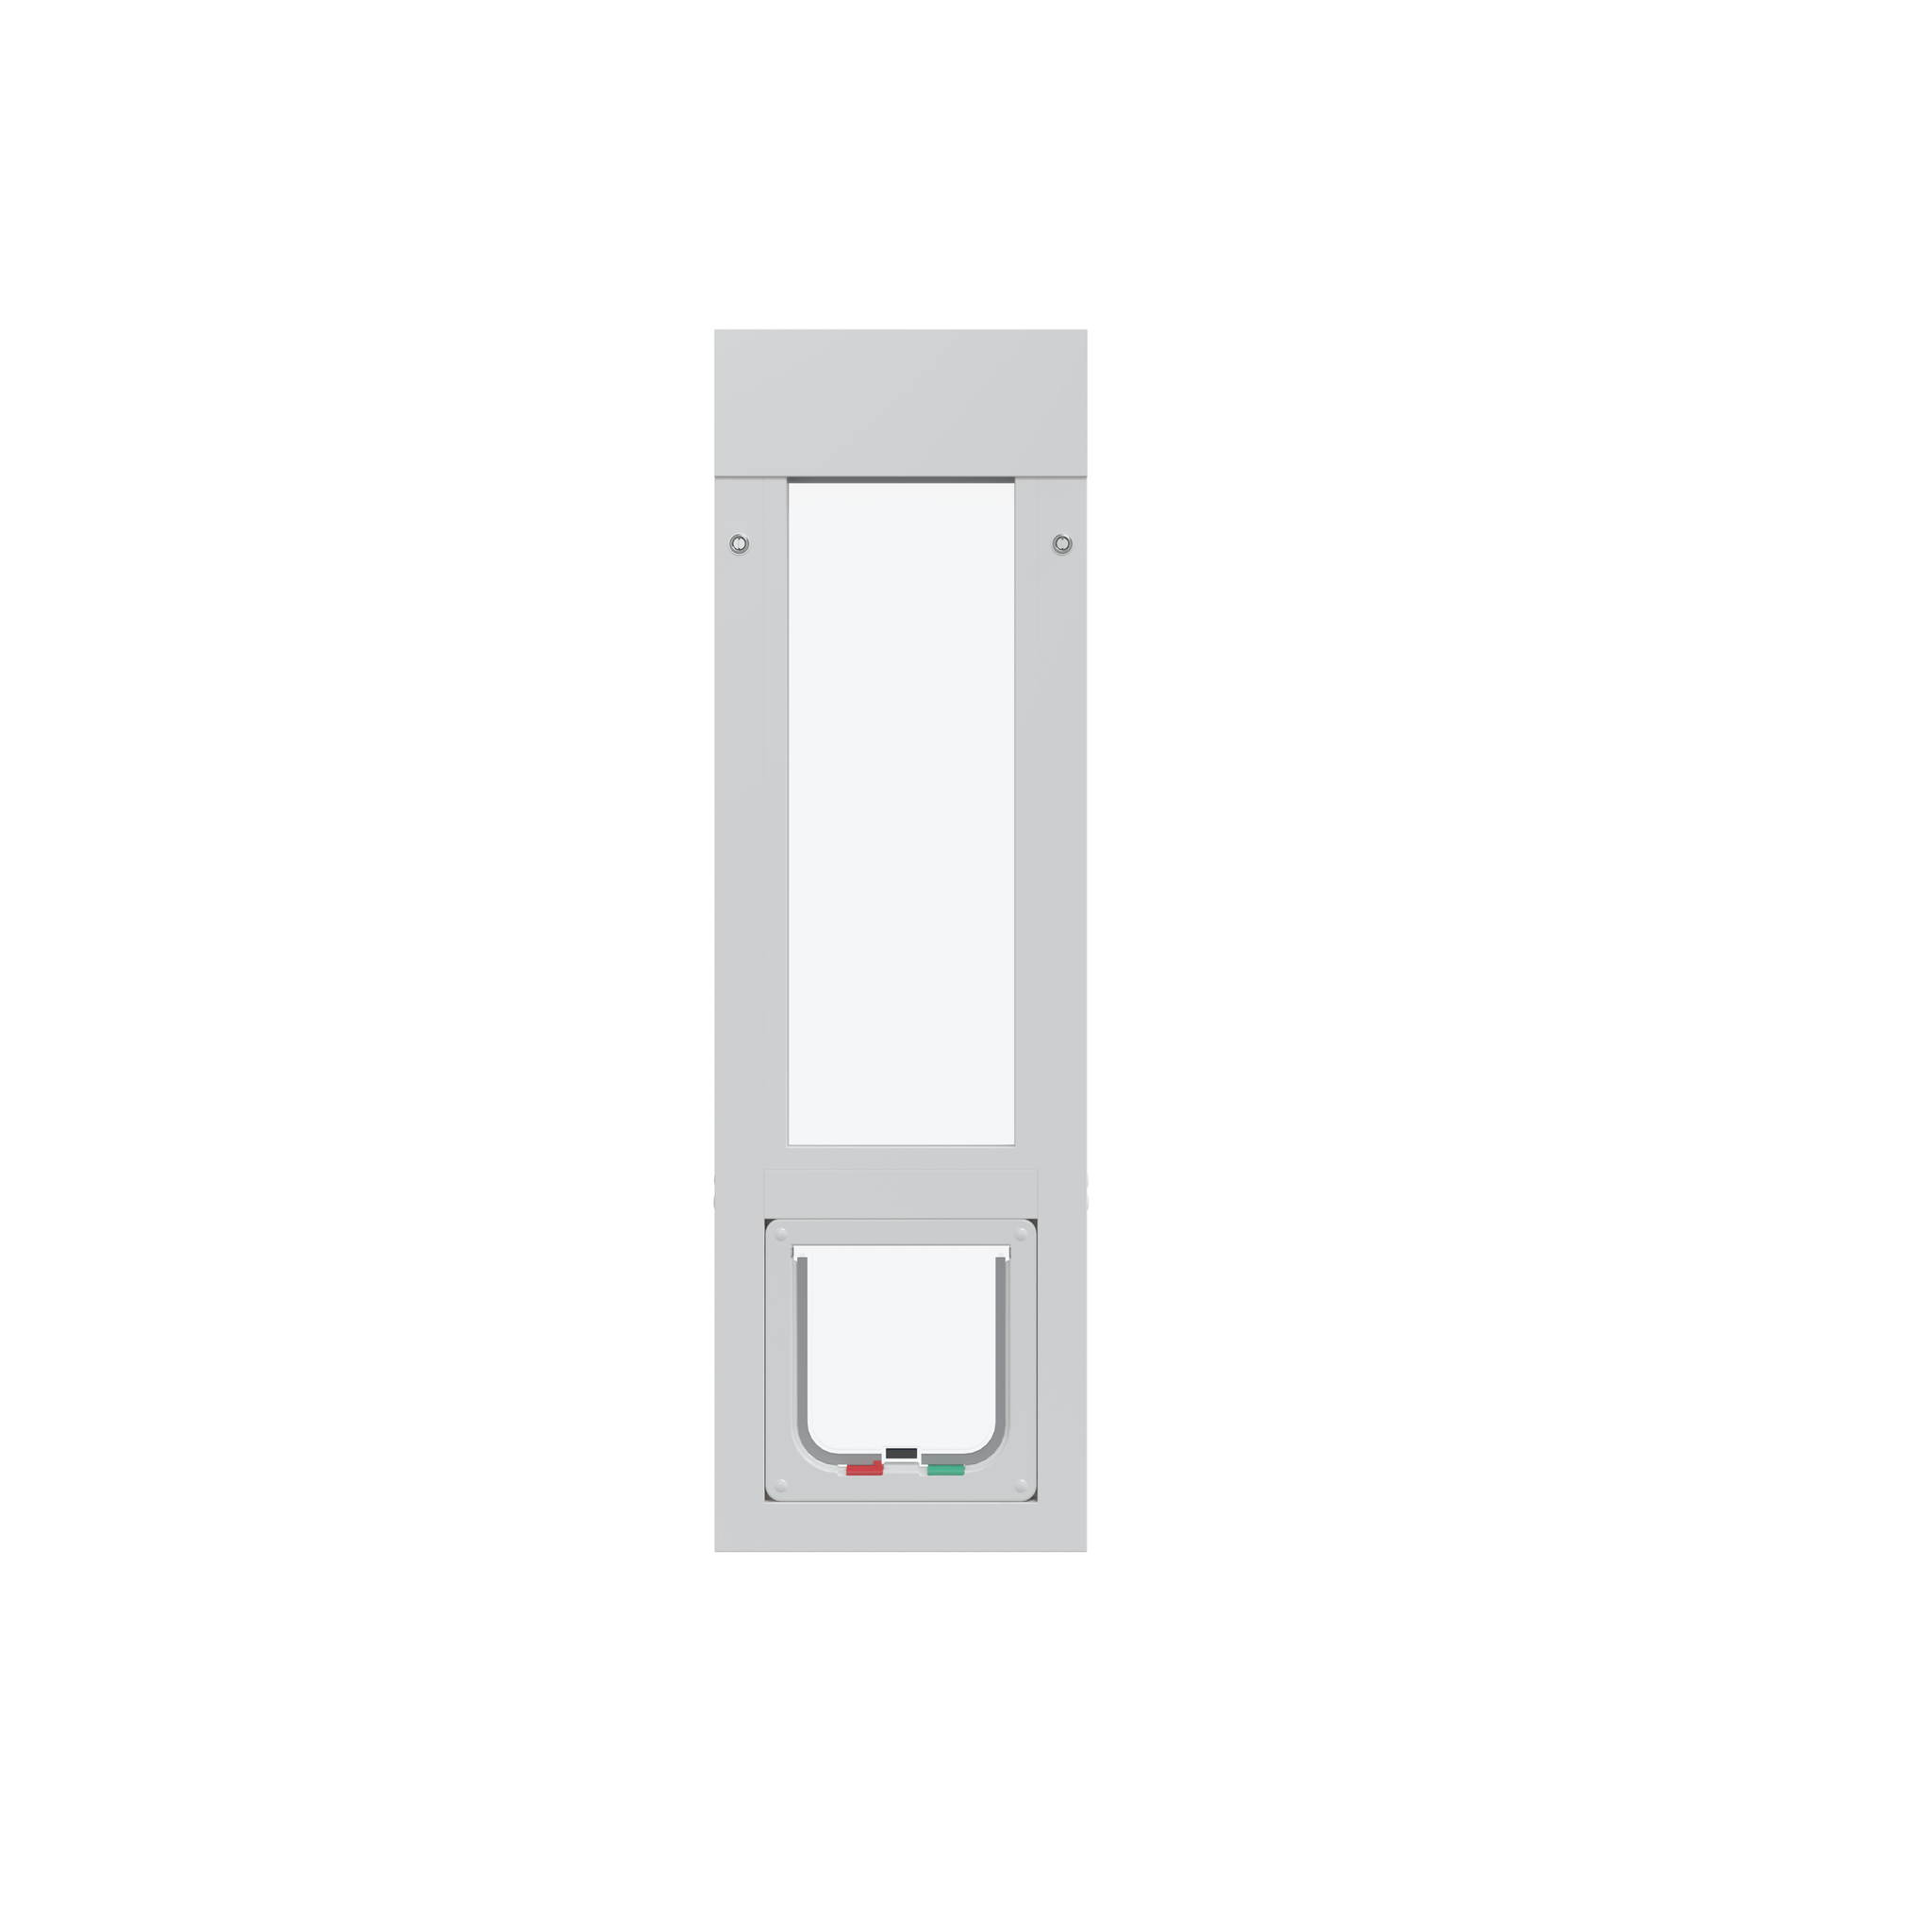
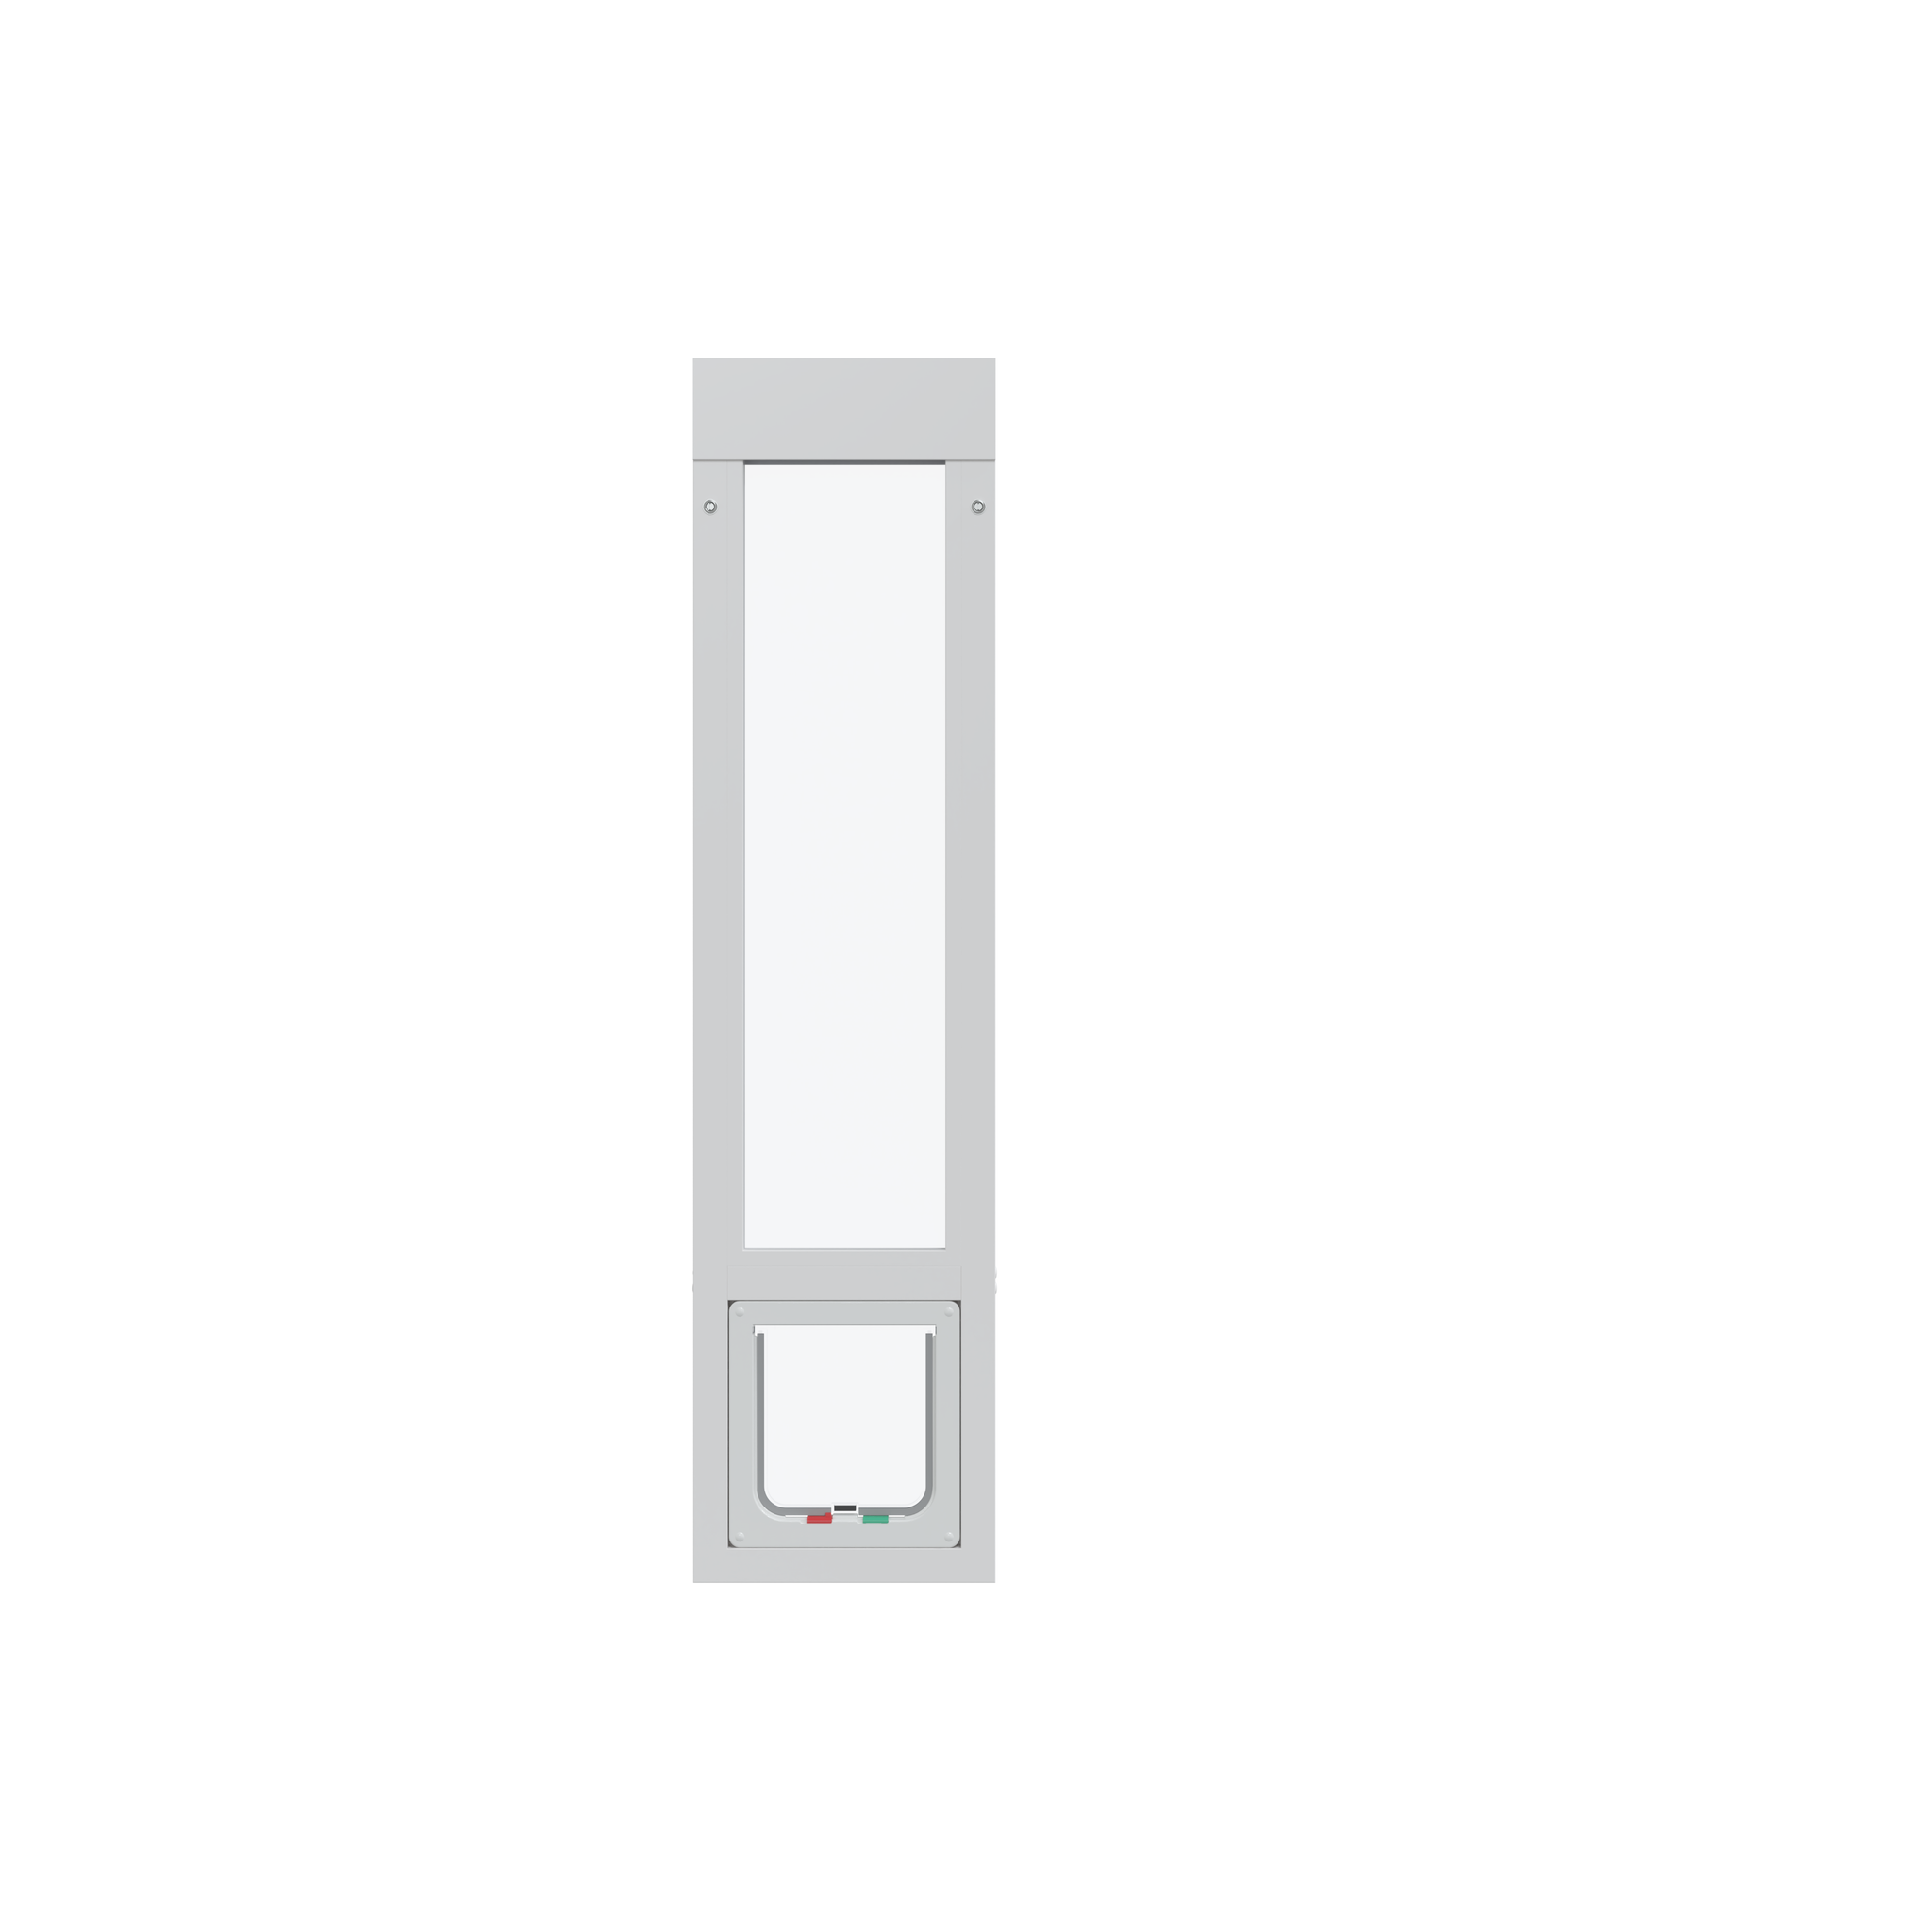
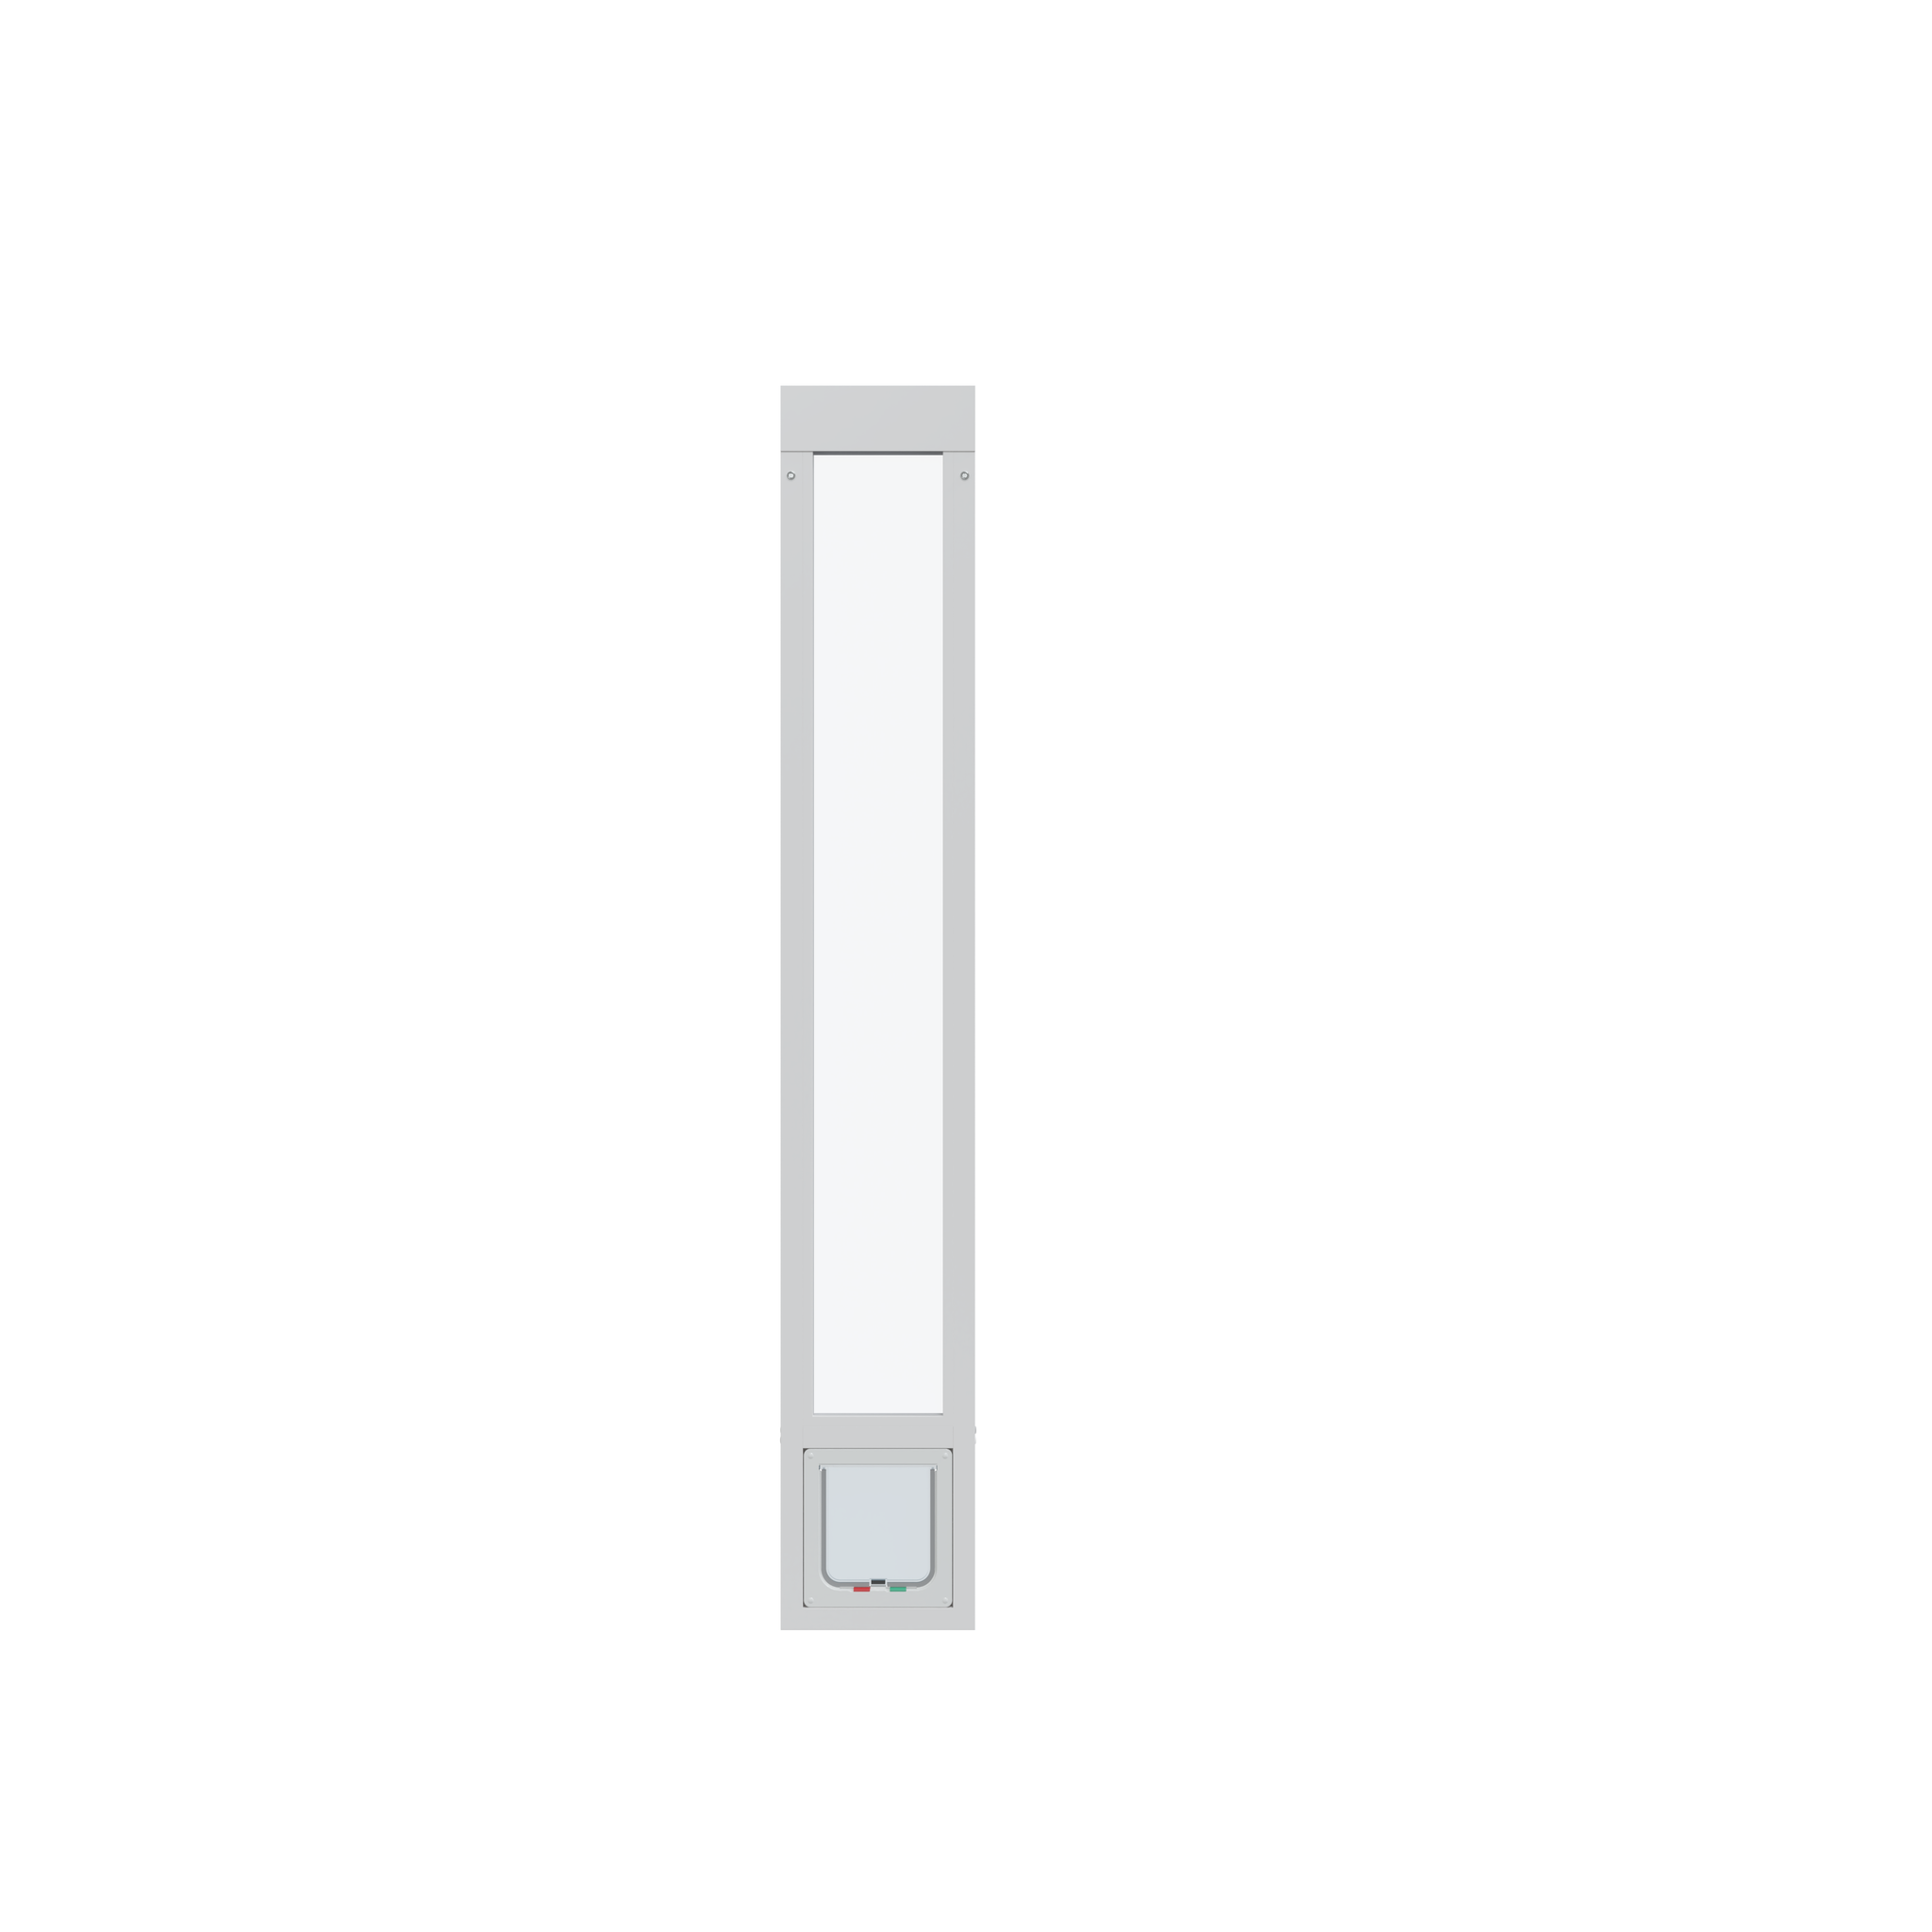
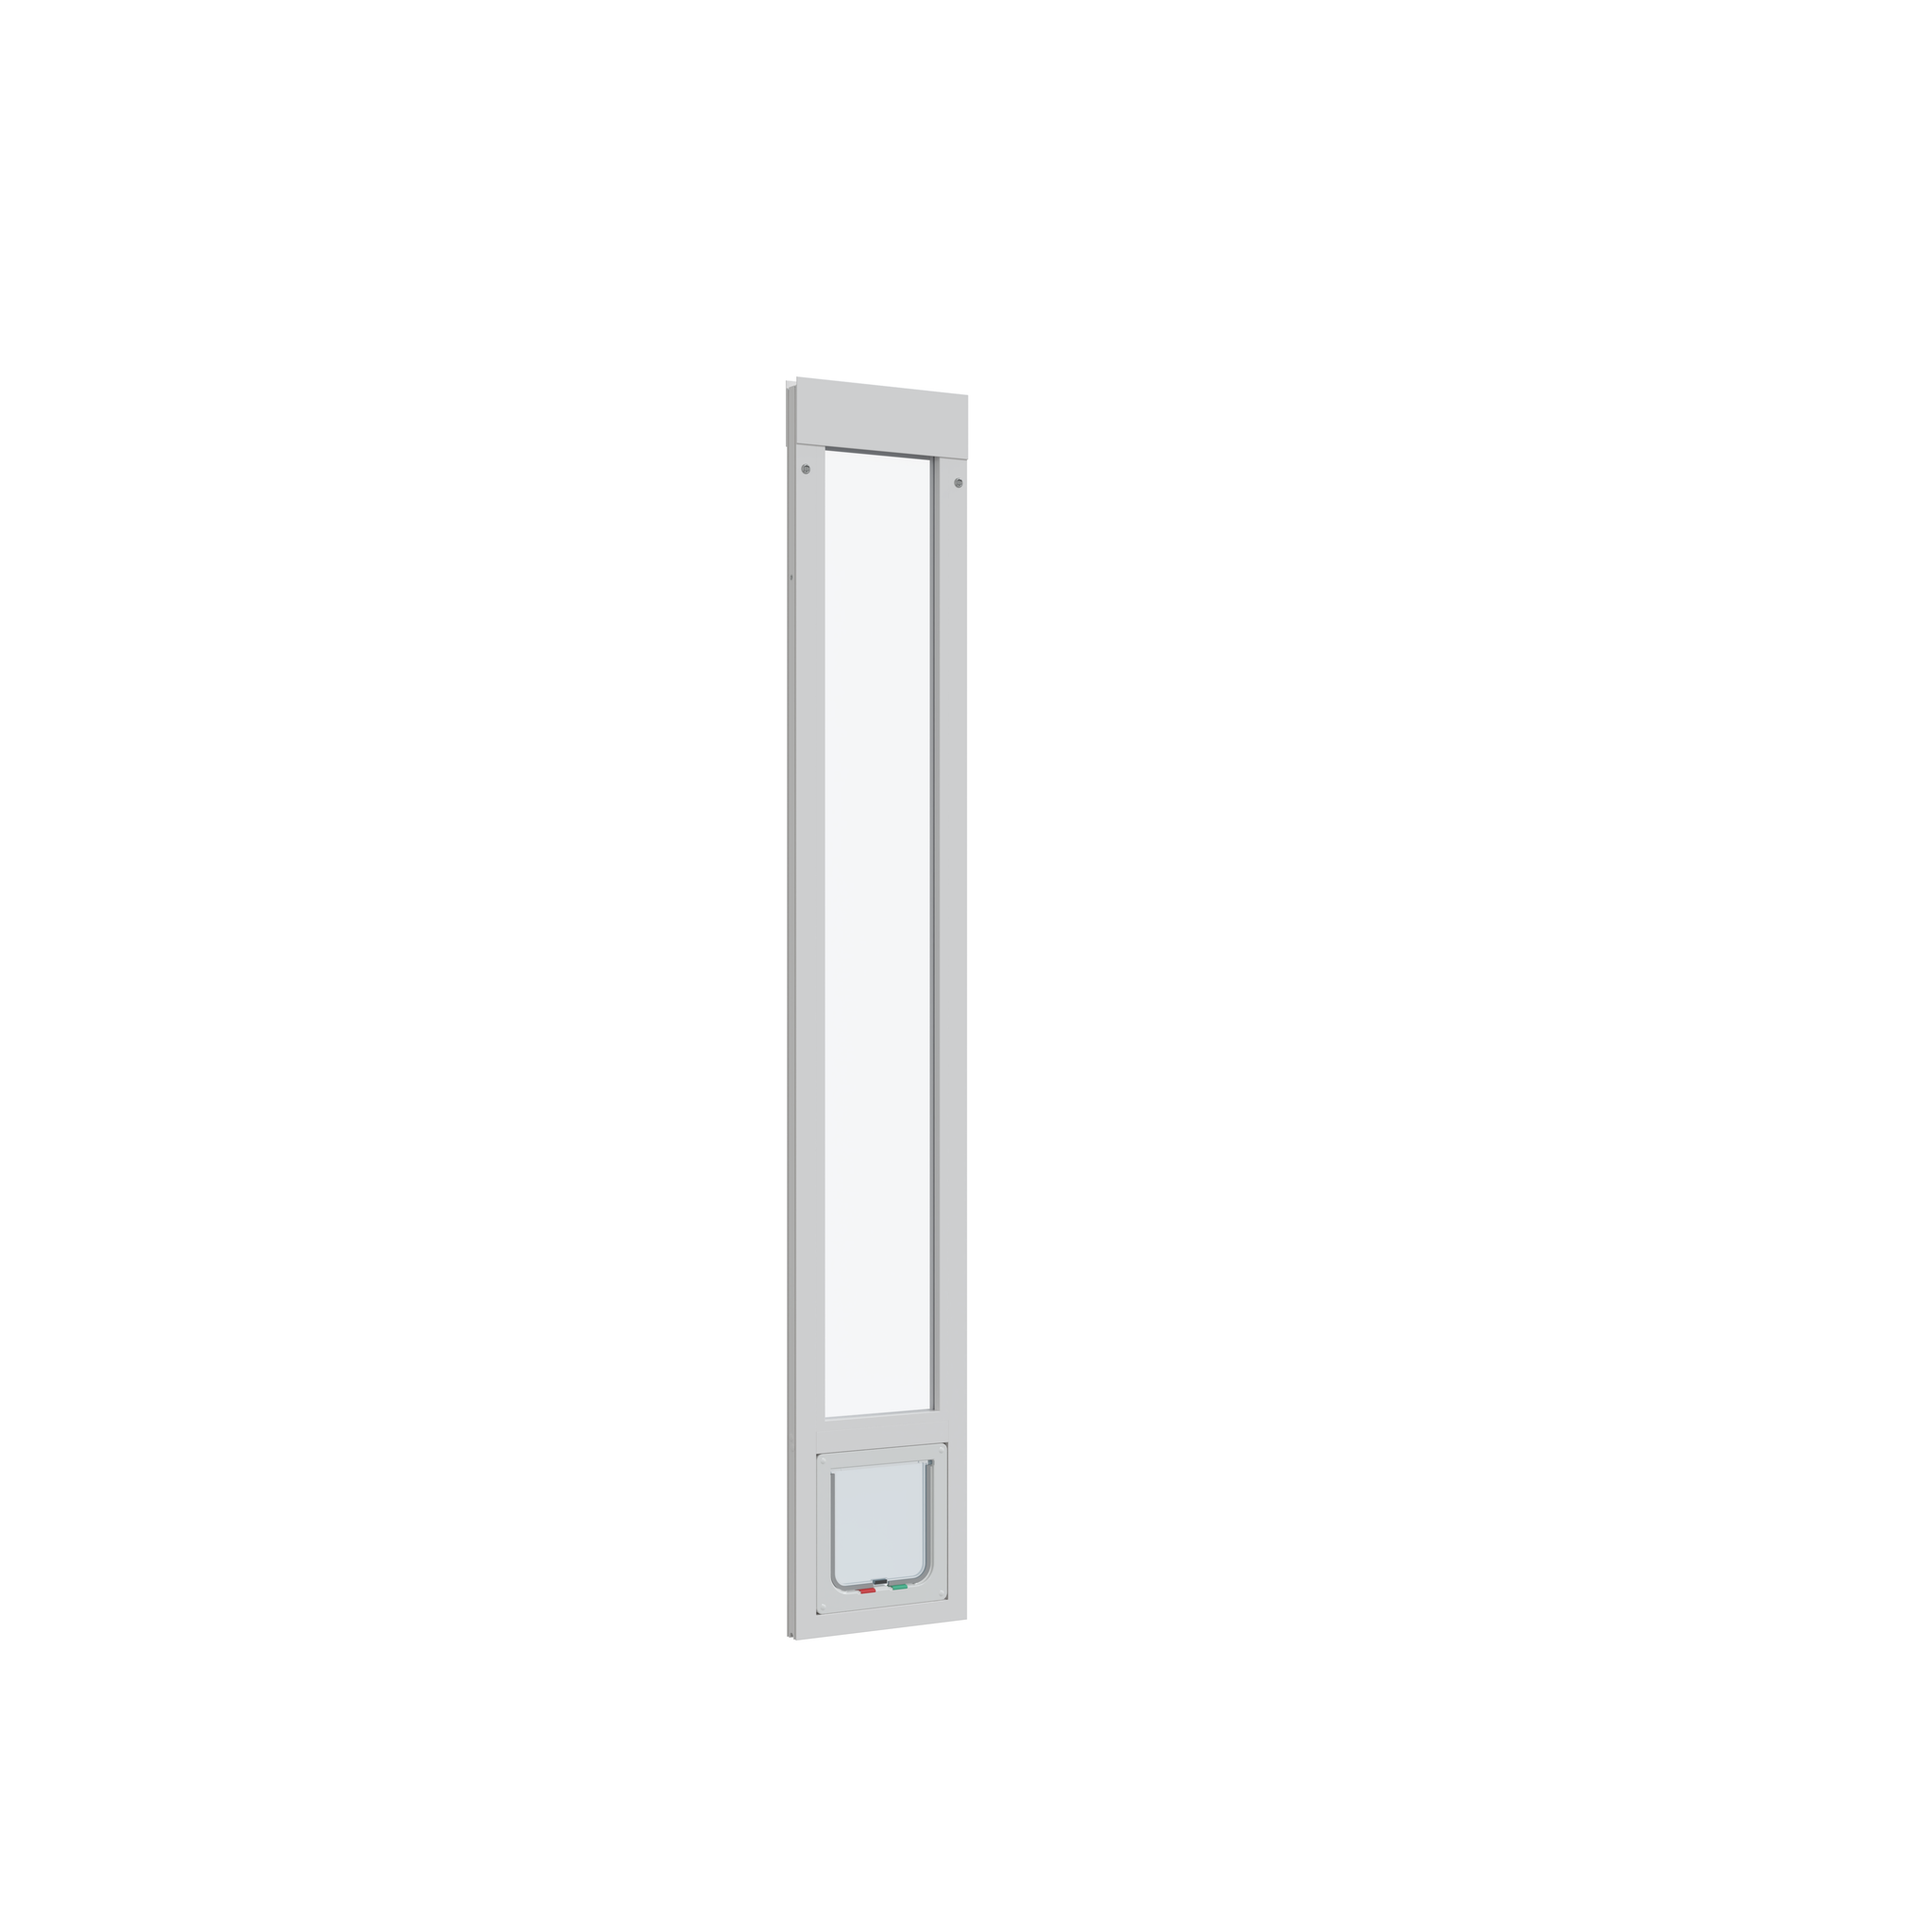
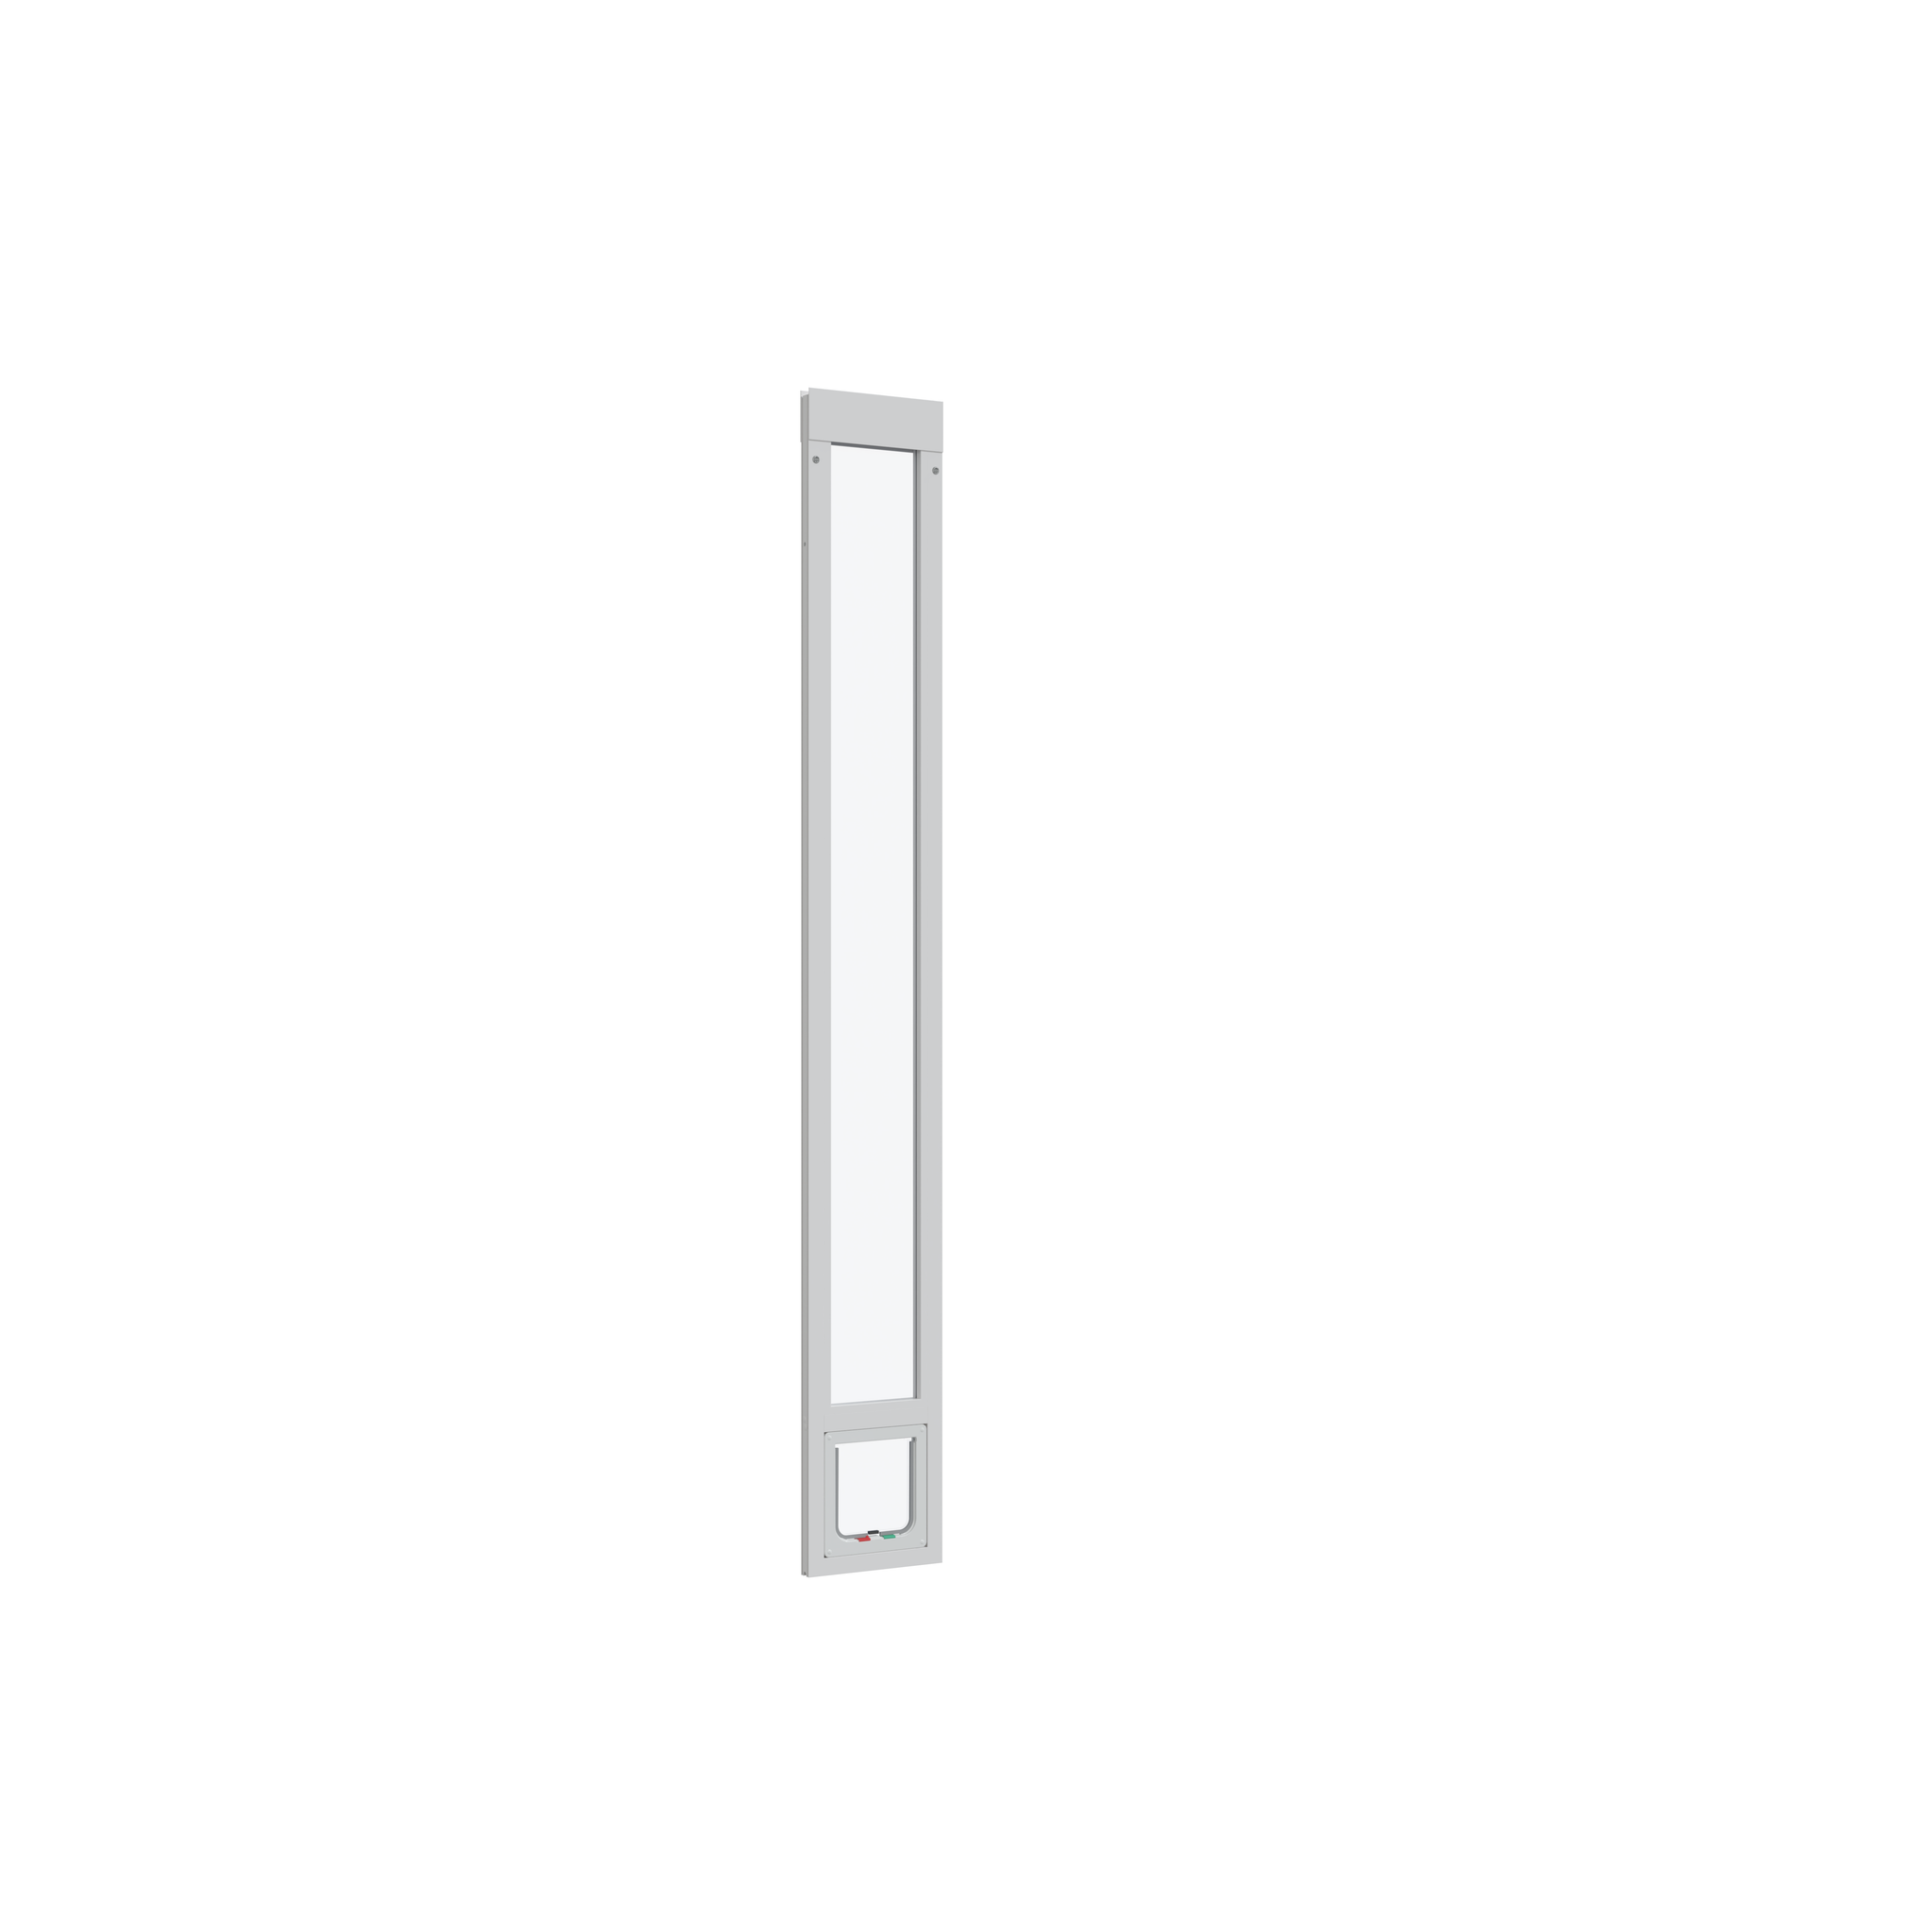
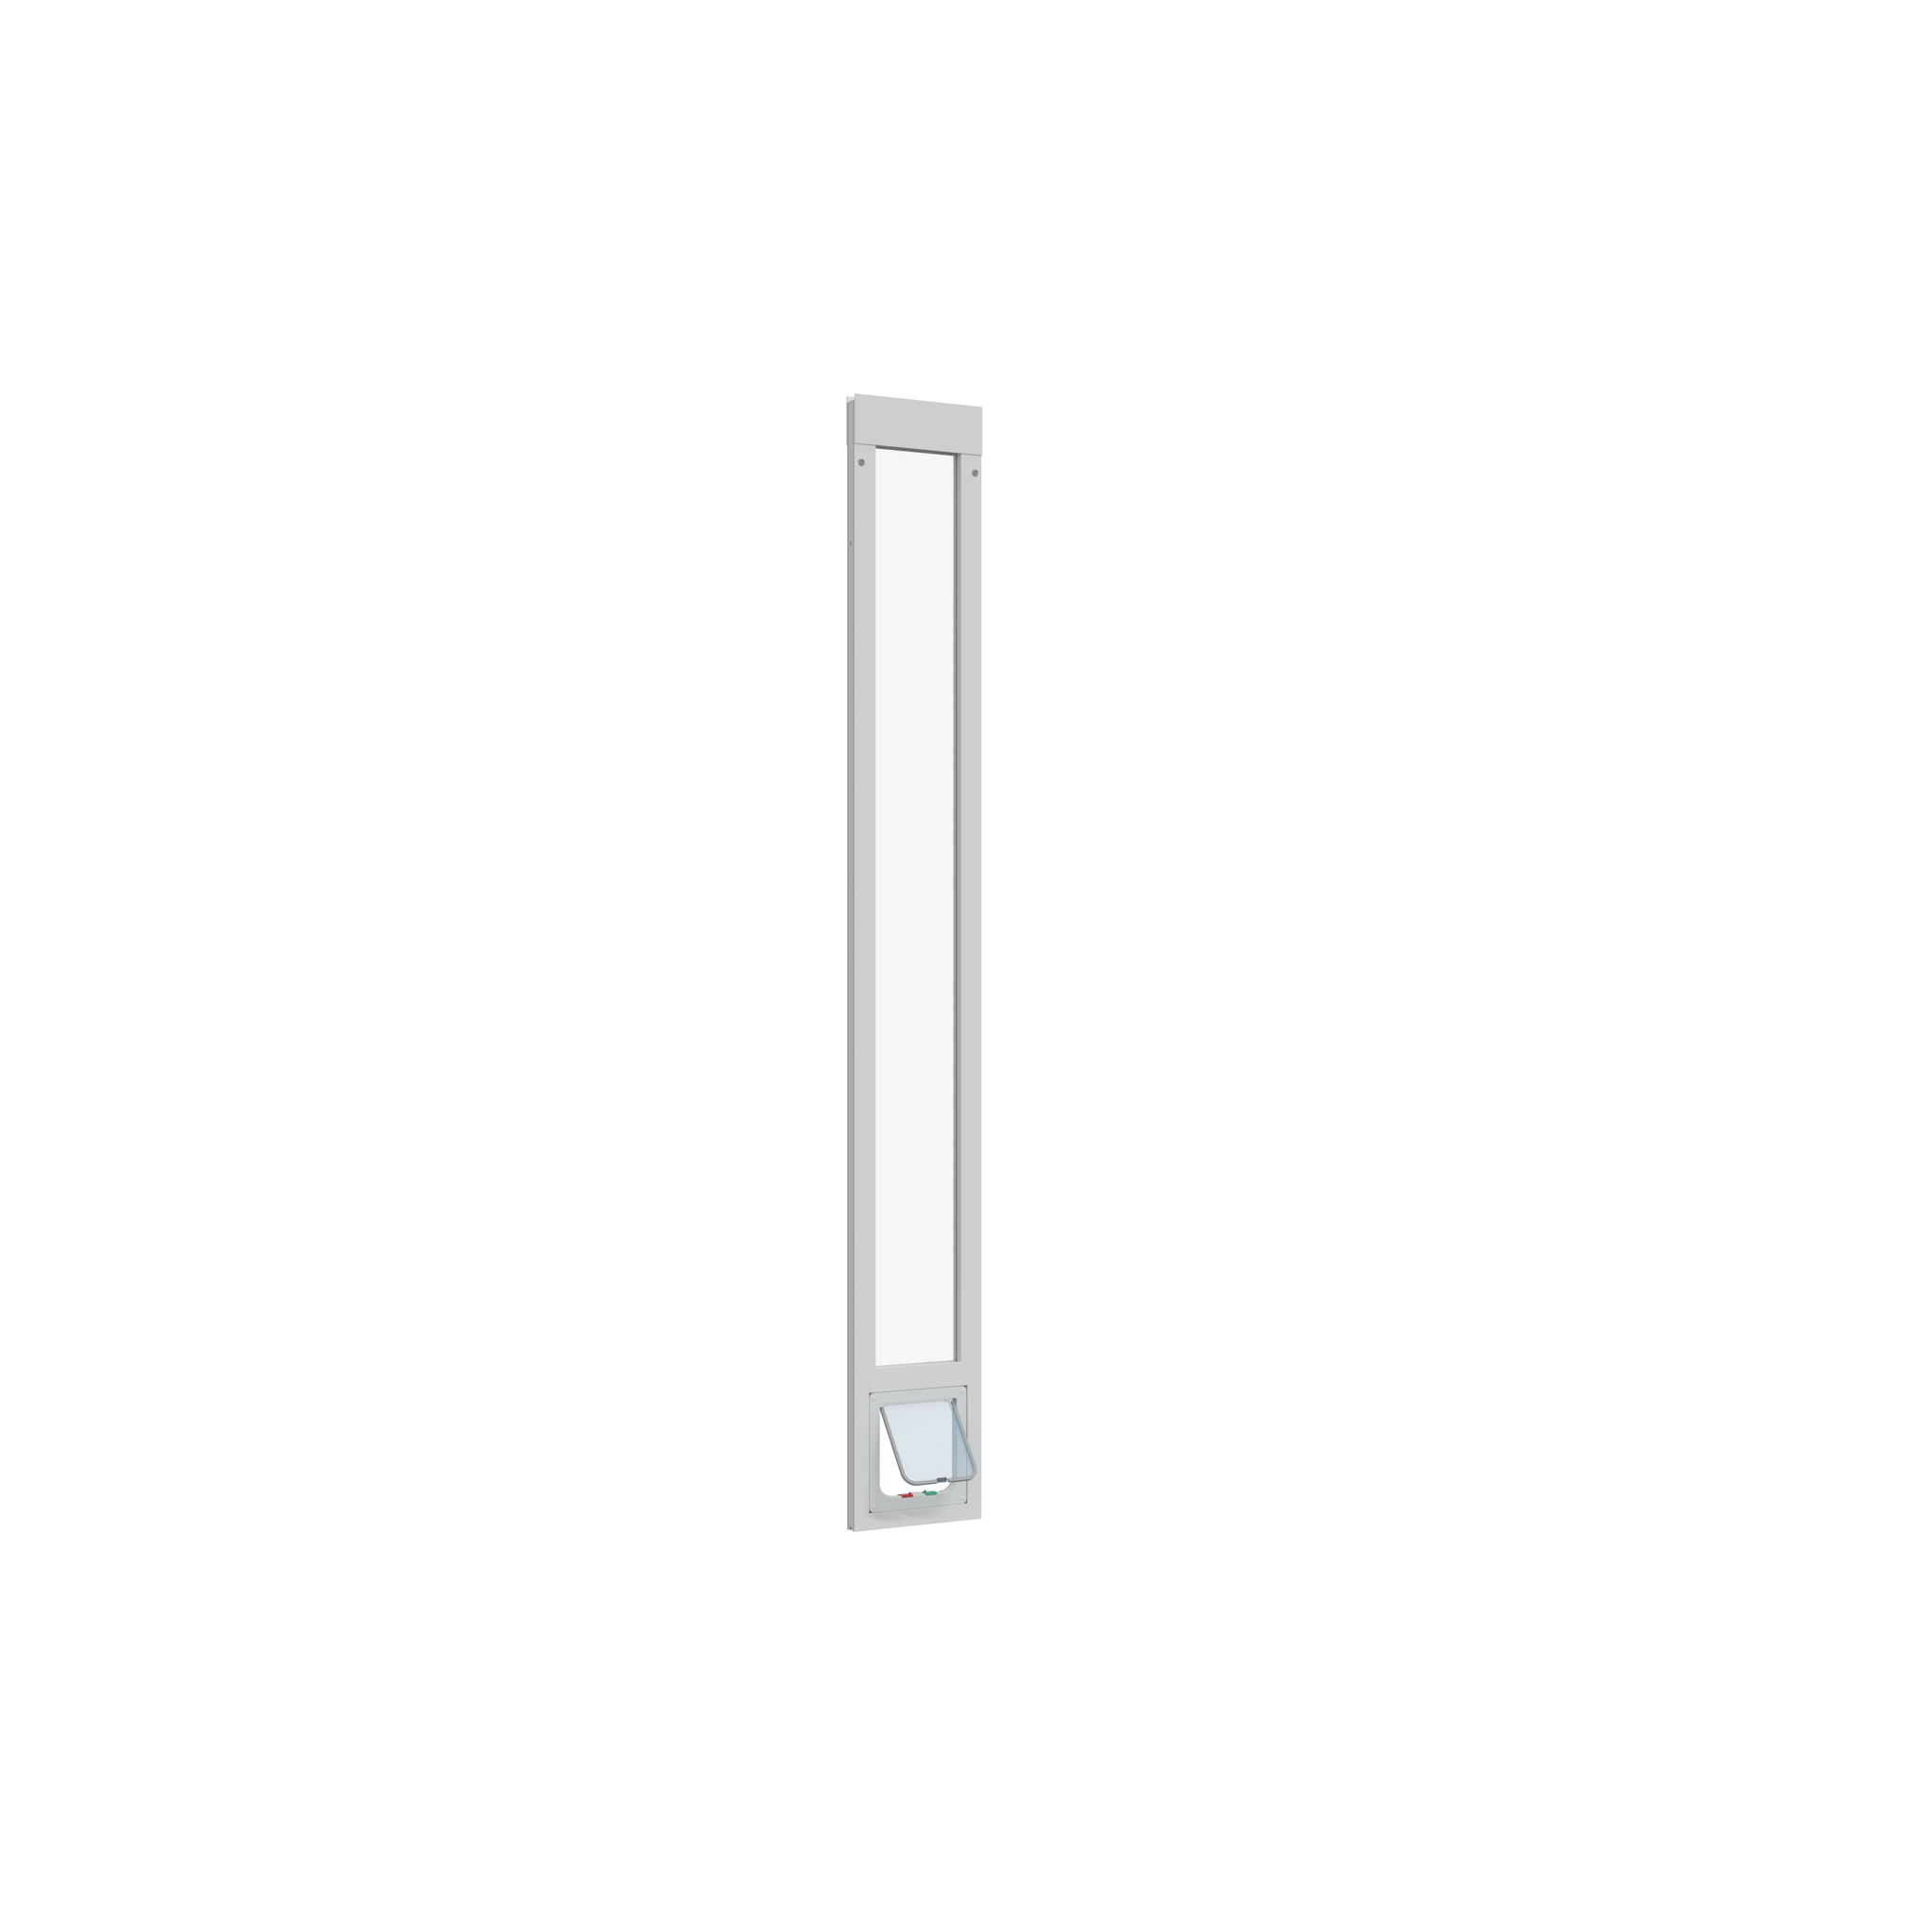
Whiskers & Windows Custom Cat Door for Vinyl Sliding Glass Doors


- Efficient and easy-to-install Cat Door for Vinyl Sliding Glass Doors.
- Three custom height ranges to perfectly fit any non-standard sliding glass door
- Equipped with a 4-way lock for controlled pet access.
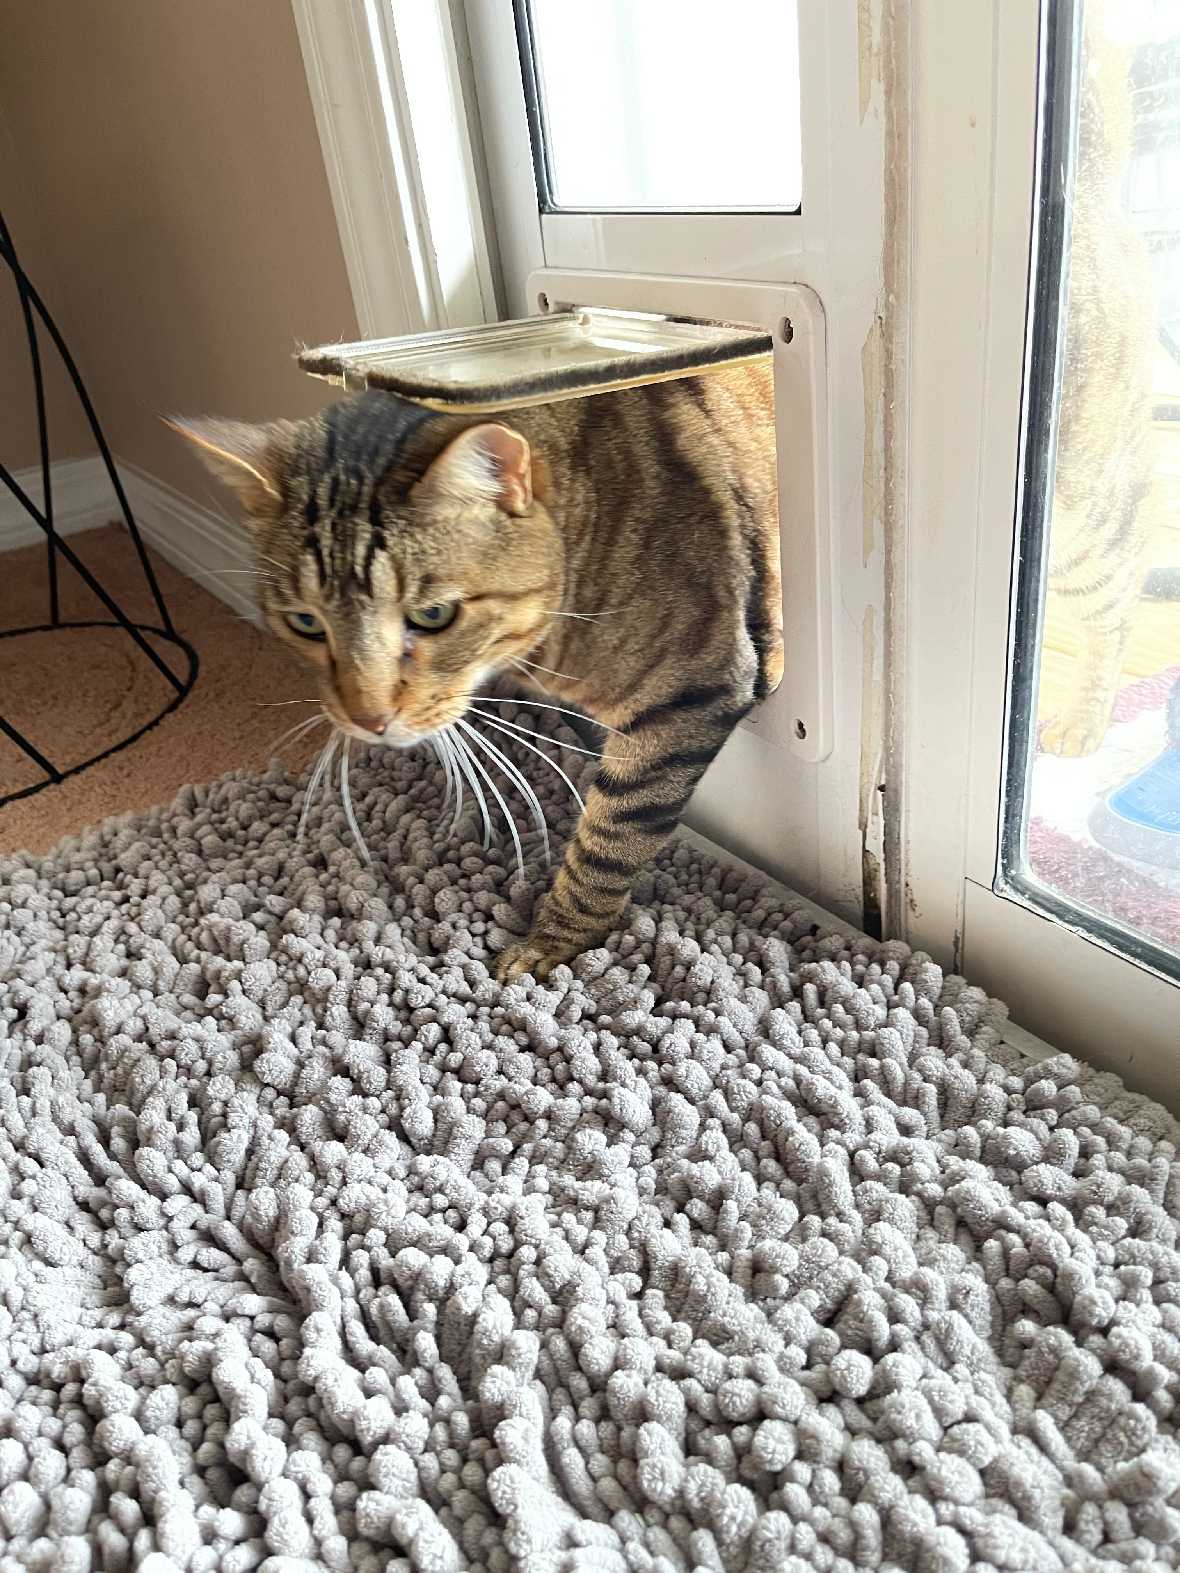
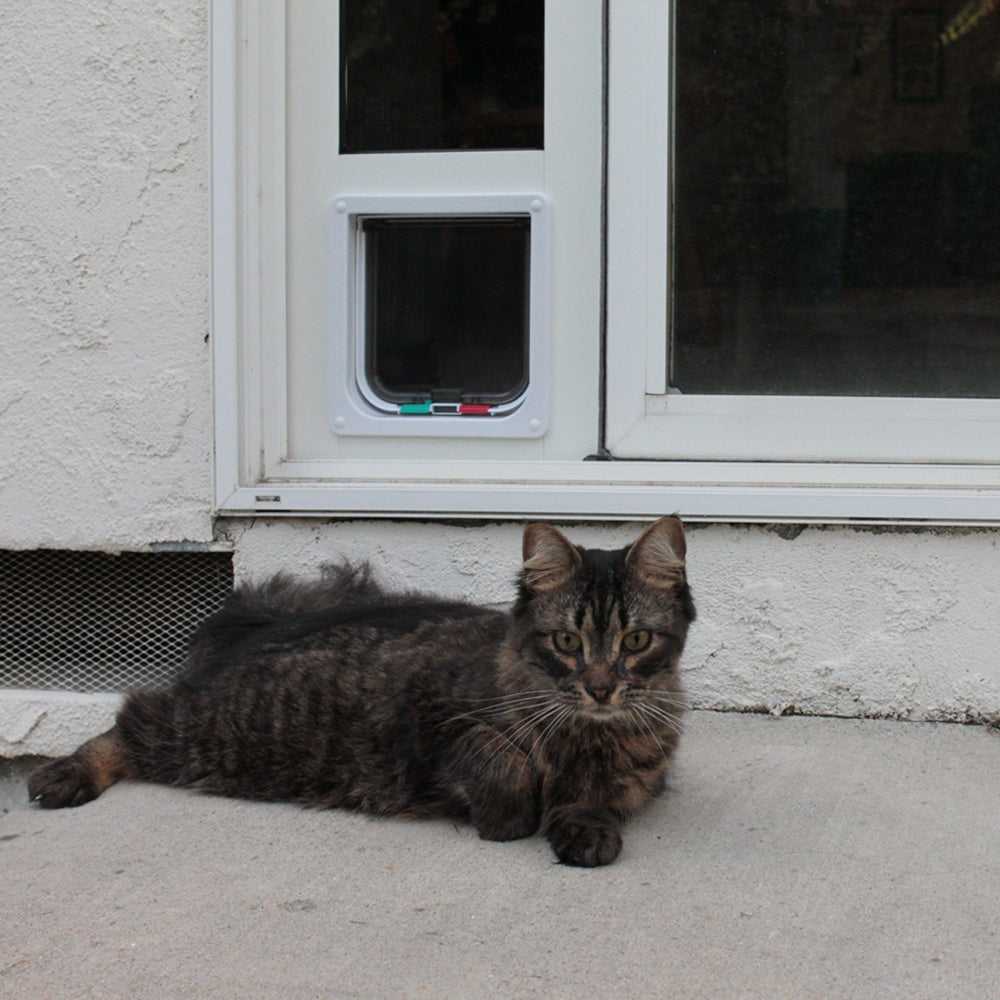
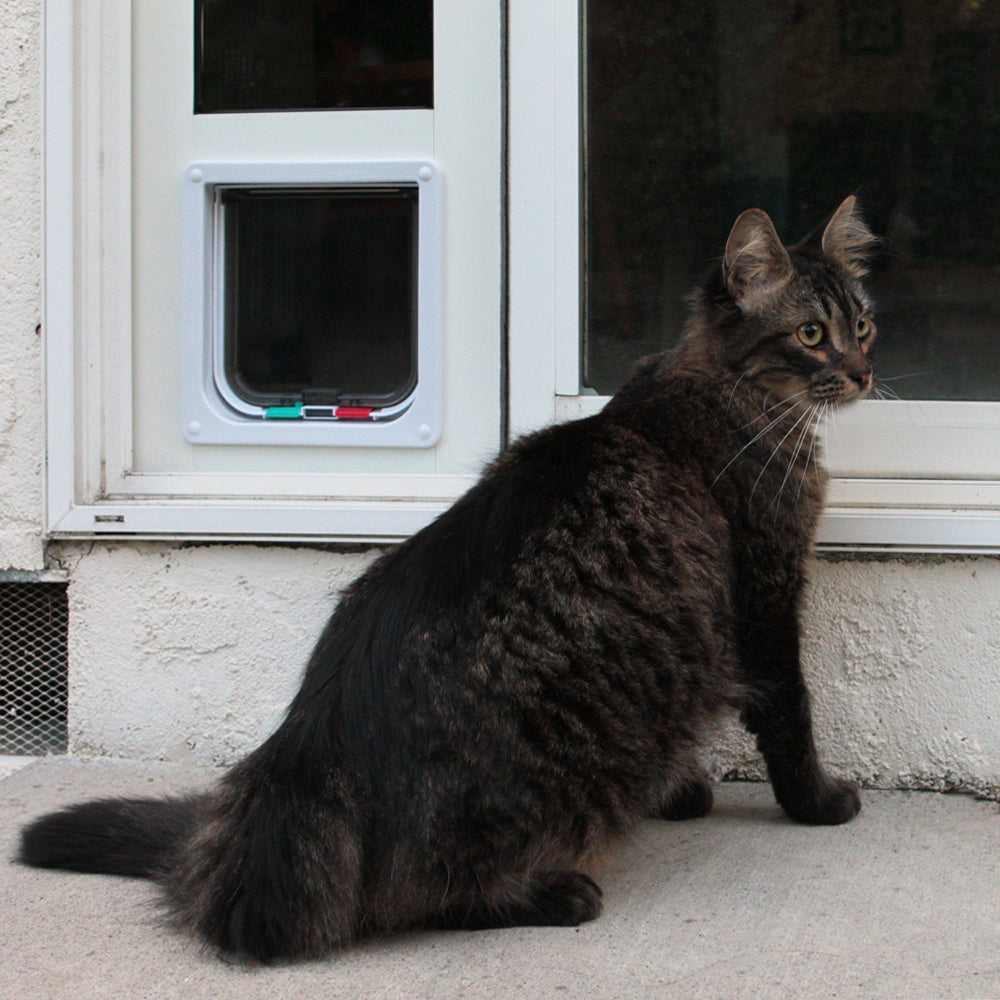
- Lightweight, rigid acrylic flap designed for cats and very small dogs.
- 3/16" clear safety glass for enhanced durability and increased energy efficiency
 Product Details
Product Details
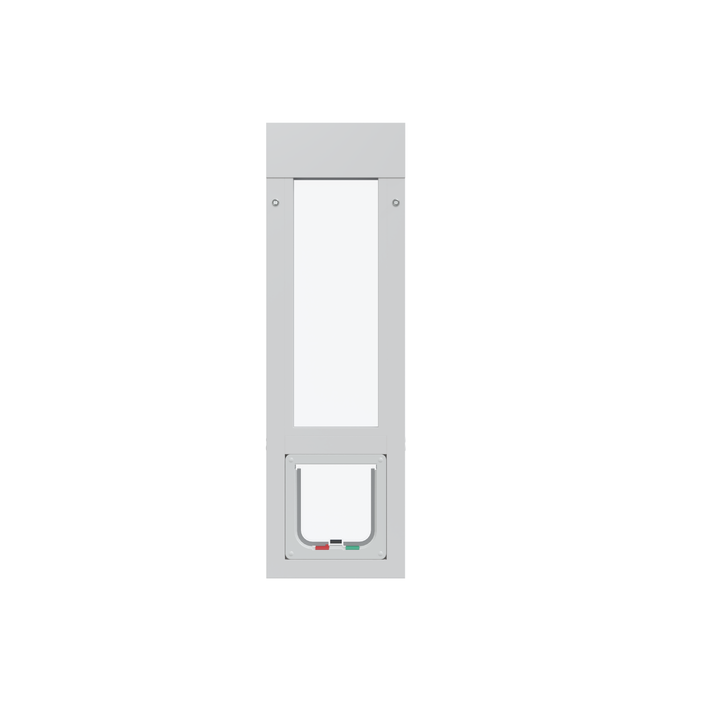
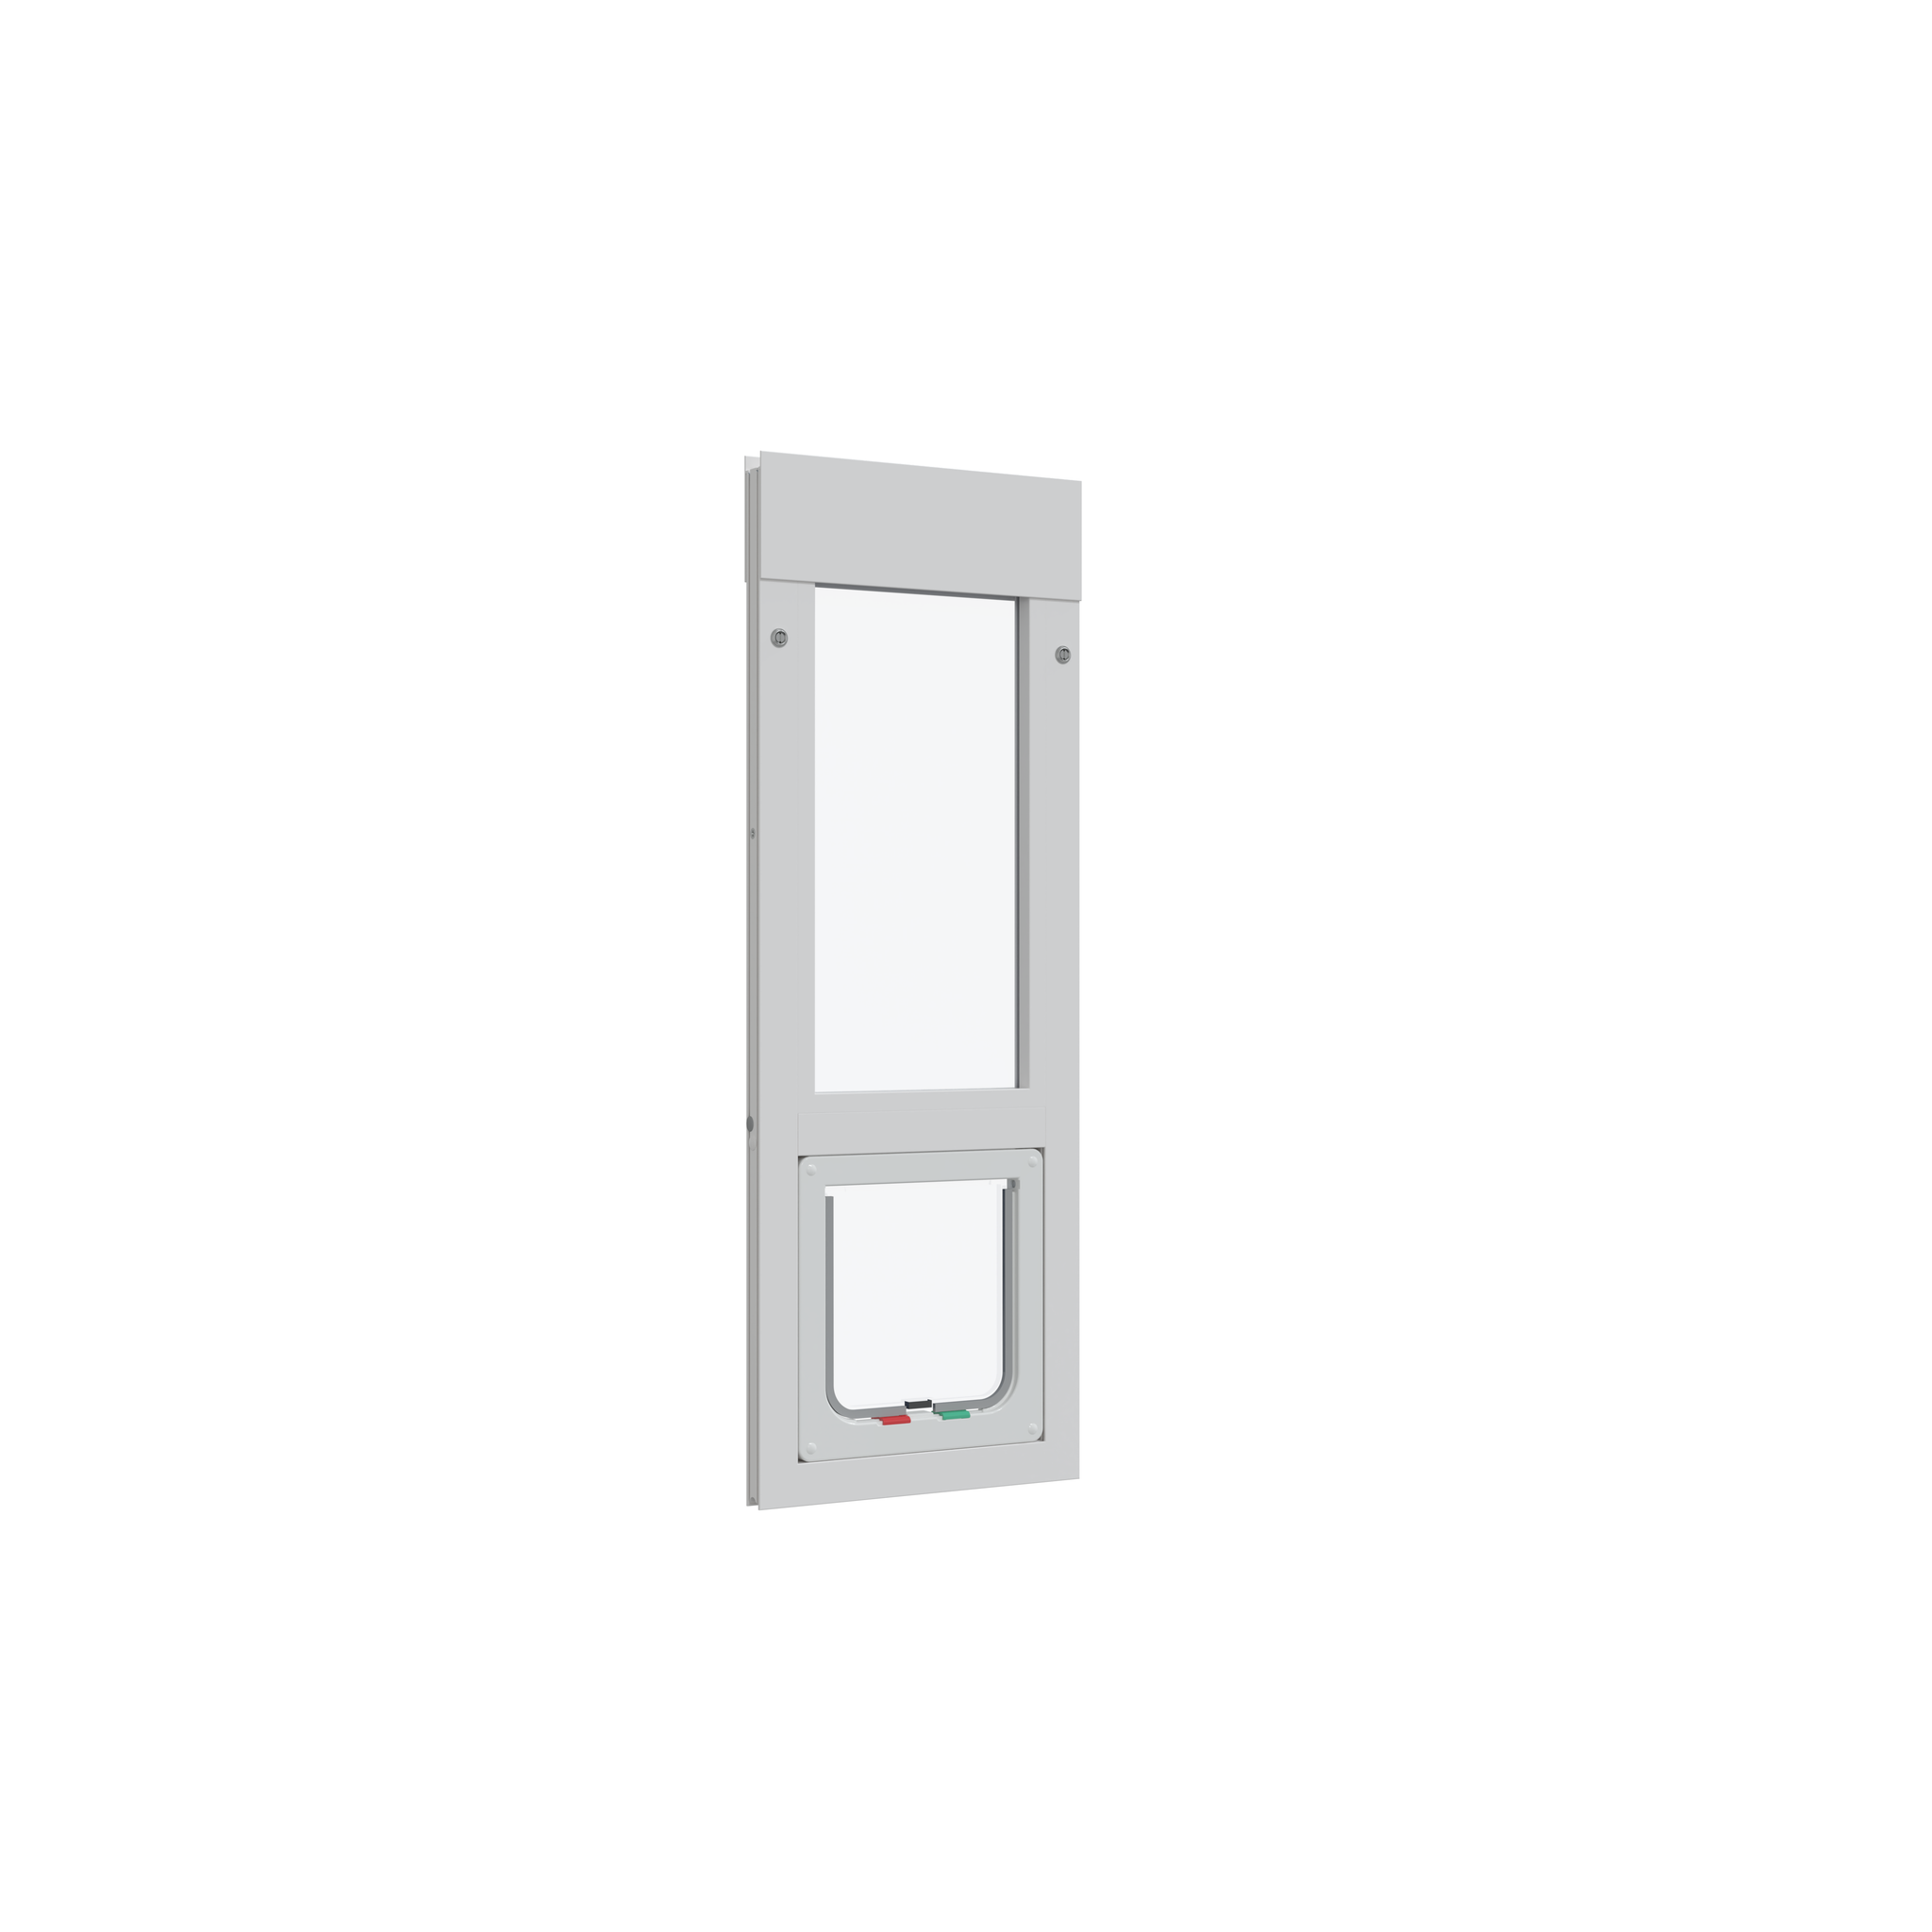
The Whiskers & Windows Cat Door is a revolutionary addition to your home, designed specifically for Vinyl Sliding Glass Doors. Offering an ingenious blend of convenience and practicality, this cat door introduces a new level of pet accessibility and freedom in your home. With its adjustable height feature, it can easily accommodate any sliding glass door.
The frame is made from sturdy, long-lasting white vinyl that blends seamlessly with your vinyl slider to reduce condensation.
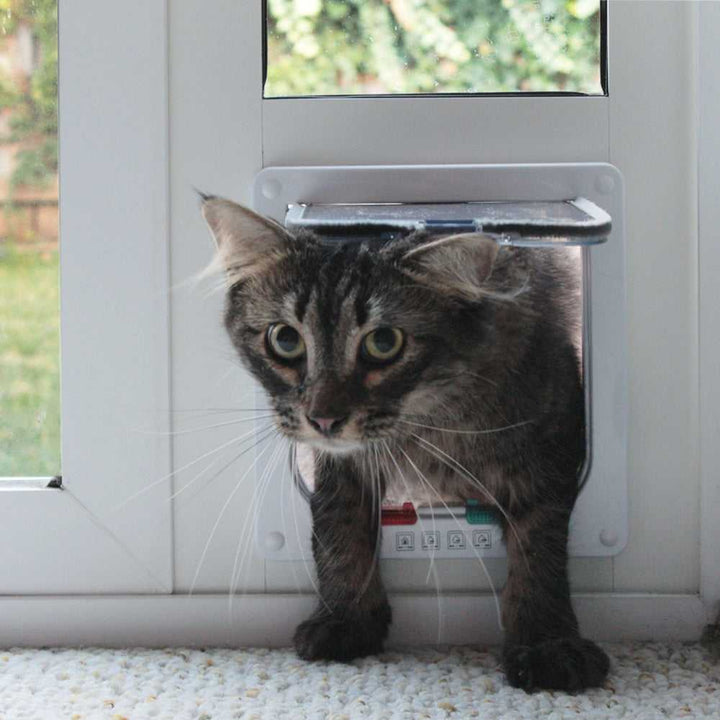
One standout feature of this cat door is the 4-way lock, which allows for controlled pet access. You can easily set the lock to be fully open, fully locked, entrance only, or exit only, providing you with complete control over your pet's movements. This feature provides your pet with the freedom they desire while offering you peace of mind.
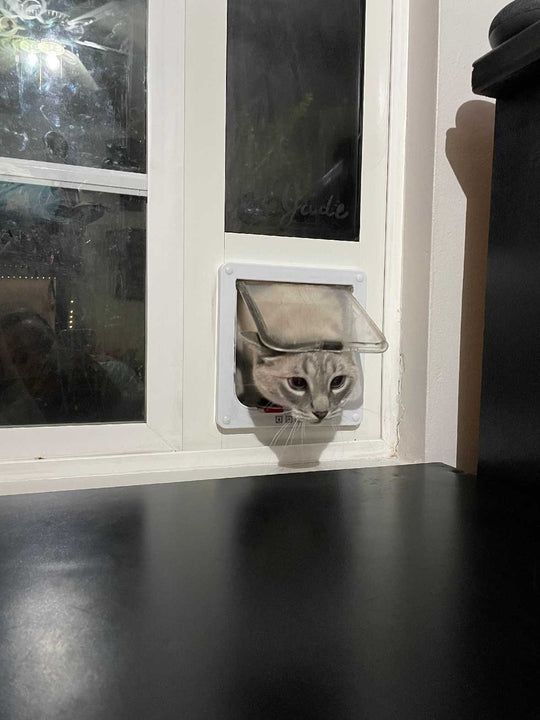
The lightweight, rigid acrylic flap is another impressive attribute, designed for both cats and very small dogs. Its lightweight design allows your pet to navigate through with ease, while the rigidity ensures durability and longevity. The flap is clear, allowing your pet to see through and become comfortable with its new gateway.
Innovation and thoughtfulness are embedded in the design of the Whiskers & Windows Cat Door. With Low-E glass technology, it mitigates the harmful effects of UV rays and infrared light, providing an additional layer of protection for your home and your beloved pet.
Installation is a breeze. It is designed to fit into your existing vinyl sliding glass doors, eliminating the need for drilling or cutting. Furthermore, the cat door can be easily removed when needed, offering the ultimate convenience for homeowners.
Embrace the freedom and convenience offered by the Whiskers & Windows Cat Door for Vinyl Sliding Glass Doors. By blending innovative features with a focus on pet safety and home aesthetics, this product provides a pet door solution that caters to the needs of both the pet and the owner. Whether you're looking to give your pet the independence they crave or want to upgrade your home with a smart pet solution, this cat door is the perfect fit.
Features:
- Ideal for both cats and very small dogs due to the versatility of two available flap sizes.
- Designed specifically for vinyl sliding doors with adjustable height, ensuring a secure fit.
- Convenient 4-way lock for increased security and control over your pet's access.
- Equipped with Low-E glass technology, reducing harmful UV rays and infrared light.
- Easy to install and remove with no need for drilling or cutting, maintaining the integrity of your home.
Benefits:
- Vinyl frame installs seamlessly into the vinyl slider tracks for a highly insulating fit
- Lightweight flap is easy for cats and very small dogs to use
- Comes in white to match the interior design of existing sliding glass door
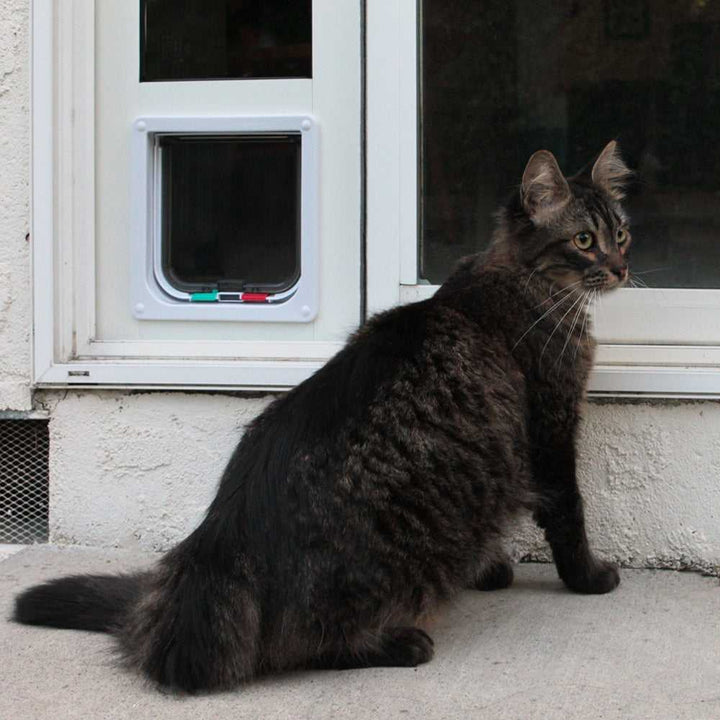
- Gives cats the freedom to access the outdoors without needing you to let them out


Size Chart
- Small6"w x 6"h
- Large7"w x 7-1/2"h
Flap Dimensions:
6"w x 6"h
The entry way your dog goes through.Step Over Range:
3 1/2"h
Distance from the bottom of the flap to the floor you pet must step over to enter the pet door.


Overall Panel Width:
9 7/8"
How wide the panel is overall.Flap Dimensions:
7"w x 7-1/2"h
The entry way your dog goes through.Step Over Range:
3 1/2"h
Distance from the bottom of the flap to the floor you pet must step over to enter the pet door. Overall Panel Width:
11 5/8"
How wide the panel is overall.| Flap Size | Flap Dimension | Overall Panel Width | Step Over Height | Recommended Pet Height |
|---|---|---|---|---|
| Cat Flap | 6"w x 6"h | 10-7/8" | 2.5" | 4" - 8" |
| Large Cat Flap | 7"w x 7-1/2"h | 12-9/16" | 4.5" | 4" - 12" |
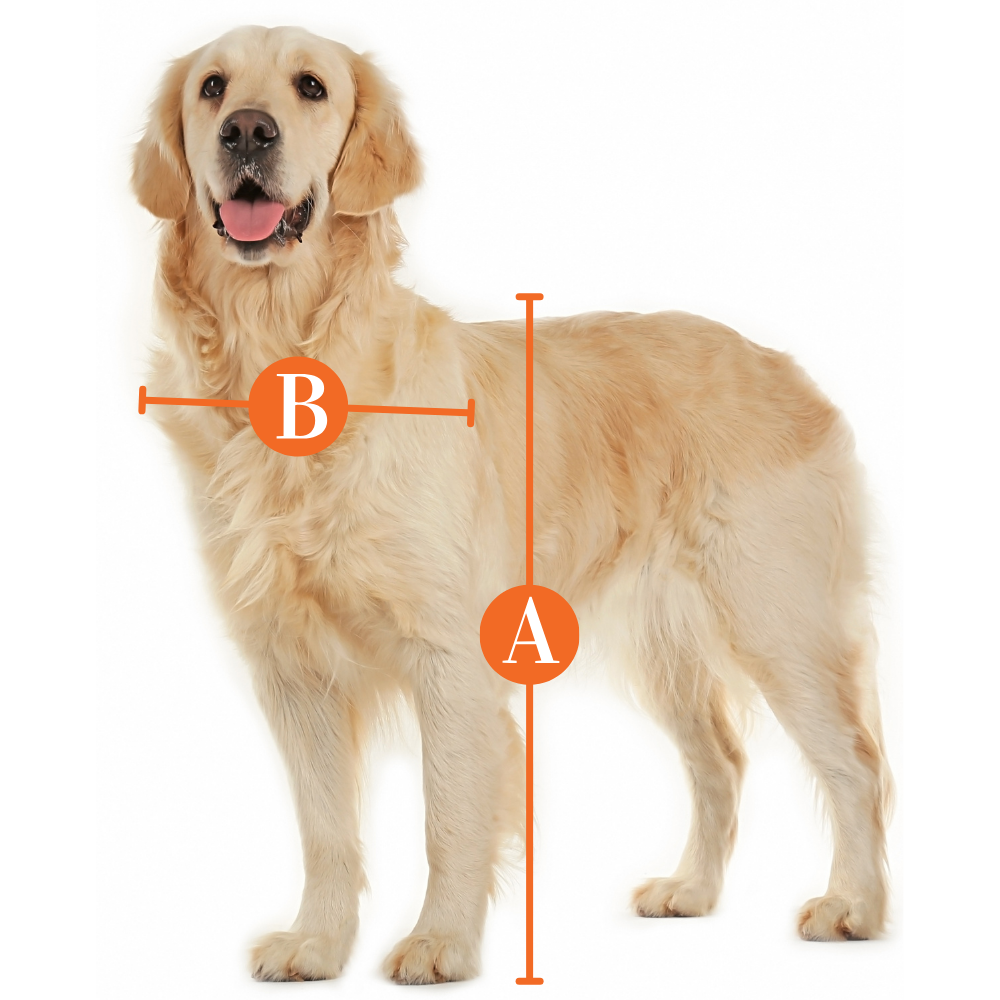
Find The Best Pet Door Size For My Pet

A
Pet Height: inches
B
Pet Width: inches
Installation Instructions
 Difficulty
Easy
Difficulty
Easy
 Steps
05
Steps
05
 Time Required
0.5 hours
Time Required
0.5 hours
 Sections
02
Sections
02
 Flags
01
Flags
01
Parts
- 1 Vinyl Panel Pet Door
- 1 Weatherstrip Seal
- 1 Center Post Weather Seal Draft Stopper
Tools
- #2 Philips head screw driver
- Non-metal hammer
- Scissors
Please read instructions & notes thoroughly before installation. If you need to lower the step-over height, complete steps A-C from the end of these instructions before installing the panel in your track. The step-over height can only be adjusted for the Large Cat Flap size.
Step 1 Loosen Height Adjustment Locks

- Loosen the height adjustment locks at the top of the panel. This allows the spring mechanism to move freely up and down.
Step 2 Insert Panel Into Track

- Insert the panel into the upper track of your door frame, push the panel into the spring mechanism, then swing the bottom of the panel up and over the threshold into the lower track rail.
Step 3 Apply Weatherstrip

- Once you are confident that the panel fits, remove the panel from the track and lay it on its side on the ground.
- Apply the foam weatherstrip seal by peeling back the paper and exposing the adhesive. Unroll it along the edge of the panel, pressing to ensure it adheres. Install on both sides and trim to fit with scissors.
Step 4 Place Panel In Track
- Place the panel back into the sliding glass door, then tighten the height adjustment locks to lock it in place.
Step 5 Install the Draft Stopper

- The center post weather seal strip (draft stopper) should be installed on the inside of the home.
- Trim with scissors as needed. Clean the edge of your patio door with rubbing alcohol before installing to assure a good seal.
- Repeat step two to install the panel in your track.
The following steps are only applicable if you need to lower the step-over for the Large Cat Flap size from 4.5" to 2.5" (step-over not adjustable for Cat Flap size). If you need to lower the step-over, complete these steps before installing the panel in your track.
Step A Separate Flap Frames

- Lay the entire panel on a flat surface. Remove the hole plugs covering the four frame screws and set them aside.
- Use a #2 Phillips head screwdriver to unscrew the four frame screws from the flap frames to separate them, then set them aside.
Step B Loosen Side-Screws

- Loosen both the middle and bottom sets of side-screws by one turn.
Step C Move the Cross Piece

- Once the bottom and middle side-screws are loosened, slide the crosspiece at the bottom of the panel up to the middle of the panel.
Step D Tighten the Screws

- Once the cross piece is in place, tighten the bottom side-screws and middle side-screws.
Step E Reattach Flap Frames

- Reinstall the pet door assembly to the panel by sandwiching the interior and exterior frames on either side of the panel directly below the cross piece that was raised in Step C.
- Insert the four frame screws through the pet door frames.
Step F Add Hole Plugs
- Use the wooden of a hammer, a rubber mallet, or another non-metal tool to tap the hole plugs back over the four frame screws.
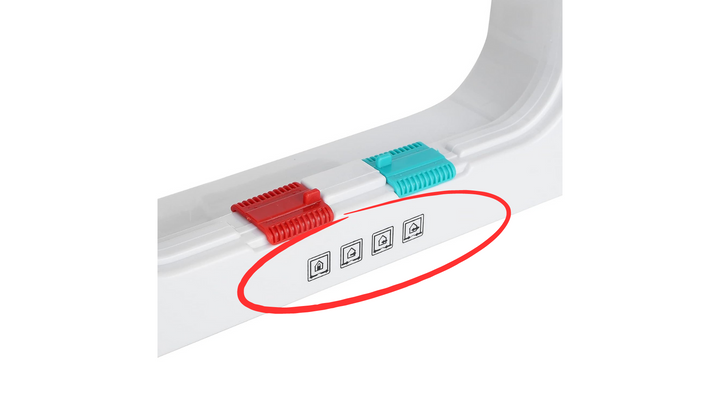
Whiskers & Windows Locking Details
Locking the Flap
- To change the 4-Way Lock setting, ensure that the flap is in the vertical resting position, and gently move the tabs left or right as desired. The tabs should move freely without requiring excessive force.
- Locked: Both tabs on the outside.
- Out-only: Both tabs to the right.
- In-only: Both tabs to the left.
- Unlocked: Both tabs in the center.

Installing the Clamp Lock (Sold Seperately)
- This clamp has a screw that tightens by hand to prevent the sliding door from moving beyond the clamp’s placement.
- For doors manufactured with the glass slider on the inside track, the lock can usually be installed on the door’s raised track.

Alternative Locking Method
- A great alternative to locking your sliding glass door is a Charley bar or dowel in the track.
- Both work off the same concept—they block the slider from opening. When engaged you cannot pull the sliding door away from the pet door panel.

FREQUENTLY ASKED QUESTIONS
What if my panel is slightly too tall?
You can trim up to 3/4” off the spring- loaded adjustment piece at the top. This can be done by removing the adjustment pieces with a #2 Phillips head screwdriver and cutting down the flanges. Be careful not to cut too low or you will not be able to put the top back on.
The dark area marks where you can trim:


FAQ
|
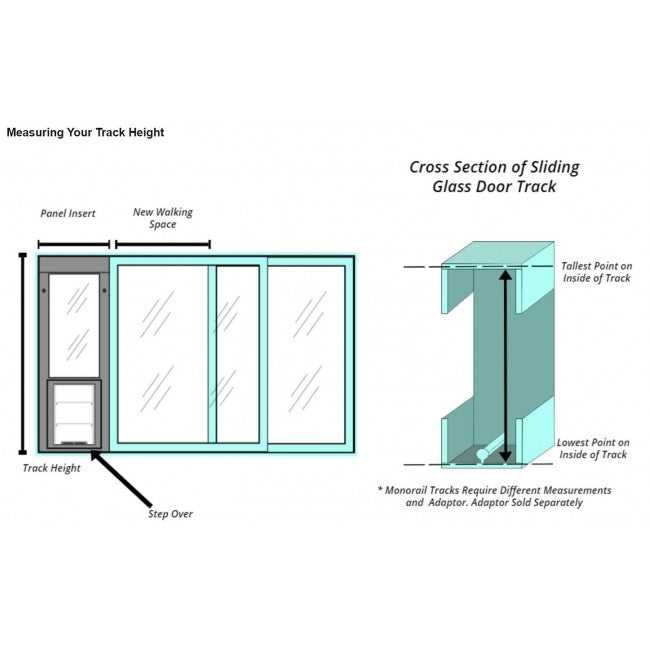
Will this fit all vinyl doors? This will work in doors that have a recessed track at least 1 1/2" wide, with a rail in the bottom that is about the size of a pencil. The panel is made with a small channel that will case over that little rail. |
|
Does it lock? We do include a c-clamp lock. It is not designed to mate with your existing sliding door lock. You can also use a Charley-Bar or dowel in the track. |
|
Can I install it myself? It is meant to easily be put in and removed. You just have to loosen the screws at the top, fit it into the track, and then tighten them. Then to remove it you simply loosen them again and pop it out. |
|
If you can remove it what prevents intruders from taking it out? The thumb screws are on the inside of the house so you can't loosen them from the outside. |
|
Can you lock the pet door? The pet door has a four-way lock so you can set the flap to completely locked, unlocked, in-only, or out-only. |
|
How to I measure for it? You will want to measure from the deepest part (down past the little metal rail) in the bottom, then all the way up to the deepest part inside the top track. |
|
Does it come in any color other than white? No, but the you can paint the vinyl to match. |
|
What if my track is wider than 1 1/2"? It can still work if your track is wider, but if the channel in the bottom, top, or side measures less than that you will not be able to fit it into place properly. |
|
Does your door have to be vinyl? No, not as long as the track height and width meet the panel specs. |
|
Is the flap flexible? The flap is rigid, lightweight acrylic. Many cats prefer rigid flaps over flexible flaps. |
|
Is the flap clear? Yes, the flap is clear. |
|
Will this form condensation like the aluminum panels? Nope! That is one of the great things about the vinyl framing is you won't have the the condensation on the inside of the house. |
|
How much does shipping cost? Shipping is calculated at checkout. |
Warranty
1 Year Limited Warranty
The manufacturer guarantees your purchase for a period of one year from the date of original purchase against any defect arising due to faulty materials or manufacture. Accordingly, any defective item will be repaired free of charge or replaced at the manufacturer’s option provided that the defect has not been caused by neglect, misuse, or normal wear and tear and proof of purchase date is supplied. Your statutory rights are not affected.
Customer Reviews
Size Chart
- Small6"w x 6"h
- Large7"w x 7-1/2"h
Flap Dimensions:
6"w x 6"h
The entry way your dog goes through.Step Over Range:
3 1/2"h
Distance from the bottom of the flap to the floor you pet must step over to enter the pet door. Overall Panel Width:
9 7/8"
How wide the panel is overall.Flap Dimensions:
7"w x 7-1/2"h
The entry way your dog goes through.Step Over Range:
3 1/2"h
Distance from the bottom of the flap to the floor you pet must step over to enter the pet door. Overall Panel Width:
11 5/8"
How wide the panel is overall.| Flap Size | Flap Dimension | Overall Panel Width | Step Over Height | Recommended Pet Height |
|---|---|---|---|---|
| Cat Flap | 6"w x 6"h | 10-7/8" | 2.5" | 4" - 8" |
| Large Cat Flap | 7"w x 7-1/2"h | 12-9/16" | 4.5" | 4" - 12" |
Find The Best Pet Door Size For My Pet
A
Pet Height: inches
B
Pet Width: inches
Installation Instructions
Difficulty
Easy
Steps
05
Time Required
0.5 hours
Sections
02
Flags
01
Parts
- 1 Vinyl Panel Pet Door
- 1 Weatherstrip Seal
- 1 Center Post Weather Seal Draft Stopper
Tools
- #2 Philips head screw driver
- Non-metal hammer
- Scissors
Please read instructions & notes thoroughly before installation. If you need to lower the step-over height, complete steps A-C from the end of these instructions before installing the panel in your track. The step-over height can only be adjusted for the Large Cat Flap size.
Step 1 Loosen Height Adjustment Locks
- Loosen the height adjustment locks at the top of the panel. This allows the spring mechanism to move freely up and down.
Step 2 Insert Panel Into Track
- Insert the panel into the upper track of your door frame, push the panel into the spring mechanism, then swing the bottom of the panel up and over the threshold into the lower track rail.
Step 3 Apply Weatherstrip
- Once you are confident that the panel fits, remove the panel from the track and lay it on its side on the ground.
- Apply the foam weatherstrip seal by peeling back the paper and exposing the adhesive. Unroll it along the edge of the panel, pressing to ensure it adheres. Install on both sides and trim to fit with scissors.
Step 4 Place Panel In Track
- Place the panel back into the sliding glass door, then tighten the height adjustment locks to lock it in place.
Step 5 Install the Draft Stopper
- The center post weather seal strip (draft stopper) should be installed on the inside of the home.
- Trim with scissors as needed. Clean the edge of your patio door with rubbing alcohol before installing to assure a good seal.
- Repeat step two to install the panel in your track.
The following steps are only applicable if you need to lower the step-over for the Large Cat Flap size from 4.5" to 2.5" (step-over not adjustable for Cat Flap size). If you need to lower the step-over, complete these steps before installing the panel in your track.
Step A Separate Flap Frames
- Lay the entire panel on a flat surface. Remove the hole plugs covering the four frame screws and set them aside.
- Use a #2 Phillips head screwdriver to unscrew the four frame screws from the flap frames to separate them, then set them aside.
Step B Loosen Side-Screws
- Loosen both the middle and bottom sets of side-screws by one turn.
Step C Move the Cross Piece
- Once the bottom and middle side-screws are loosened, slide the crosspiece at the bottom of the panel up to the middle of the panel.
Step D Tighten the Screws
- Once the cross piece is in place, tighten the bottom side-screws and middle side-screws.
Step E Reattach Flap Frames
- Reinstall the pet door assembly to the panel by sandwiching the interior and exterior frames on either side of the panel directly below the cross piece that was raised in Step C.
- Insert the four frame screws through the pet door frames.
Step F Add Hole Plugs
- Use the wooden of a hammer, a rubber mallet, or another non-metal tool to tap the hole plugs back over the four frame screws.
Whiskers & Windows Locking Details
Locking the Flap
- To change the 4-Way Lock setting, ensure that the flap is in the vertical resting position, and gently move the tabs left or right as desired. The tabs should move freely without requiring excessive force.
- Locked: Both tabs on the outside.
- Out-only: Both tabs to the right.
- In-only: Both tabs to the left.
- Unlocked: Both tabs in the center.
Installing the Clamp Lock (Sold Seperately)
- This clamp has a screw that tightens by hand to prevent the sliding door from moving beyond the clamp’s placement.
- For doors manufactured with the glass slider on the inside track, the lock can usually be installed on the door’s raised track.
Alternative Locking Method
- A great alternative to locking your sliding glass door is a Charley bar or dowel in the track.
- Both work off the same concept—they block the slider from opening. When engaged you cannot pull the sliding door away from the pet door panel.
FREQUENTLY ASKED QUESTIONS
What if my panel is slightly too tall?
You can trim up to 3/4” off the spring- loaded adjustment piece at the top. This can be done by removing the adjustment pieces with a #2 Phillips head screwdriver and cutting down the flanges. Be careful not to cut too low or you will not be able to put the top back on.
The dark area marks where you can trim:
FAQ
|
Will this fit all vinyl doors? This will work in doors that have a recessed track at least 1 1/2" wide, with a rail in the bottom that is about the size of a pencil. The panel is made with a small channel that will case over that little rail. |
|
Does it lock? We do include a c-clamp lock. It is not designed to mate with your existing sliding door lock. You can also use a Charley-Bar or dowel in the track. |
|
Can I install it myself? It is meant to easily be put in and removed. You just have to loosen the screws at the top, fit it into the track, and then tighten them. Then to remove it you simply loosen them again and pop it out. |
|
If you can remove it what prevents intruders from taking it out? The thumb screws are on the inside of the house so you can't loosen them from the outside. |
|
Can you lock the pet door? The pet door has a four-way lock so you can set the flap to completely locked, unlocked, in-only, or out-only. |
|
How to I measure for it? You will want to measure from the deepest part (down past the little metal rail) in the bottom, then all the way up to the deepest part inside the top track. |
|
Does it come in any color other than white? No, but the you can paint the vinyl to match. |
|
What if my track is wider than 1 1/2"? It can still work if your track is wider, but if the channel in the bottom, top, or side measures less than that you will not be able to fit it into place properly. |
|
Does your door have to be vinyl? No, not as long as the track height and width meet the panel specs. |
|
Is the flap flexible? The flap is rigid, lightweight acrylic. Many cats prefer rigid flaps over flexible flaps. |
|
Is the flap clear? Yes, the flap is clear. |
|
Will this form condensation like the aluminum panels? Nope! That is one of the great things about the vinyl framing is you won't have the the condensation on the inside of the house. |
|
How much does shipping cost? Shipping is calculated at checkout. |
Warranty
1 Year Limited Warranty
The manufacturer guarantees your purchase for a period of one year from the date of original purchase against any defect arising due to faulty materials or manufacture. Accordingly, any defective item will be repaired free of charge or replaced at the manufacturer’s option provided that the defect has not been caused by neglect, misuse, or normal wear and tear and proof of purchase date is supplied. Your statutory rights are not affected.